
This first blog post will be about the construction of a DIY lighting rig.
WHY BUILD MY OWN LIGHTING ?
Like a lot of aspiring filmmakers I’ve been confronted to the difficulty of finding good cheap lights. Even if it’s possible to use natural light up to a certain point, nothing beats dedicated lighting systems for fiability and consistency of light quality.
Some use consumer lightbulbs, other use contruction site spotlights, but even if it’s possible to get good results, a lot of limitations were felt :
As always, a full list of the articles in this blog can be found HERE.
- If you work with LEDs, the CRI (Color Rendering Index, a scale of 1 to 100 permitting to judge the rendering of colors against a perfect light source, like the sun) is often low or inadequate. Consumer grades LEDs and fluorescent will often have a color cast, either magenta or green, difficult to correct. Good CRI LEDs exist, but they are still quite expensive.
- You can use halogen or incandescend bulbs, as the CRI will be very high, but the color balance will reduce it’s usability, as most are 3200 Kelvins or lower. If you work with natural light, which is approximately 5600K, you won’t be abled to achieve a neutral color balance.
- Using construction site spotlights can result in a wide and difficult to control beam of light. It can be somewhat mitigated by constructing barndoors, but it’s still not optimal.
If you plan to do small documentaries like I do, renting equipment can get expensive real fast, especially if you do small shooting sessions during a long period of time.
Then the only solution was to take the matter in my own hands and create the light suiting my needs. Before settling on a Kino-flo style light, I though about making a LED projector. The problem was the same as consumer grade LED bulbs, as high power good CRI LEDs were expensive, and creating a reflector for it would have been hard.
A HMI light is in theory possible to make, by using ballasts made for HMI horticultaral lamps. High CRI HMI bulbs can be found for relatively cheap. Here again, making a suitable reflector would have been the hardest step. There was also uncertainty about the quality of the horticultural ballasts, if it would create flicker or change in the intensity of the light.
So I chose to work with fluorescent tubes. You can find really high CRI ones (>98) for about 8$ for a 120cm length. They have the advantages of being easily swap-able and can be found in either 3200k or 5300k color temperature, adding flexibility to the light.
My specifications were:
- That the build was cheap
- Daylight balanced light, or near 5600K
- High CRI
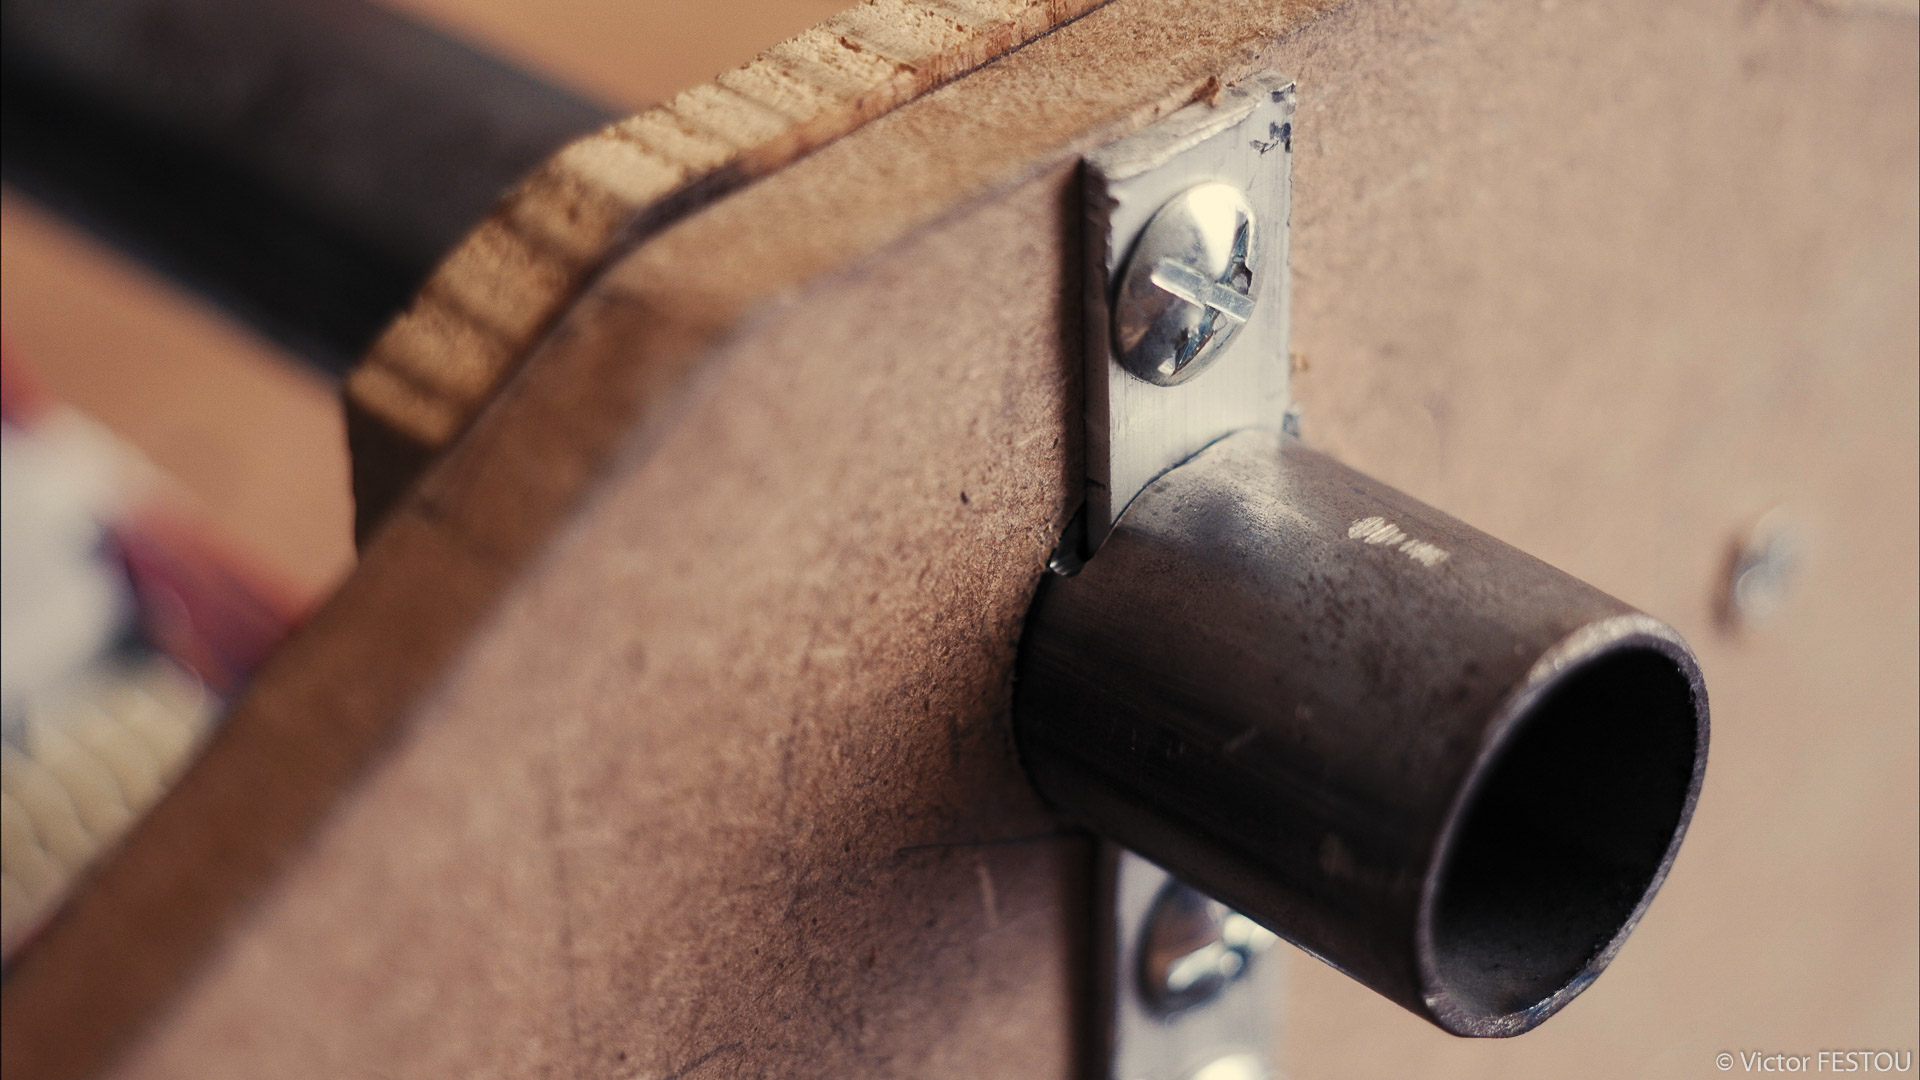
- Compatibility with standard cinema stands.
- Possibility to light only 2 of the 4 tubes at a time. This way, I can use 2 3200K tubes and 2 5600k ones and change color temperature at the flick of a switch. By using 4 of the same tubes, it can divide the light intensity by 2, adding flexibility again. (It would have been possible to make all 4 tubes dimmable, but the ballasts were much more expensive and I don’t know how the CRI of the tubes will be impacted while dimmed)
- A silent light and without flickering
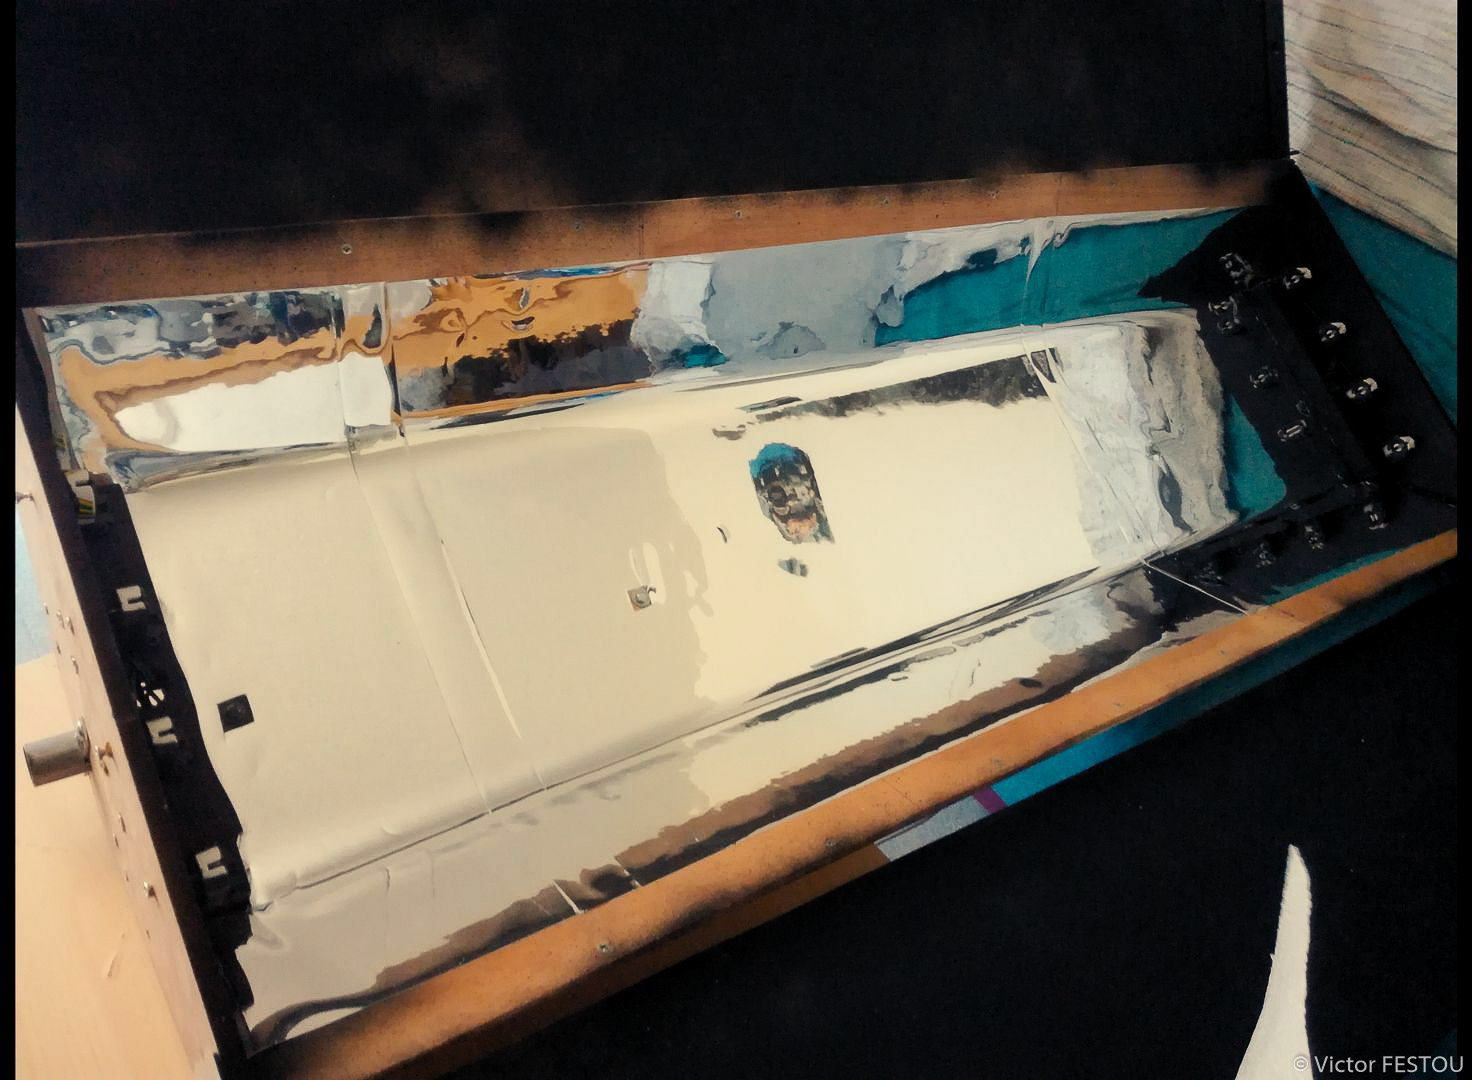
- A reflector and barndoors to control light spill
- A sturdy frame and construction to survive transport and shooting conditions
THE construction:
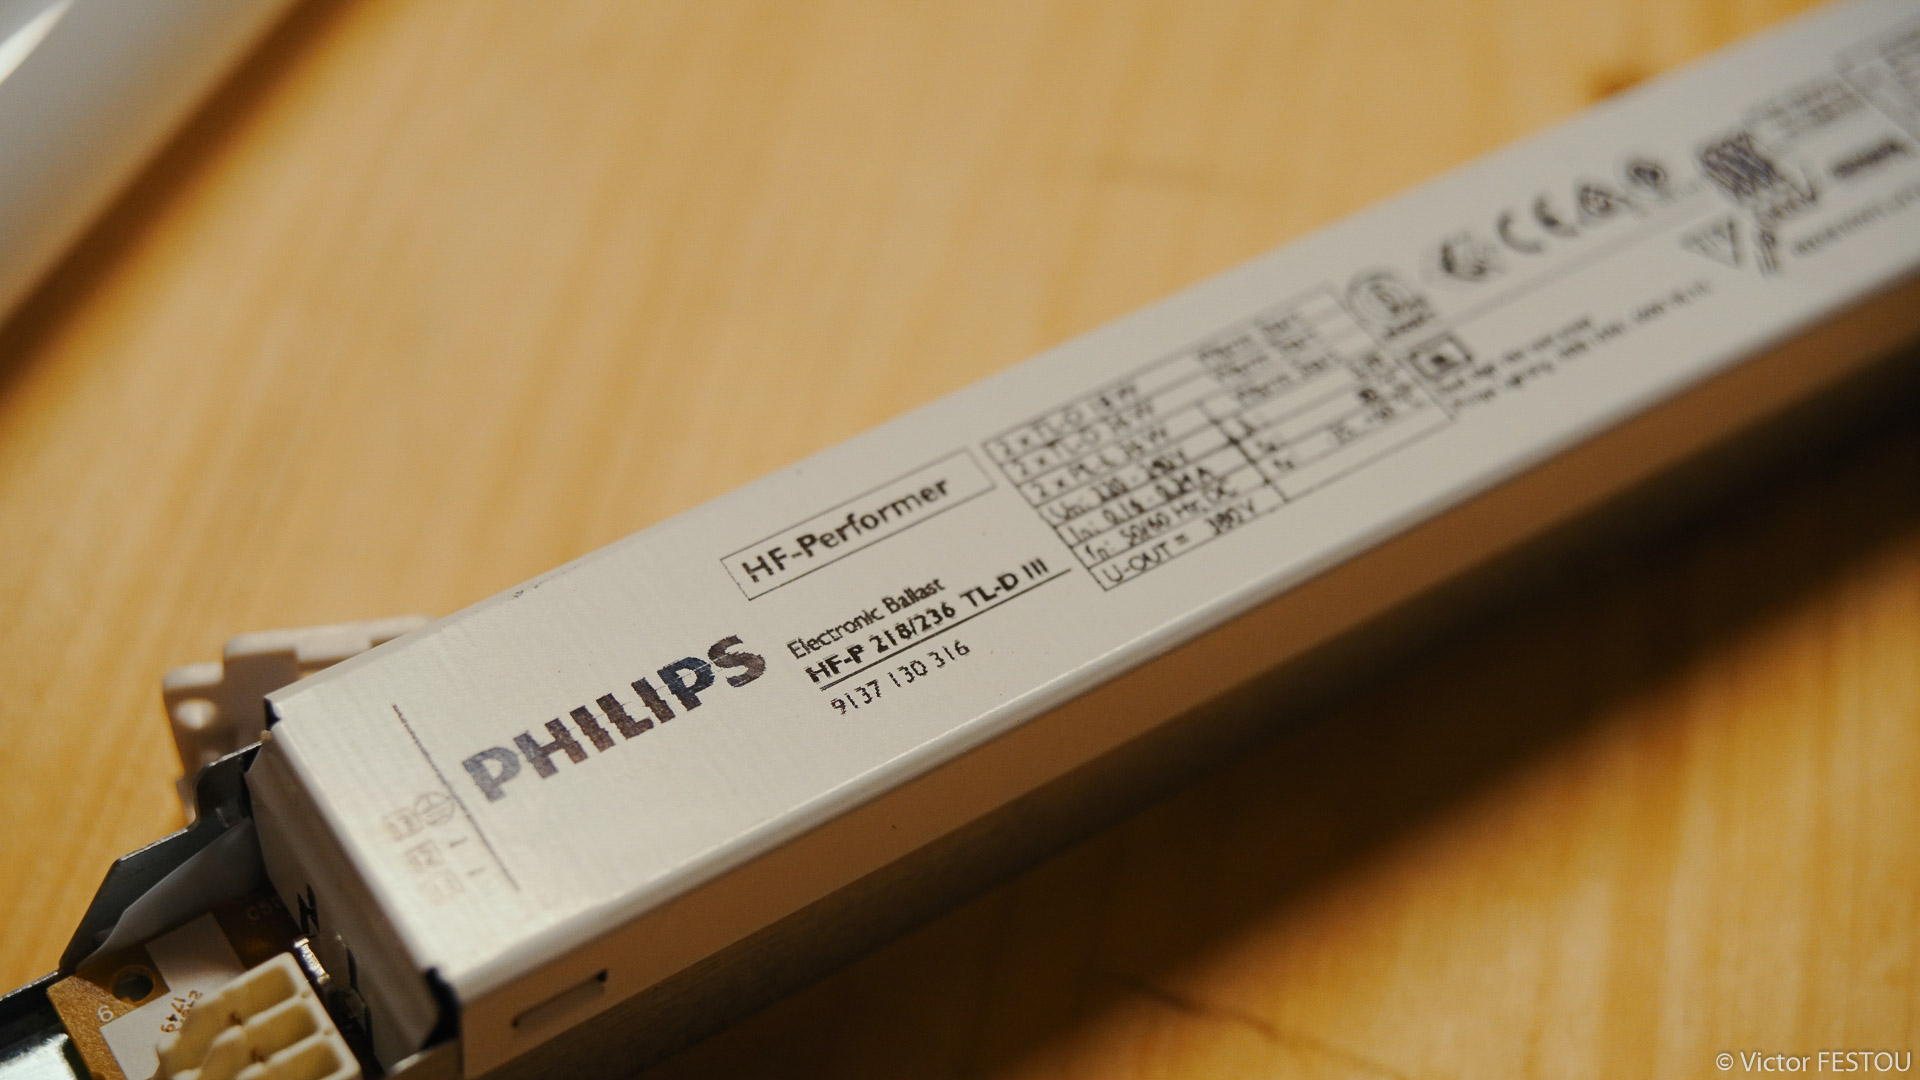
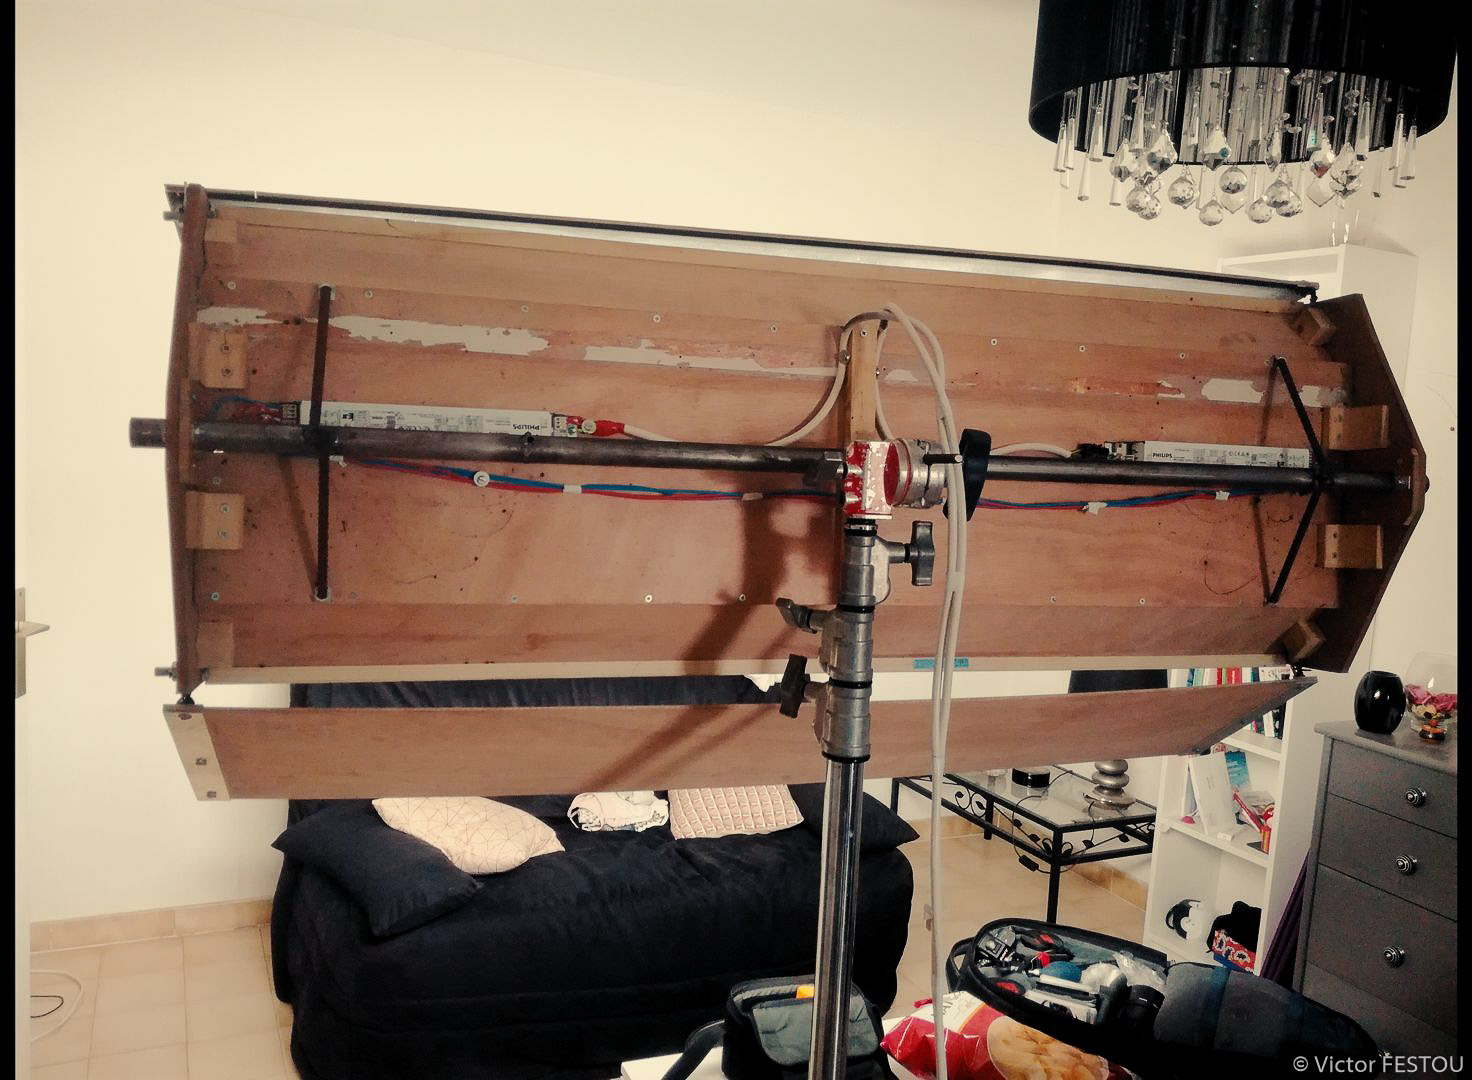
I chose plywood as my working base. Using sheets and wooden batten planks is easy to work with and inexpensive. The tubes need a starter and a ballast, but today there exists electronic ballasts which take care of both. Contrary to old magnetic ballast, they don’t produce noise and shouldn’t flicker, using a 20.000Hz frequency.
I chose two Phillips HF-Performer HF-P 218/236 TL-D III 220-240V 50/60 Hz ballasts. Both control two 36W tubes. These ballasts could be found for 20$ each online.
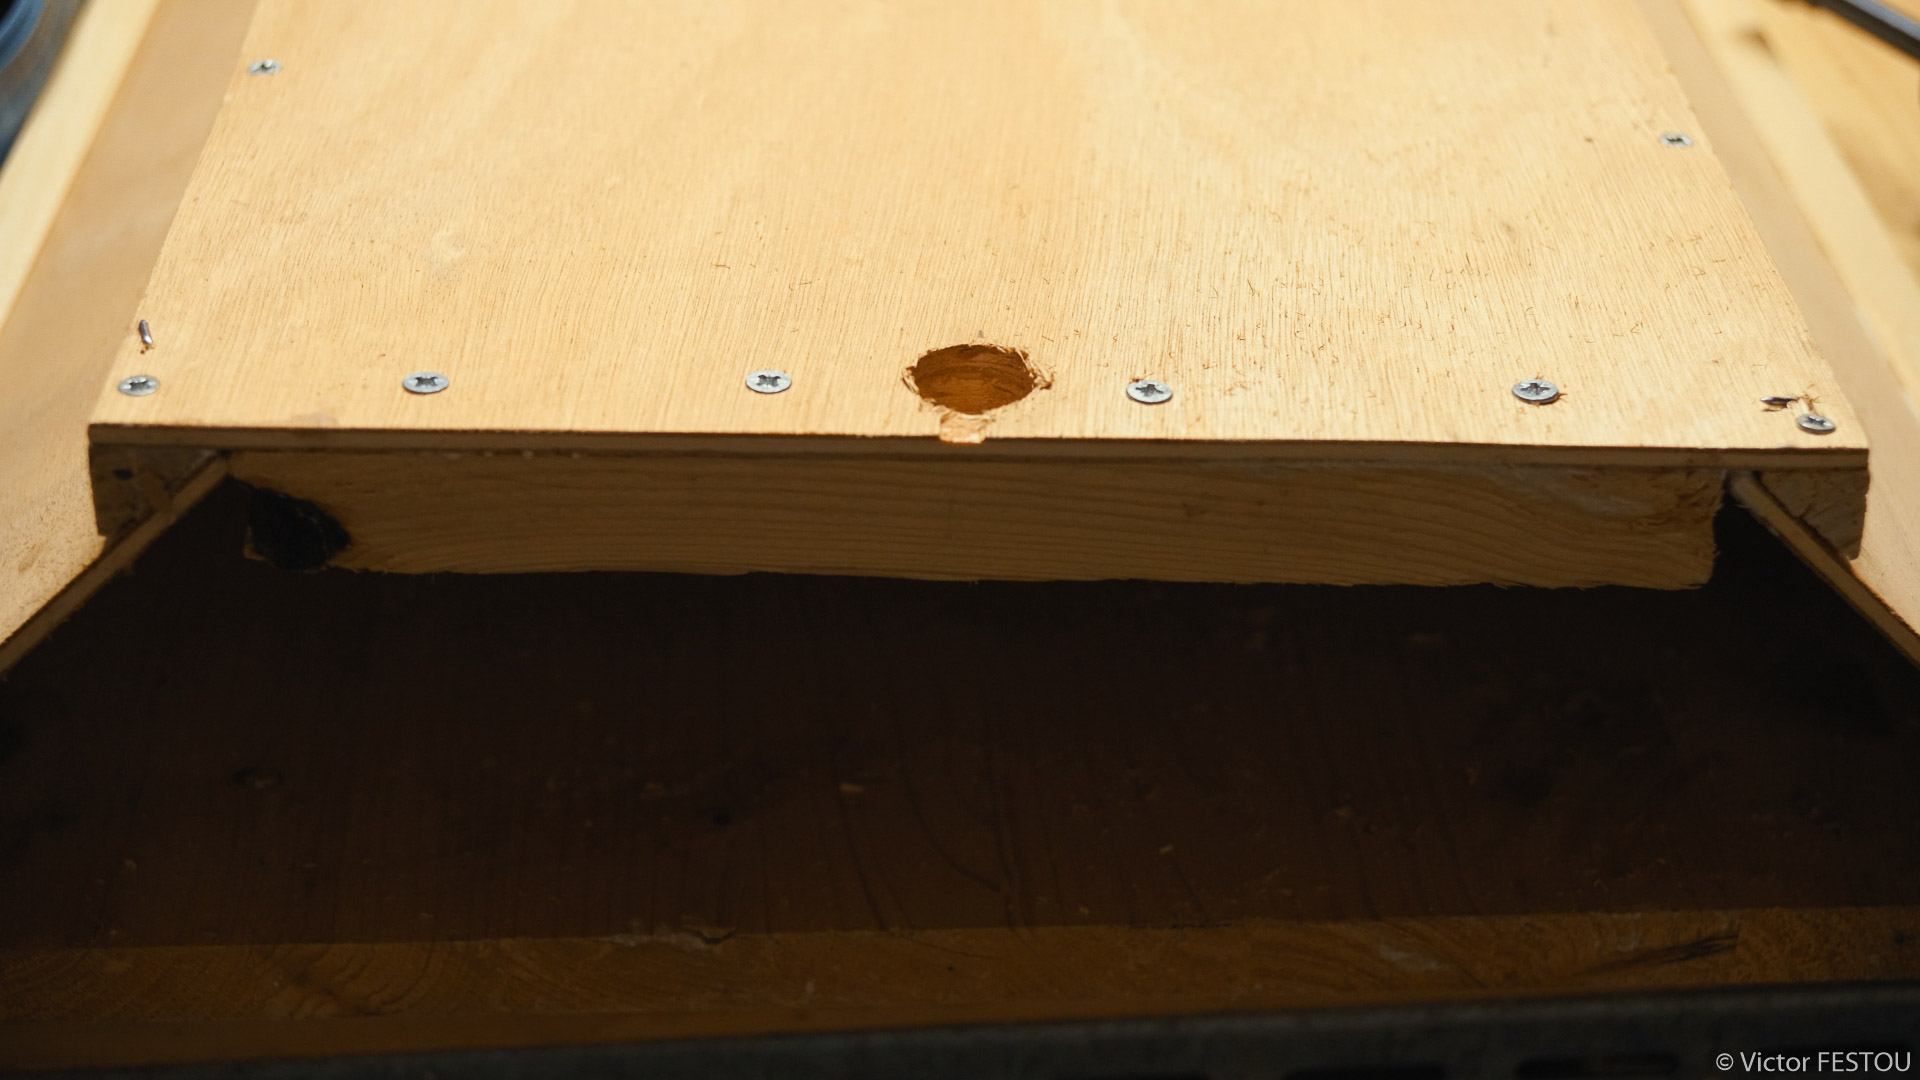
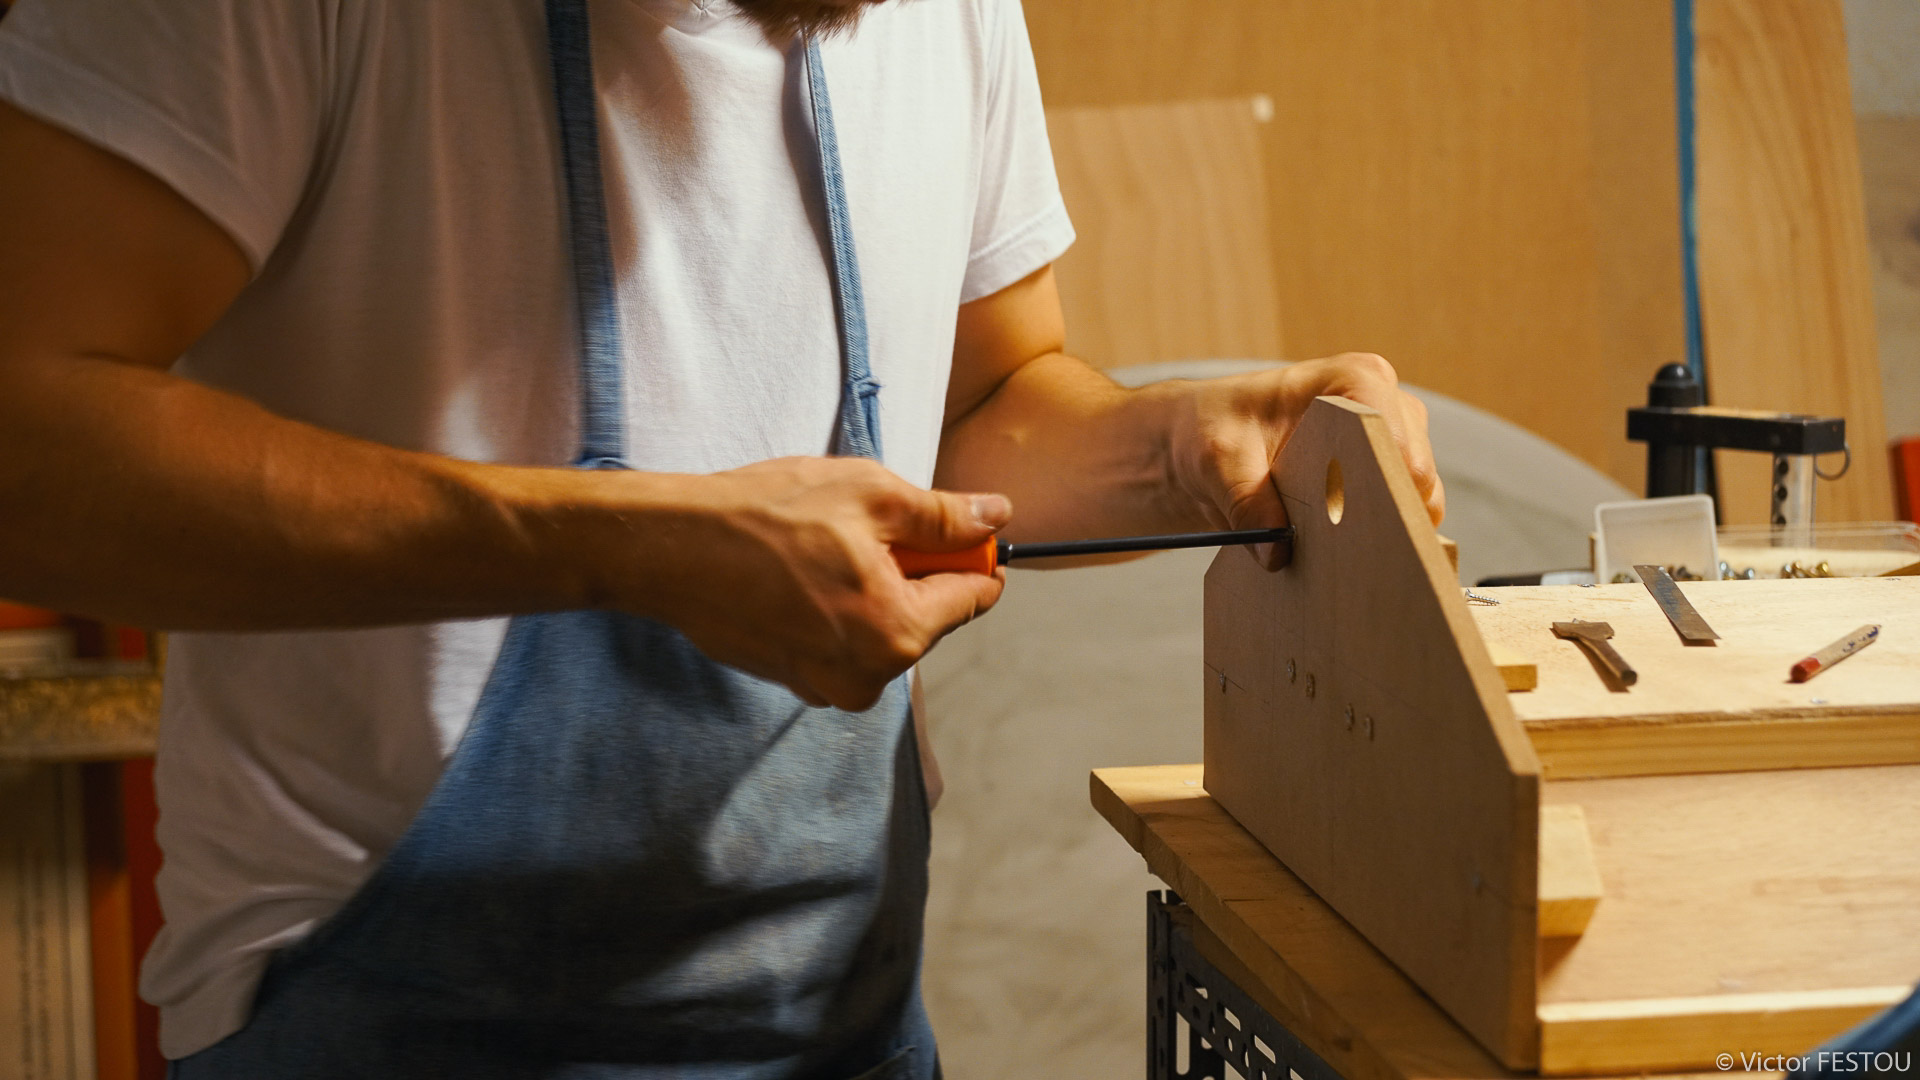
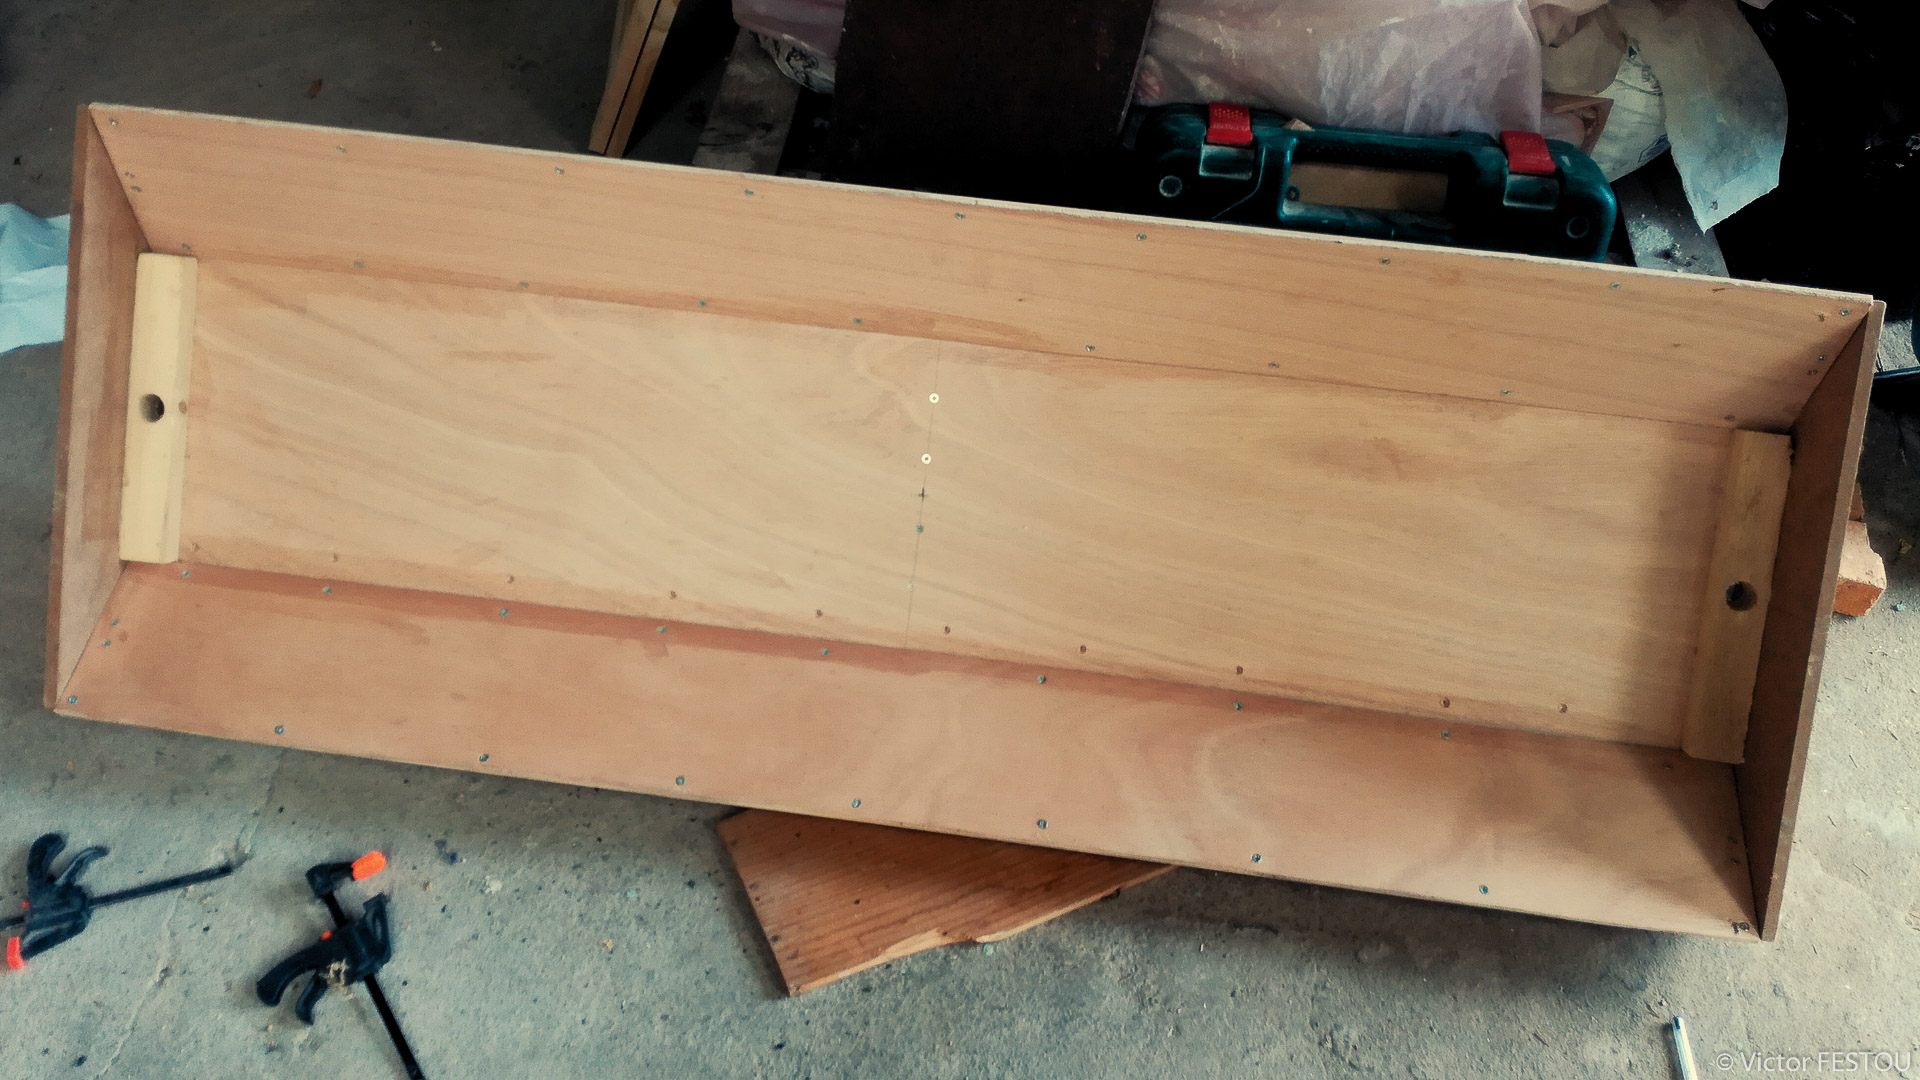
The frame has been built with 5mm plywood sheets. 3mm should have been enough but I had only 5mm readily available. The corners were reinforced with triangular beams for added strengh, as the assembly is 1,20m long.
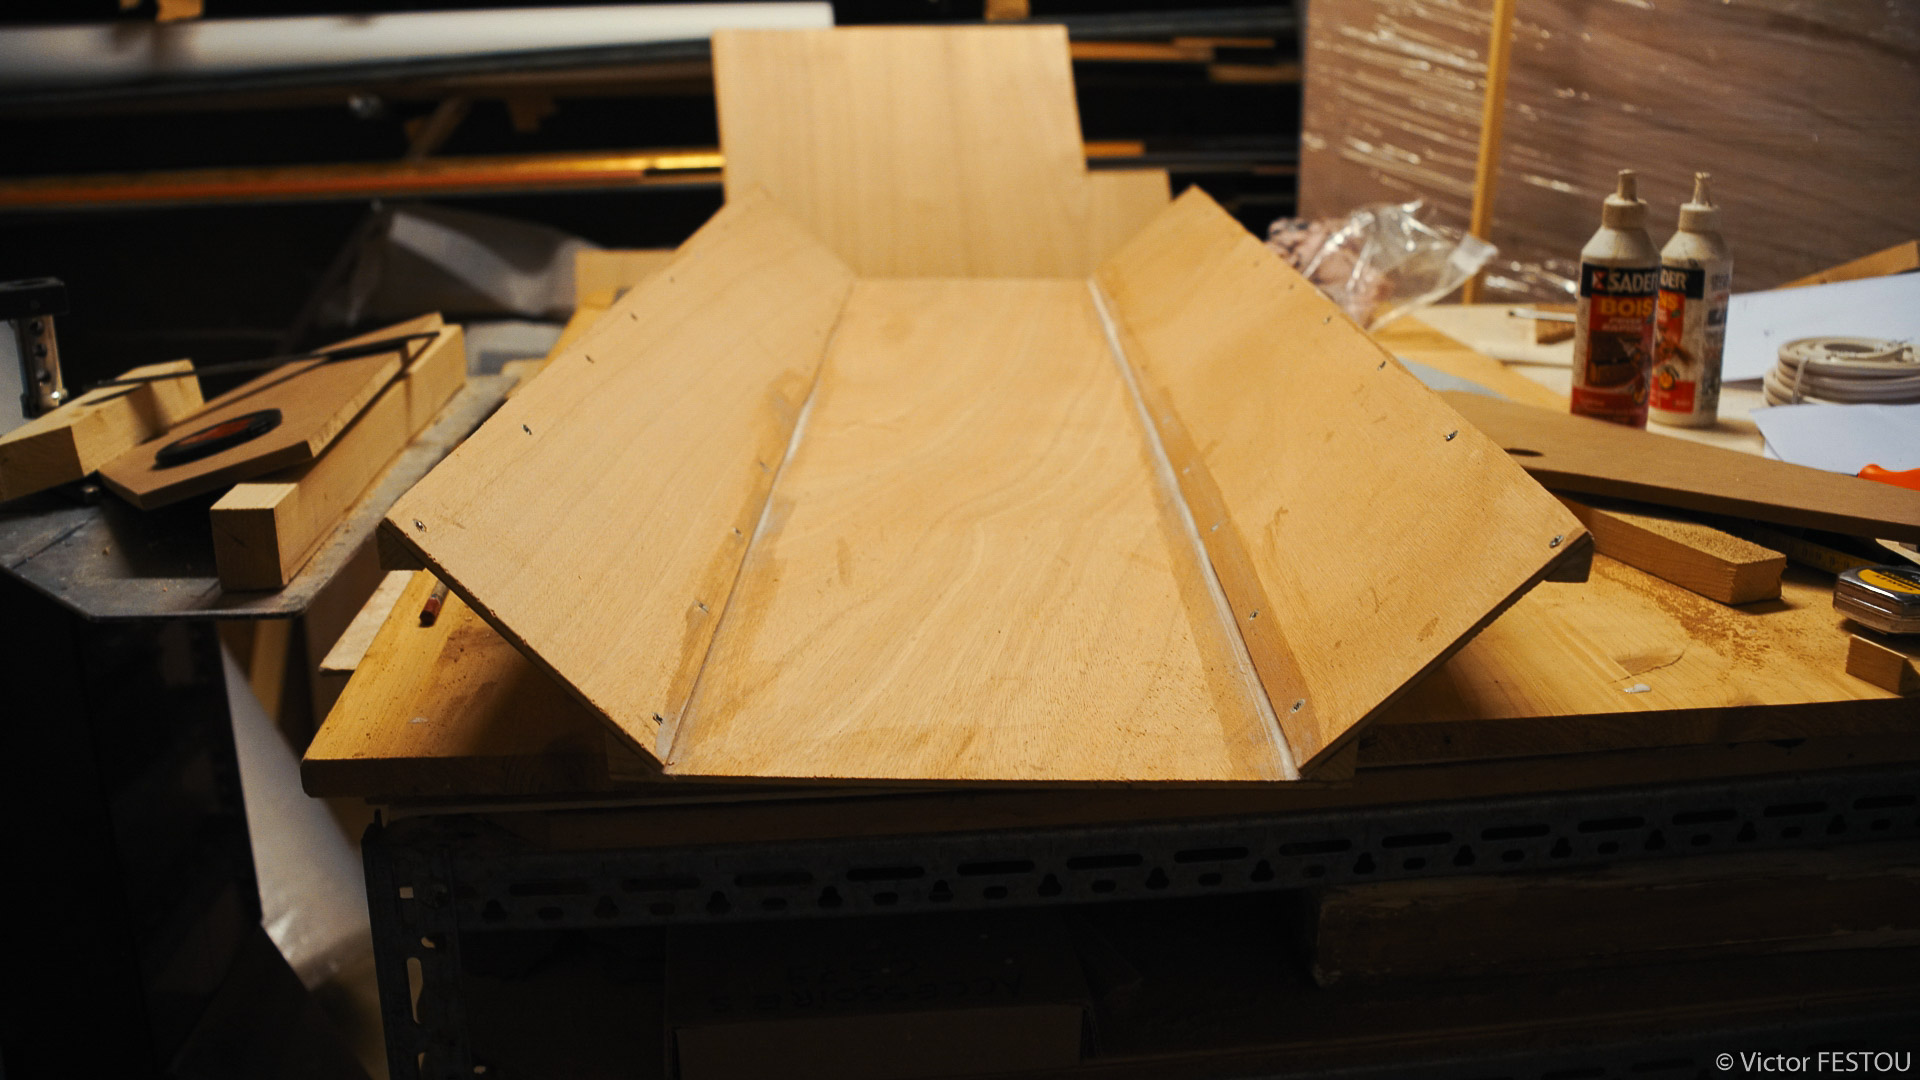
All the pieces were glued together with the addition of screws.

The barndoor were quite the headache to figure out, especially the flexible hinges and how to build them. I chose simplicity and used stiff wire twisted in a bundle. This isn’t the most pretty or durable system, but it has the advantage of being easily replaceable and stupidly cheap.

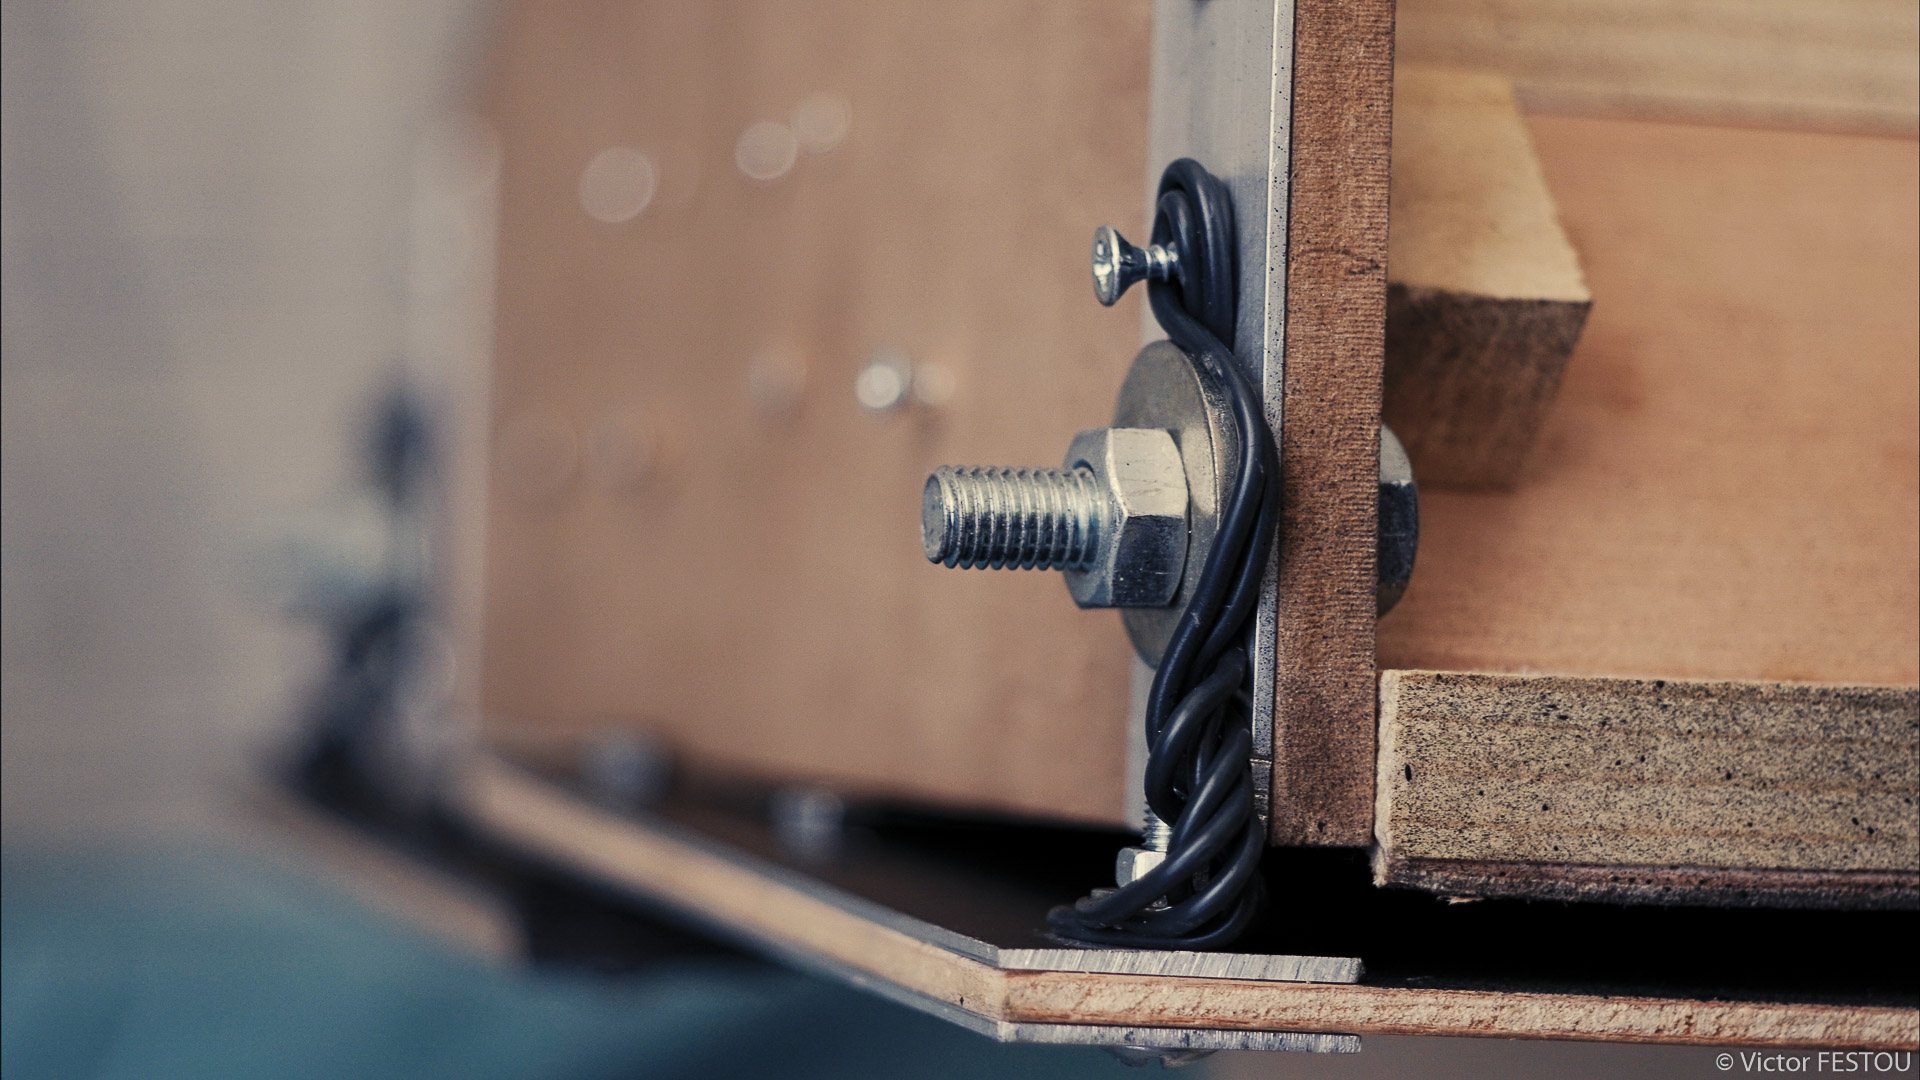
Once the frame was finished, it was time to do the wiring. Care was taken to respect the wiring diagram but it was not really hard. These ballasts have it printed on the top, so it was just following the instructions
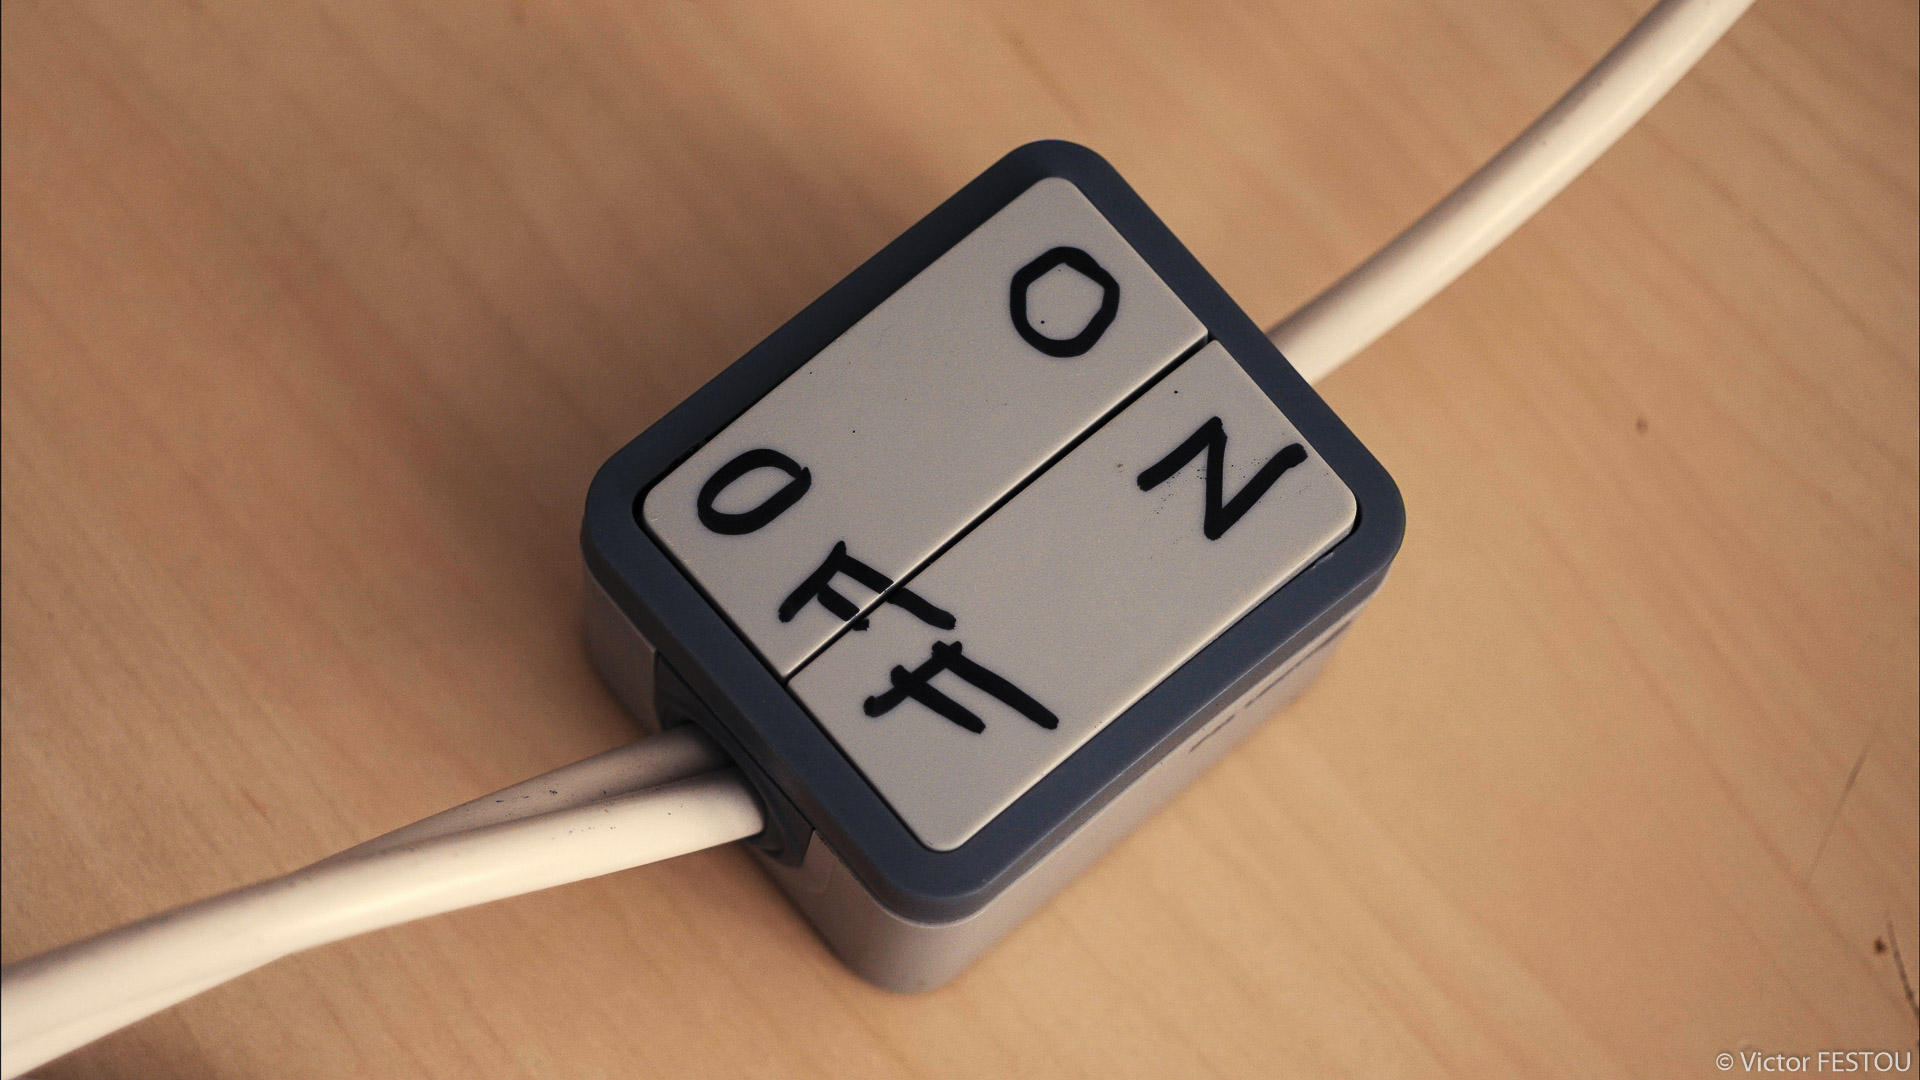
I’ve left 3m of cable between the ballast on the light and the switch so that it can still be accessible even if the light is on the ceiling or high up in the air.


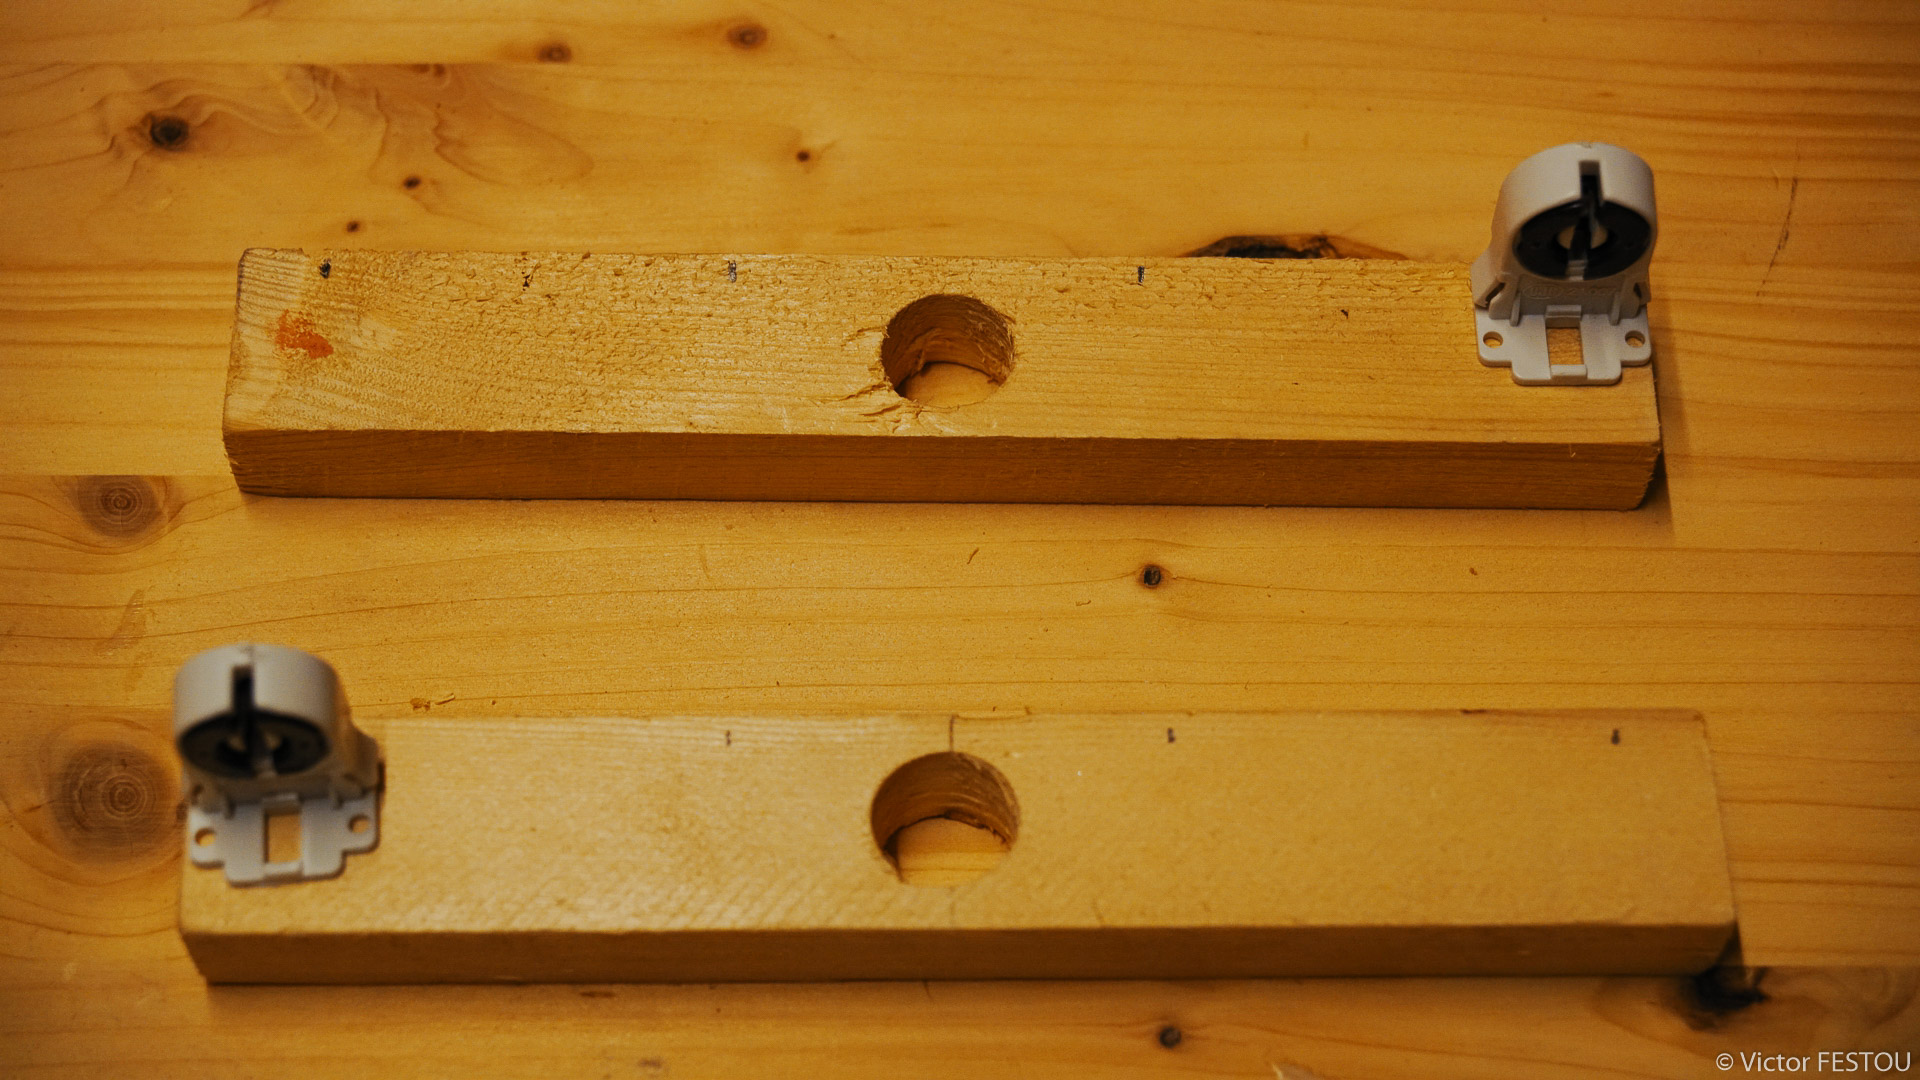
The tubes used were Philips Graphica TL-D 90 as seen below, they have a very high CRI of 98 and a 5300K color temperature. Each produce 1800lm at 1m for 36W. For use in interiors or mixing with incandescent and tungsten lights, I’ll also buy 3200k tubes.

THE RESULT?
This worked way better than I thought it would initially. Now to see if it passes the test of time and shooting conditions, but I’m confident in its construction. The light, even without additionnal diffusion is already really soft. The 5300k color temperature helps produce a slightly warmer tone to the skin tones, which is helpful.

The total cost was about 120$ even a few hours of work. Even it the tubes are delicates, they don’t cost that much, especially compared to Kino-flo ones! 4 tubes at 1800lm, plus the help of the reflector make it a quite powerful light, easily usable as a keylight.
The real Kino-flo still has a lot of advantages. It’s less massive (well I’m sure I could have built a smaller frame, especially the edge of the reflectors which are wasted) and weighs less (a Kino-Flo with it’s ballast weights 7,2kgn while mine is 8,5kgs)
Once I have the opportunity to test it on a real shoot I’ll make new posts about it. I think I’ll add diffusion at the edge of the barndoor to create en even softer light.