
Reviews of existing systems and dIY solutions
The second part on rain covers, introducing the problems with fabric camera covers and presenting two DIY cover ideas.
As always, a full list of the articles in this blog can be found HERE.
Problem with previous raincover
I presented in the first article of this series a raincover with weatherproof fabric. Despite correct performances during short rain showers of weak intensity, I had expressed reservations on the effectiveness in adverse conditions by the lack of waterproof seams (either by welding or adhesive tape). I was right as this summer, during very short but intense storms, the water pressure soaked the fabric and allowed water to seep into the joints, after being exposed only about ten minutes.
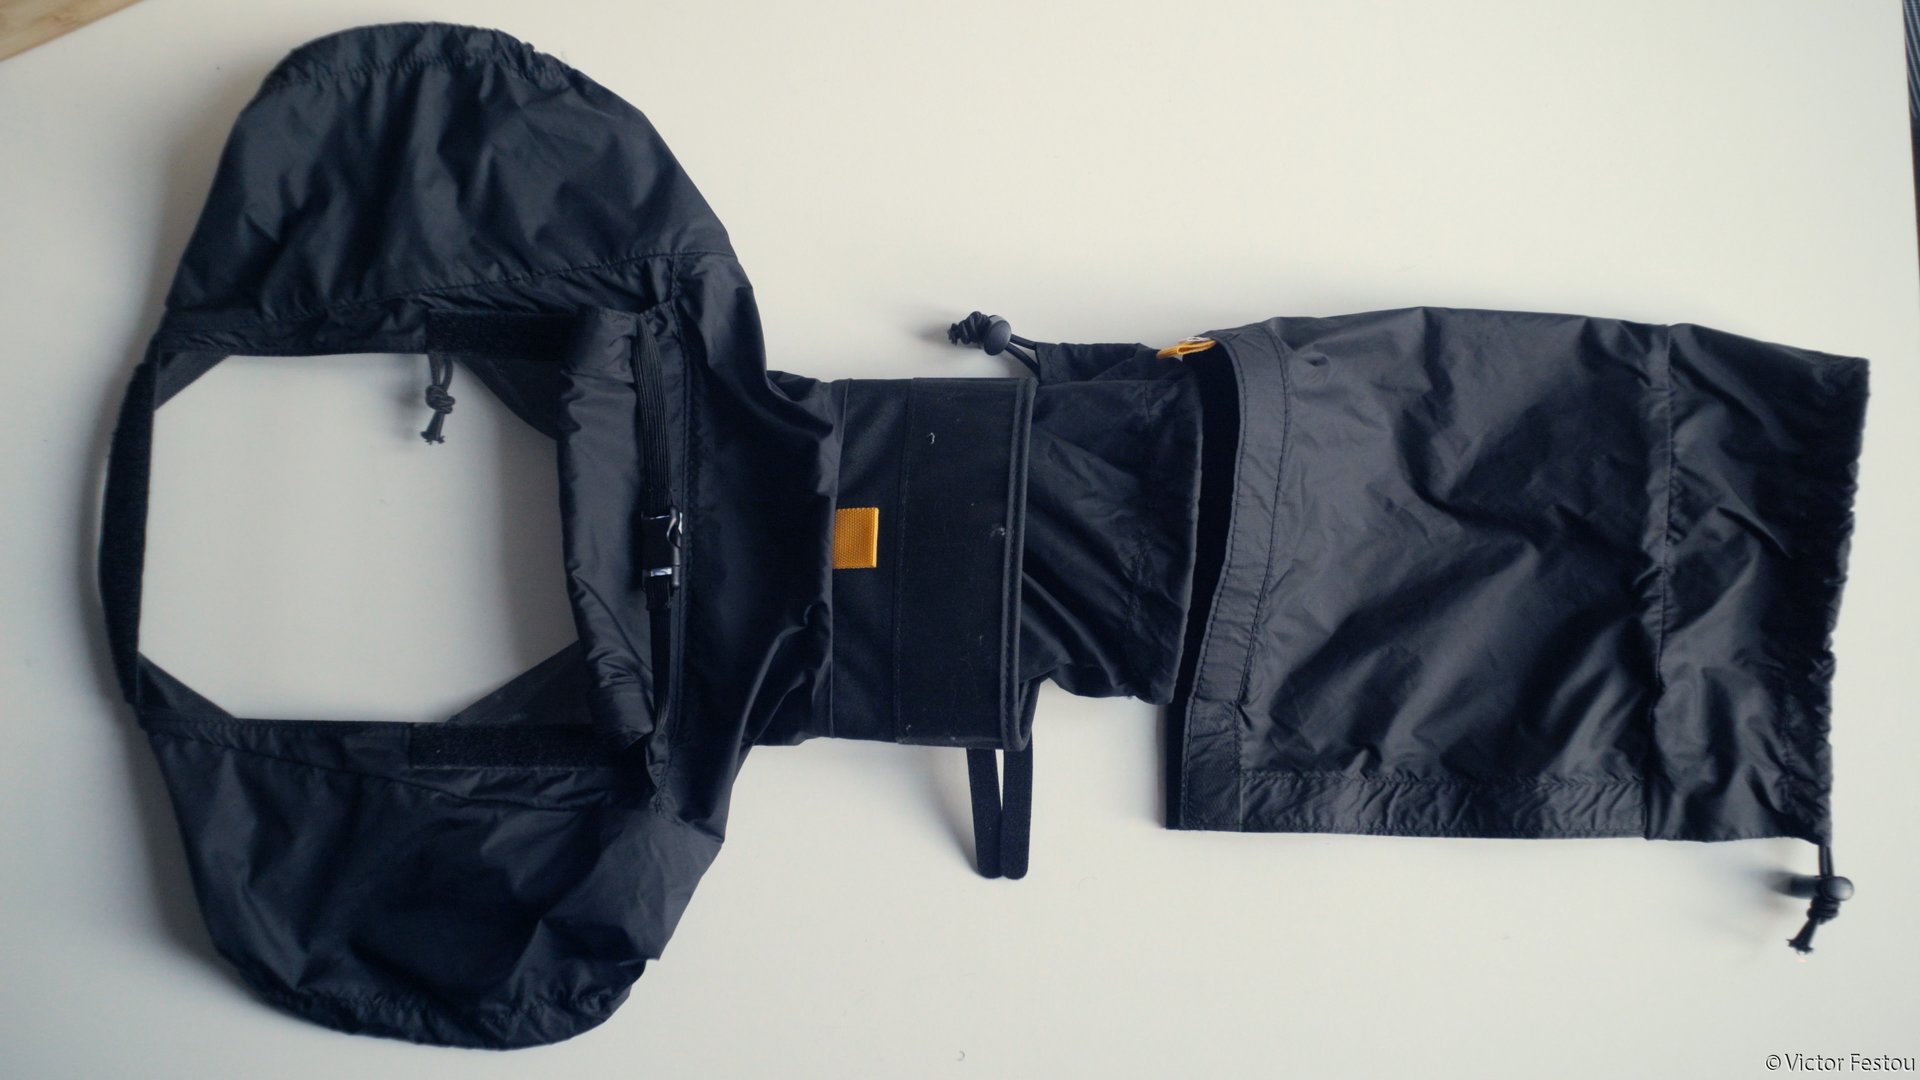
It would be possible to solve this problem with sealants for tents applied by brush, but the construction of the cover does not make the application easy and contains several unreachable areas (seams reinforced by grosgrain ribbon).
I fell back on emergency solutions that I had bought just in case, simple plastic films like those from the Op-tech brand. They have the advantage of being very inexpensive, being easily foldable and being easily stored into any pocket, so you can always have one on you.
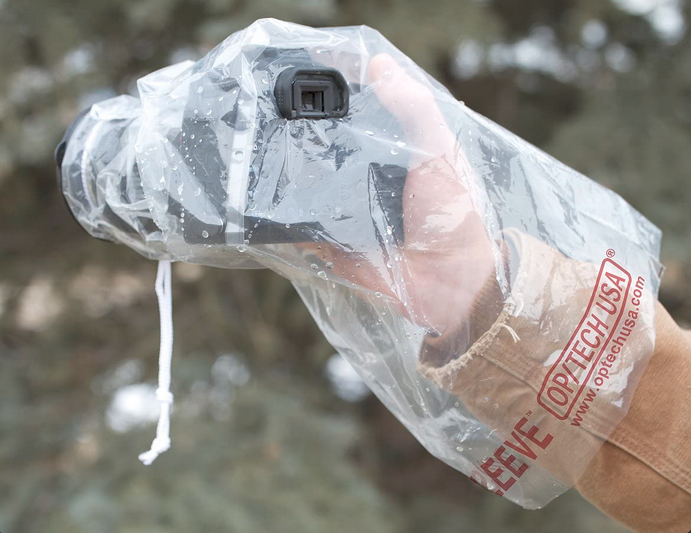
They consist of a plastic film tube, with a cord at the end to tighten it around the lens hood. Unlike an impregnated fabric which only resists a certain pressure (water column), the plastic film will be completely waterproof as long as it is not pierced. Its transparency also makes it easy to see the camera and lens controls.
However, these protections are not optimal. First of all, an opening is provided to pass the eyecup of the device, but I do not believe that the ones of the a7r2 or a7s2 are water resistant. Without a seal, this window is also a possible entry point for water which will then run off onto the rest of the camera. The cover has also been designed for use with autofocus lenses controlled by the housing. As soon as a good size manual optic is mounted on the camera, it becomes very difficult to pass a hand under the lens to reach the focusing or iris rings.
Minimalist rain cover
So I chose to create a solution for myself by again using translucent shower curtain pieces tailored to the following needs:
- effectively protect against rain without relying on a membrane or seams,
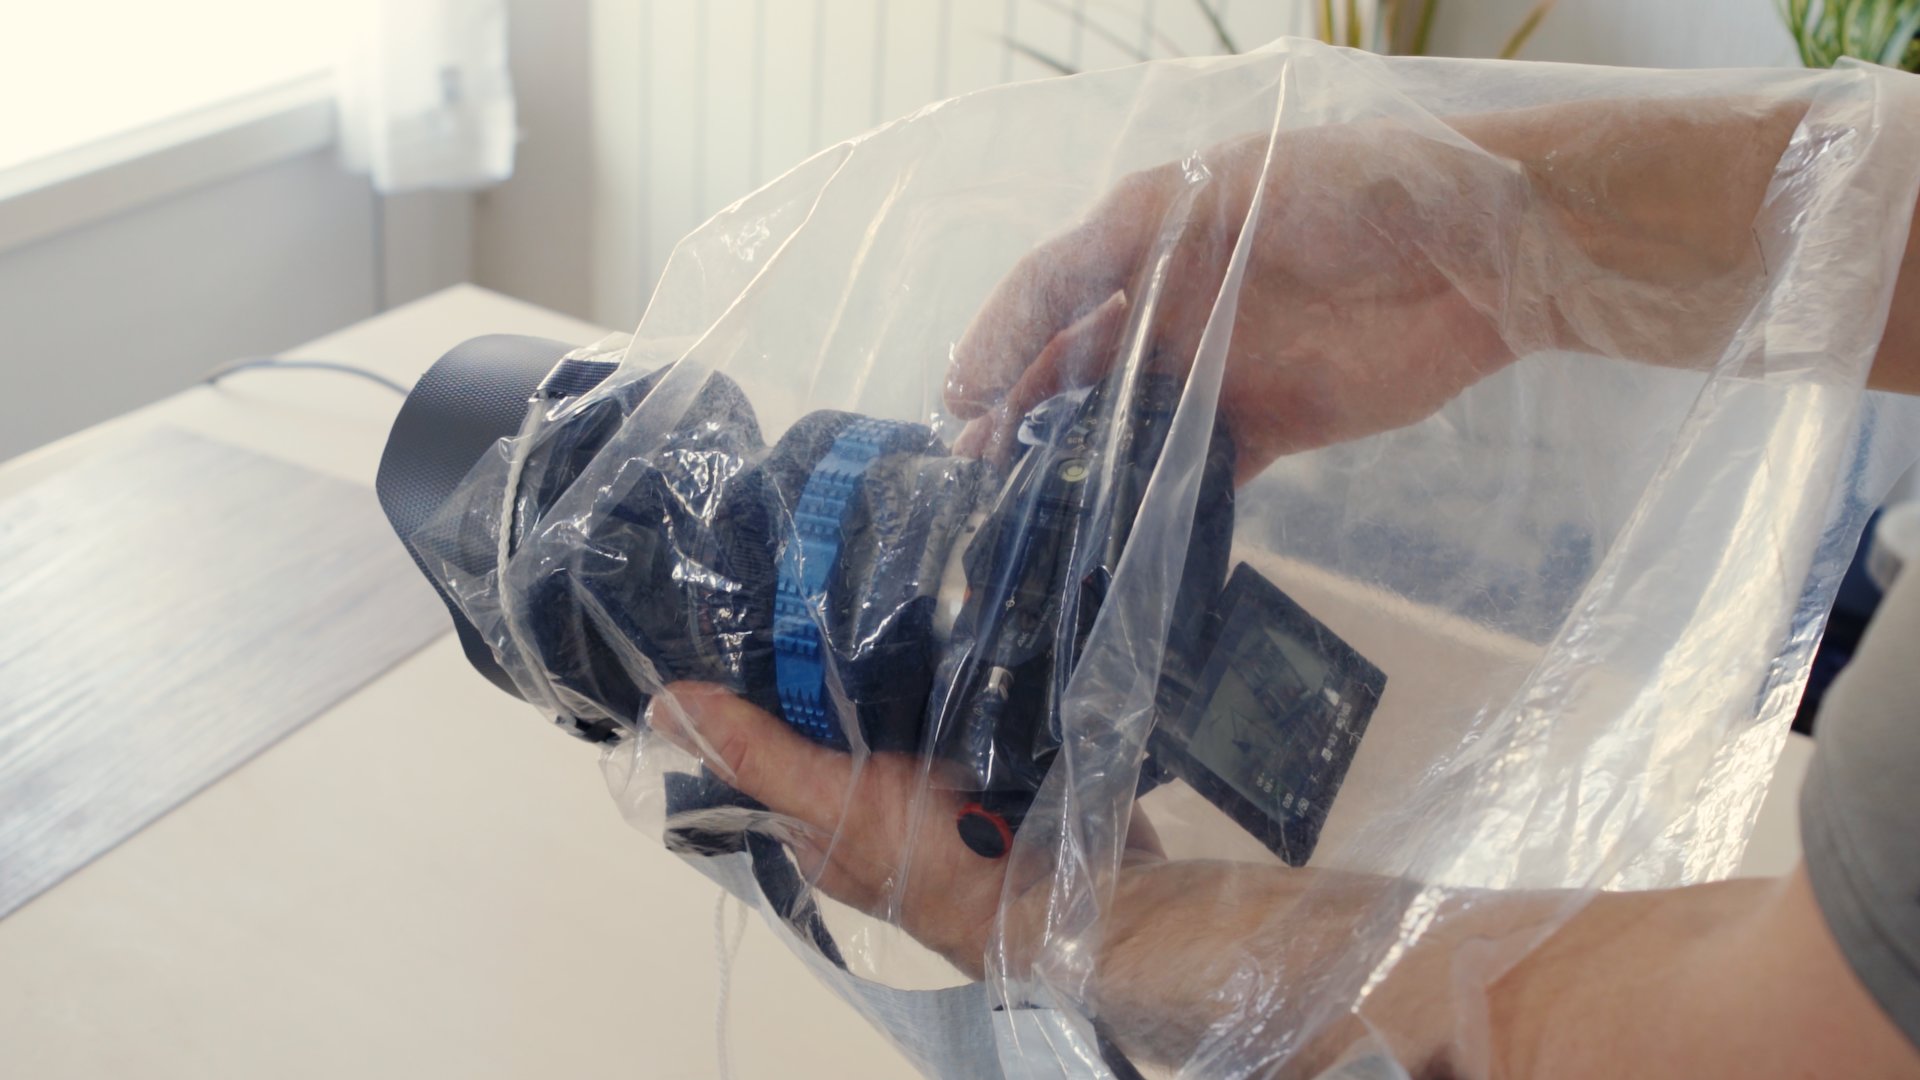
- allow easy access to all camera controls and lenses, regardless of size
- enable good visibility to the camera screen and settings
- be simple and inexpensive to create,
- be relatively durable
I took the idea of the minimalist protection presented in part 1 but with more generous dimensions to accommodate longer and larger optics.
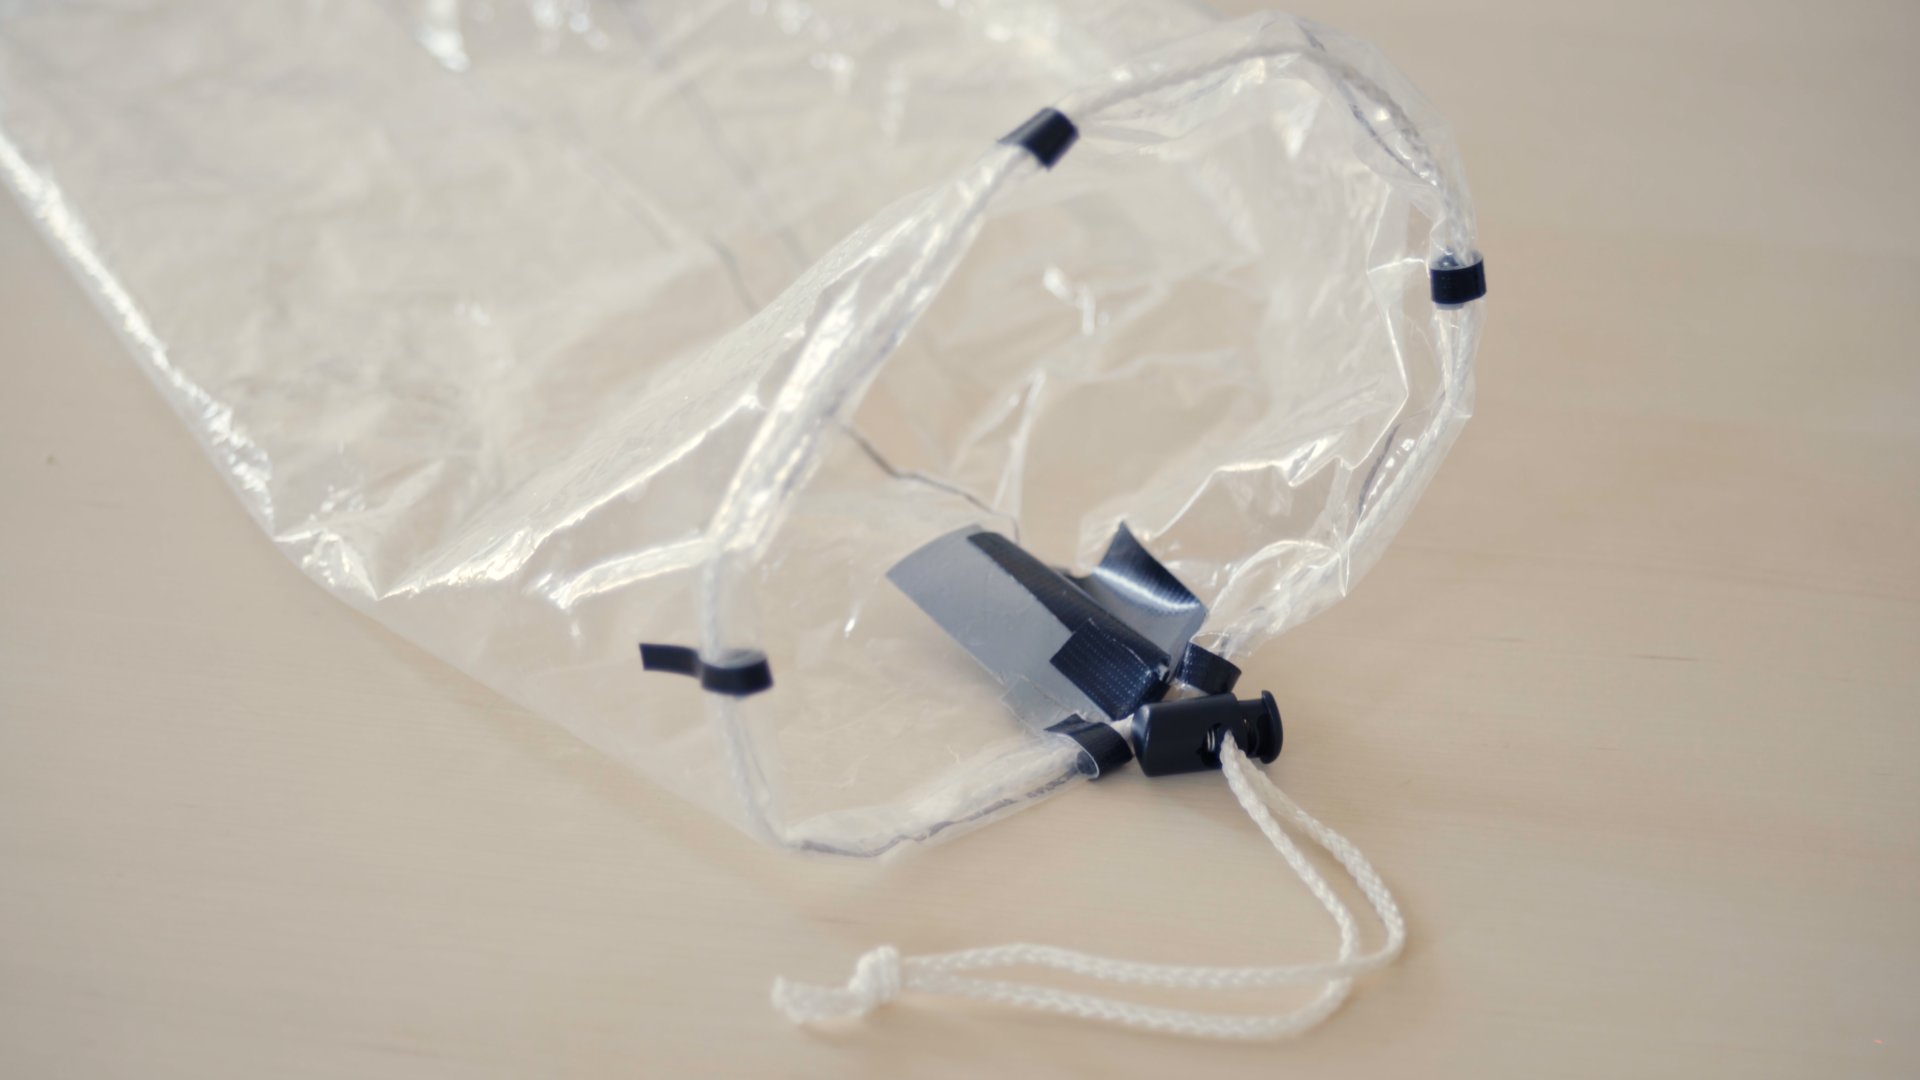
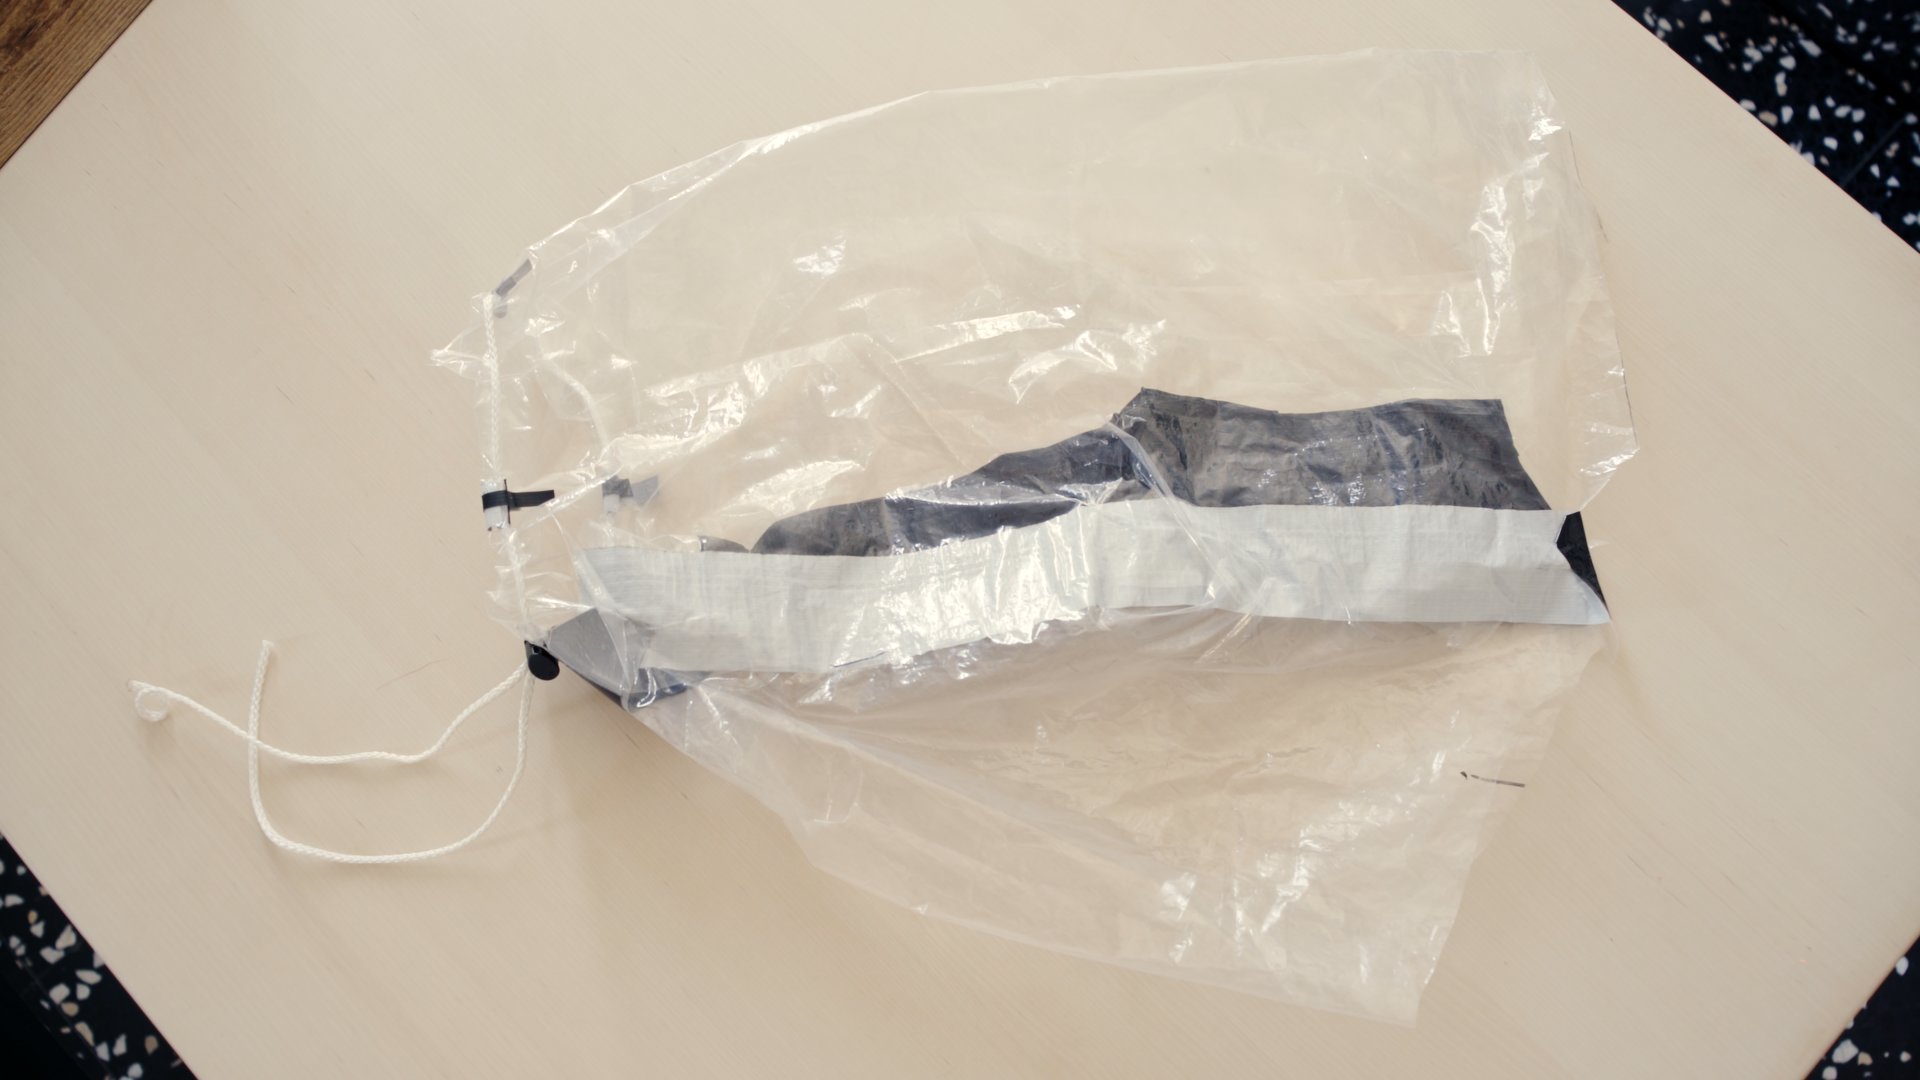
I first cut a rectangle of 42 x 48 cms in a transparent shower curtain. I found a plastic cord and immobilized it first by a hem with the plastic film. I made a first thin tie with a piece of gaffer tape while checking that the cord was still free to slip.
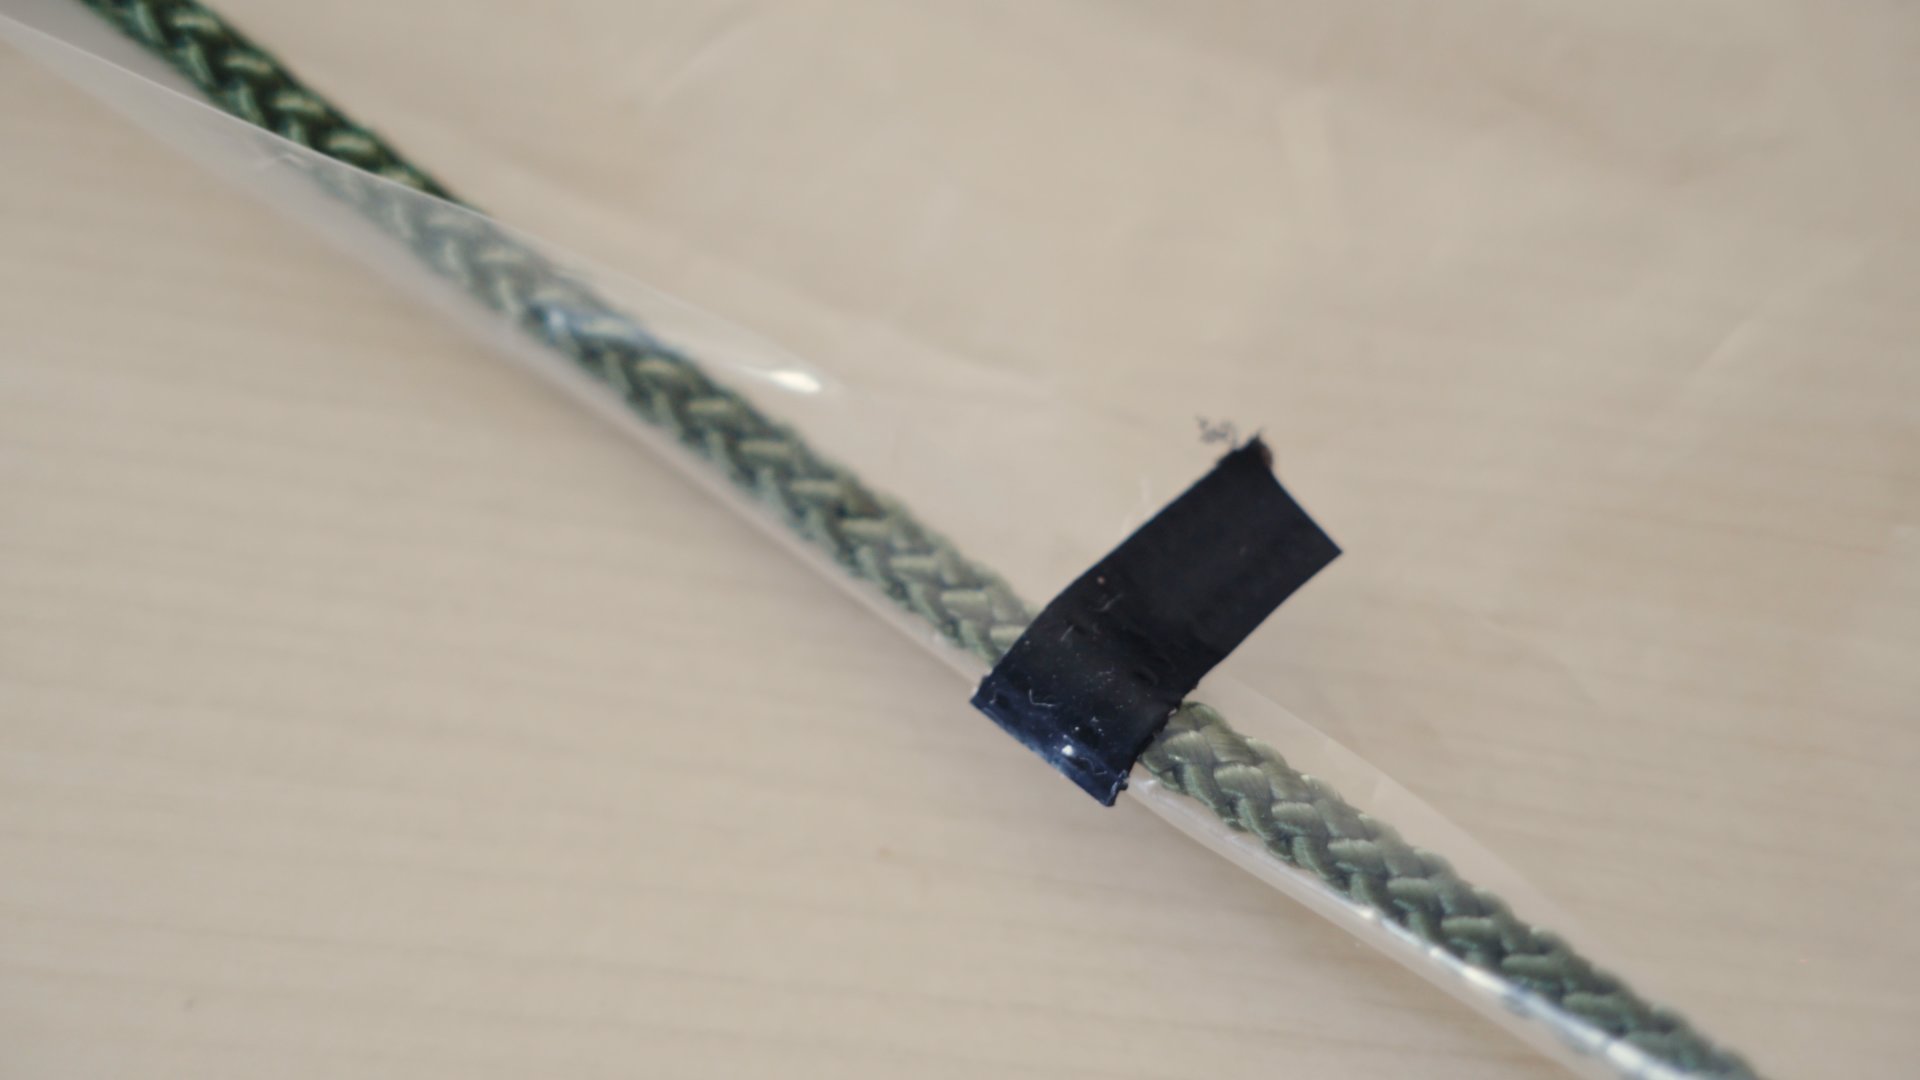
I then continued wrapping the hem around the rope until I had done about two full wraps, then applied a strip of weatherproof tape (Gorilla Tape in my case) to secure it.
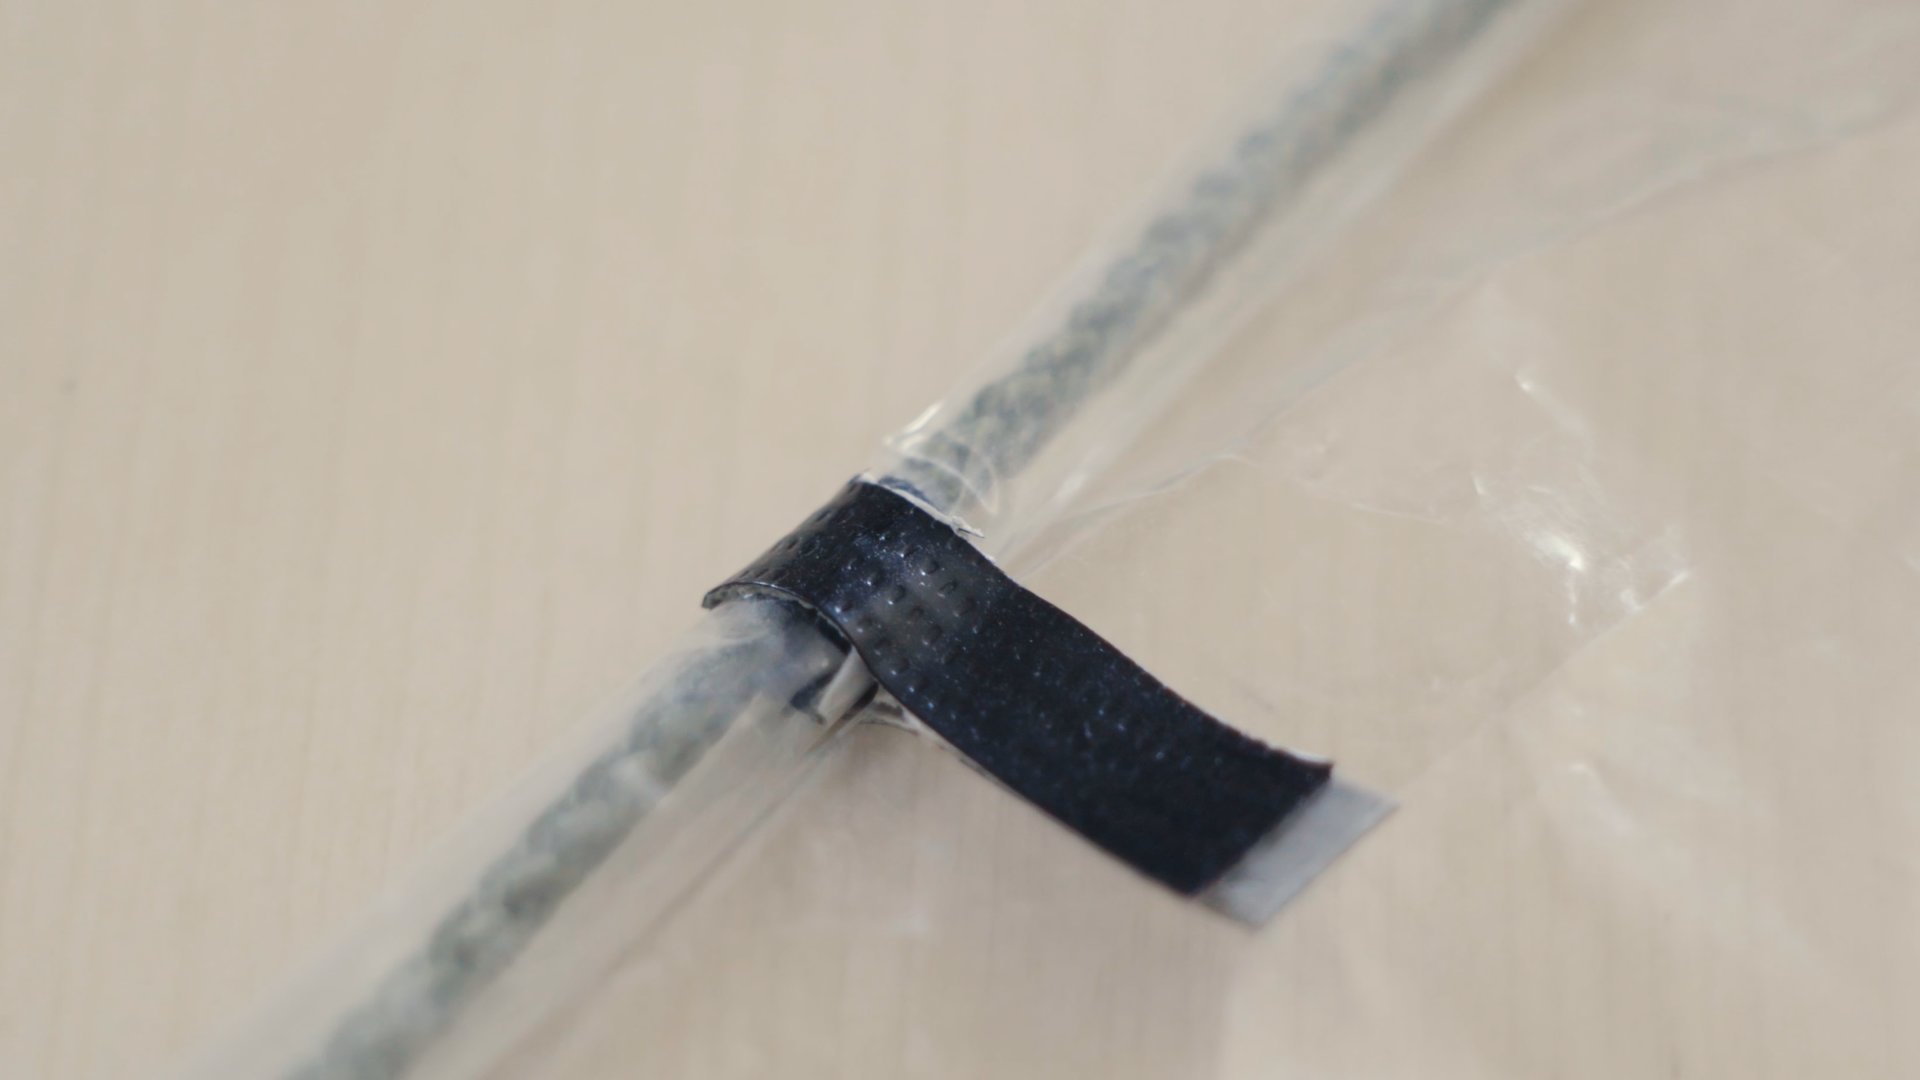
I made 5 ties in this way along the rectangle, before joining the two sides and forming a tube. I chose to close the tube only along 6-8cms, in order to keep easy access to the lens from below. This also allows you to put it on more quickly and easily, and limits condensation by letting more air circulate.
Taking the idea from above, I made a second fully closed cover. To allow easy handling and reach every control of the camera or the lens, I joined two pieces of plastic film to create a wide, conical-shaped interior space, capable of receiving accessories such as a 5″ monitor for example.
Full rain cover
Taking the idea from above, I made a second fully closed cover. To allow easy handling and reach every control of the camera or the lens, I joined two pieces of plastic film to create a wide, conical-shaped interior space, capable of receiving accessories such as a 5″ monitor for example.
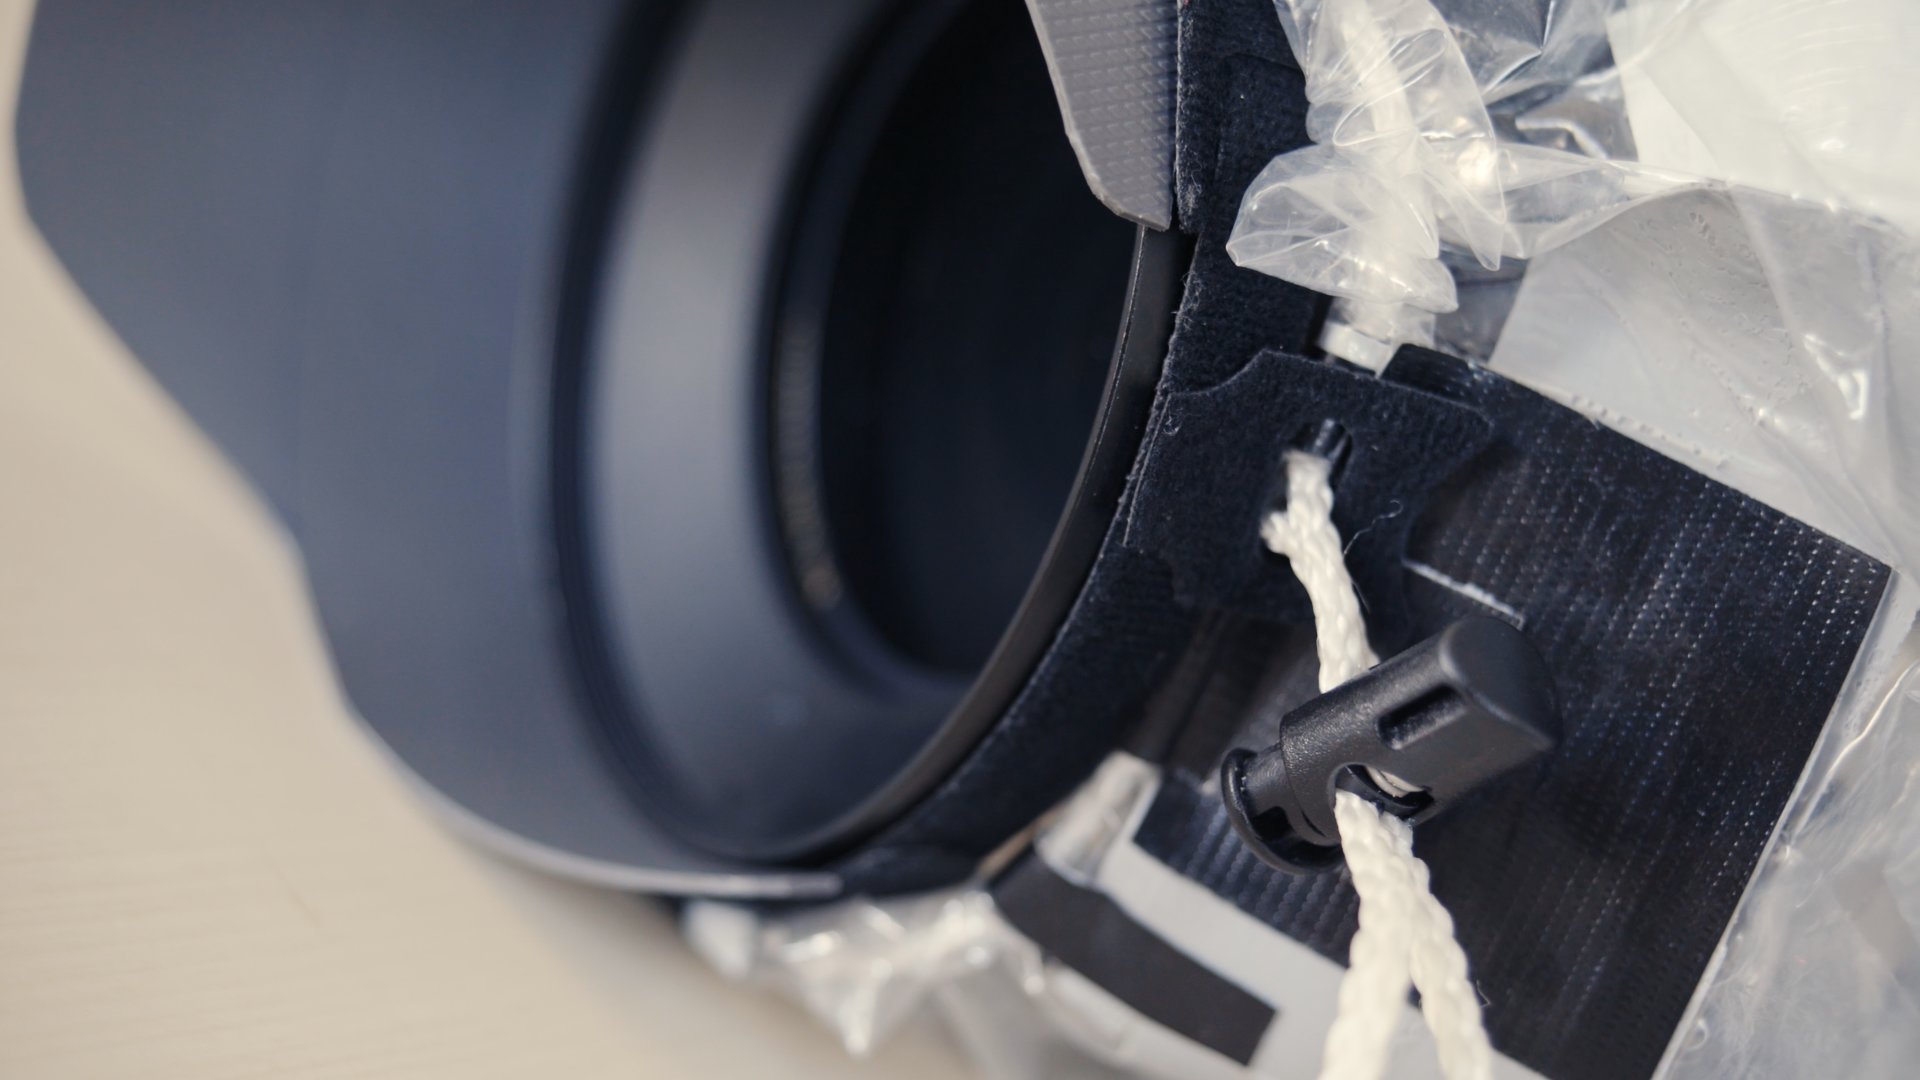
I also added a small piece of velcro on the cord, which attaches to the lens hood retaining ring (presented in part I) and prevents the protection from slipping in front of the lens or coming off.
Rolled up, thesecovers can fit anywhere and take up almost no space.