
3 solutions for 3 different scenarios
I’m going to present here the different rain protection items that I use for my cameras, whether I use them handheld or on a rig.
When it rains or there is risks of water spraying onto the equipment, I’m of the mentality of keeping it as dry as possible, as this is the gear that I work with and I don’t have the funds to replace it if it’s damaged.
Another fact to keep in mind is that no manufacturer will honor the guarantee of the camera for water damage, even if it is weatherproof or advertised as such, so better take no chances.
As always, a full list of the articles in this blog can be found HERE.
Introduction
Sony cameras aren’t known for their weatherproofing, as most doors and joints aren’t well sealed. The third generation of their mirrorless had great improvements on that front, at least from water coming from the top of the camera (as the battery door isn’t sealed and water can still infiltrate on the insides by capillary action).
As I mainly use second generation cameras (a7r2 and a7s2), I don’t have the luxury of these enhancements.
The situation is made more complicated with the use of vintage glass, which seldom offer any weather resistance. There are no rubber gaskets on the mounts, retractable parts or seams. If water were to get onto the lens elements, it could potentially cloud them and ruin the image quality.
Furthermore, the use of accessories like external recorders requires to leave the port covers of the camera open, allowing another point of entry for liquids.
With all this in mind, let’s take a look at what I use to protect my gear. I don’t claim them to be the best, but I just wanted to share them what works for me, and for the advantages and disadvantages of each one.
Standard photo rain protection gear
Use
2022 Update: the seams are not sealed, this protection is therefore only suitable for occasional light rain showers. I present other alternatives in part II of this article HERE
This is the first rain protectiong gear that I but when I knew I will be travelling to Iceland during midseason. Expecting mixed weather and shooting under waterfalls, I searched on the internet what models were available. I chose this one, which seemed to have a nice balance of quality, features and price. This is not from a known manufacturer, but is not the cheapest item you can find (I bought it for ~30$).
For the moment it has satisfied my needs, and I never found any water on the camera even after a good hour under continuous rain.
I didn’t go for a model with an opening to pass the viewfinder through, as I don’t think the a7r2 LCD would have like the rain and the added possibility of water ingress if the seal wasn’t good.
The protection is composed of two pieces: a main one where the camera and a medium length lens fit and an extension for telephoto and long lenses which attach to the first one with Velcro.
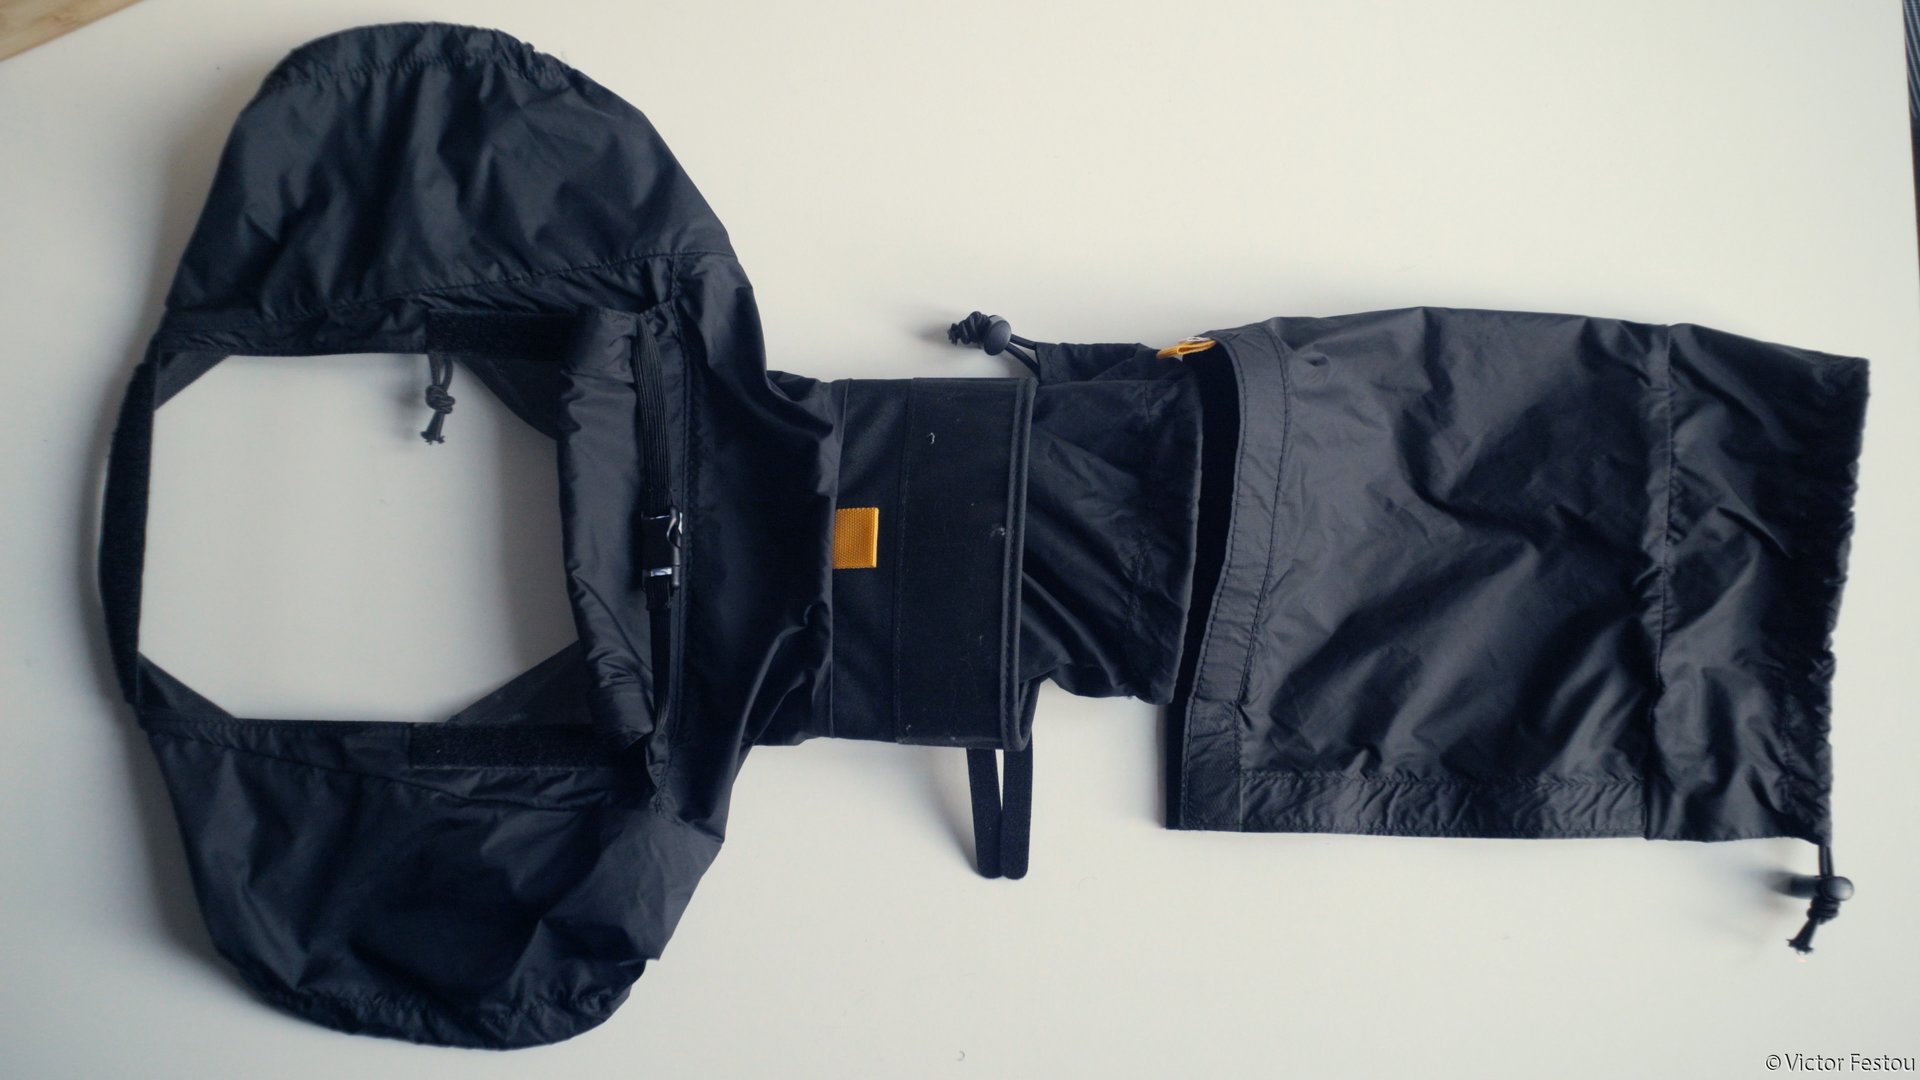
The seams are reinforced but are not sealed with waterproof tape. A really long exposure to rain might let water seep through.
The plastic transparent window is big enough to see all the camera controls and should even allow a small 5″ monitor to fit.
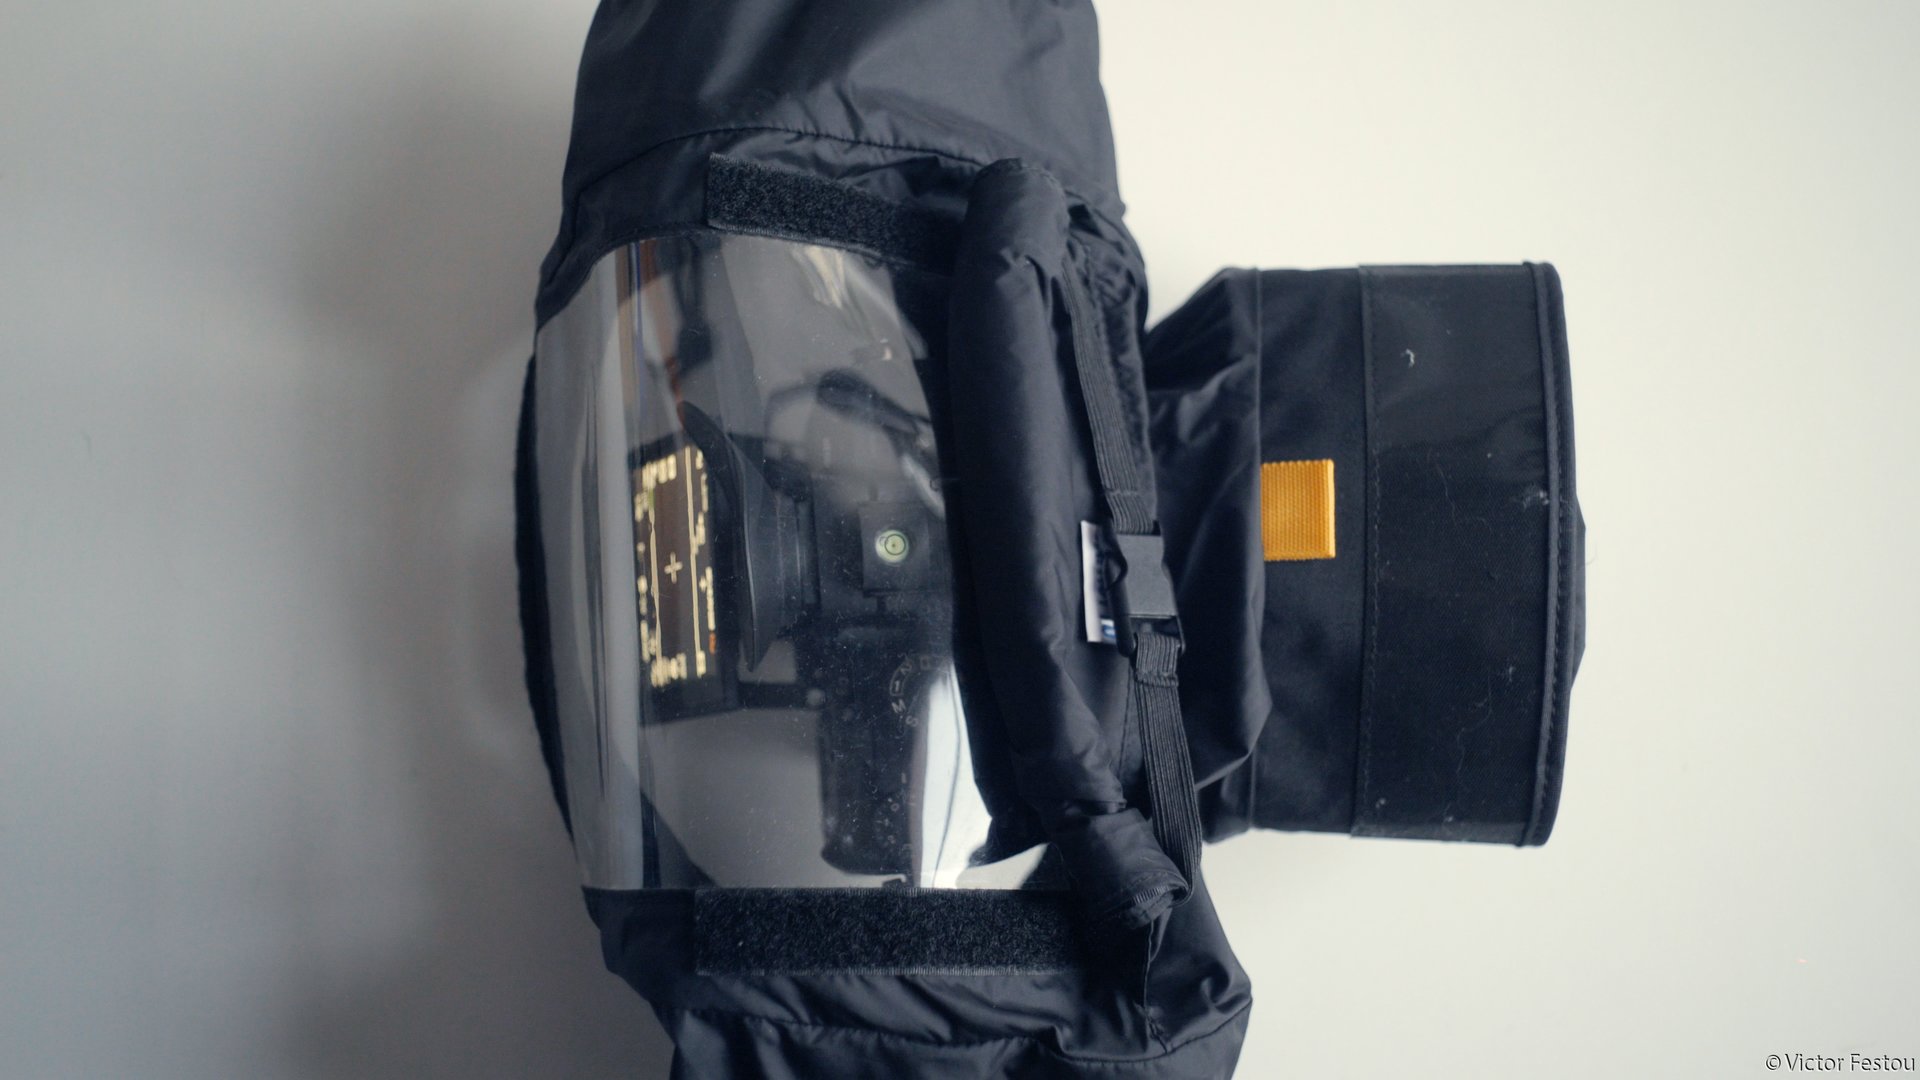
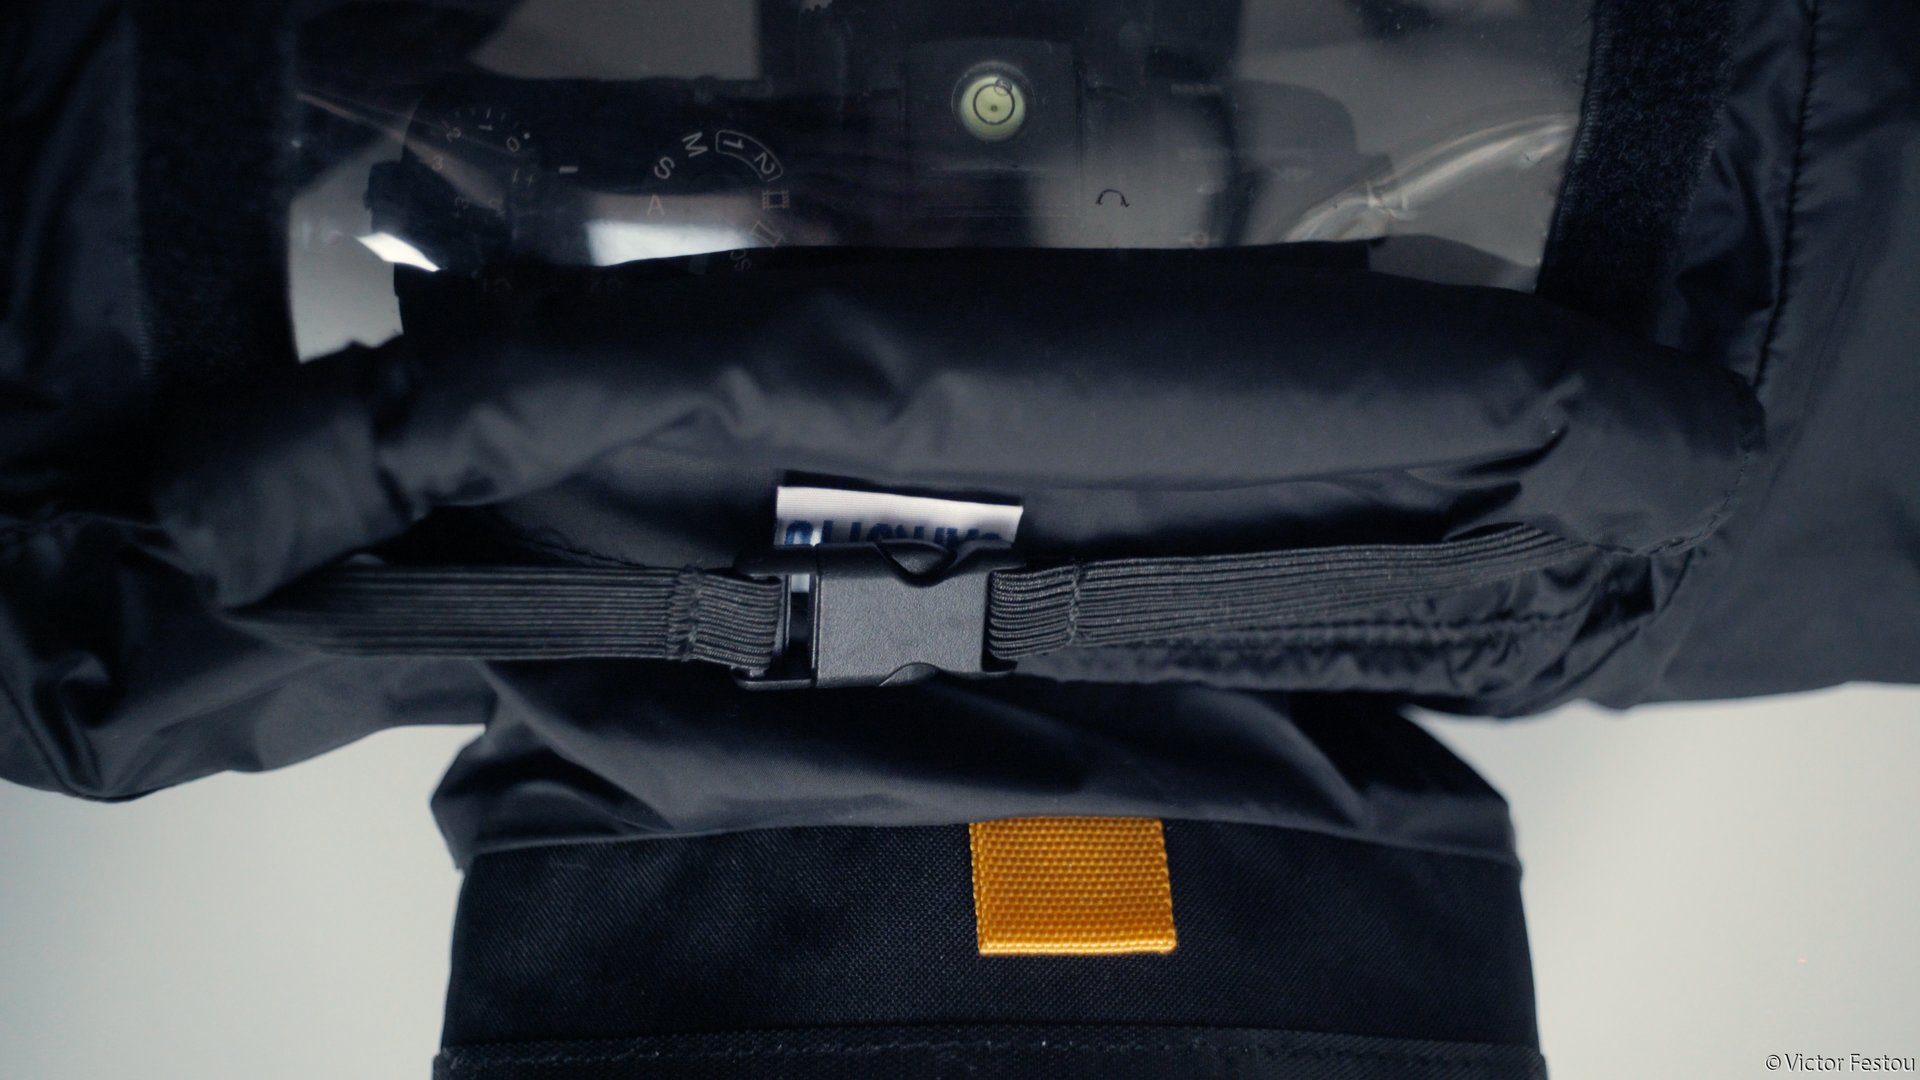
A cloth shutter can cover it completely by attaching to the velcro bands on each side. I don’t really see what the use case is so I keep it rolled up. Two elastic bands and a plastic buckle can secure it at the top for this purpose.
The sleeves aren’t too tight or too long even with small gloves. Elastic cords with a toggle can close or tighten each sleeve if need be.
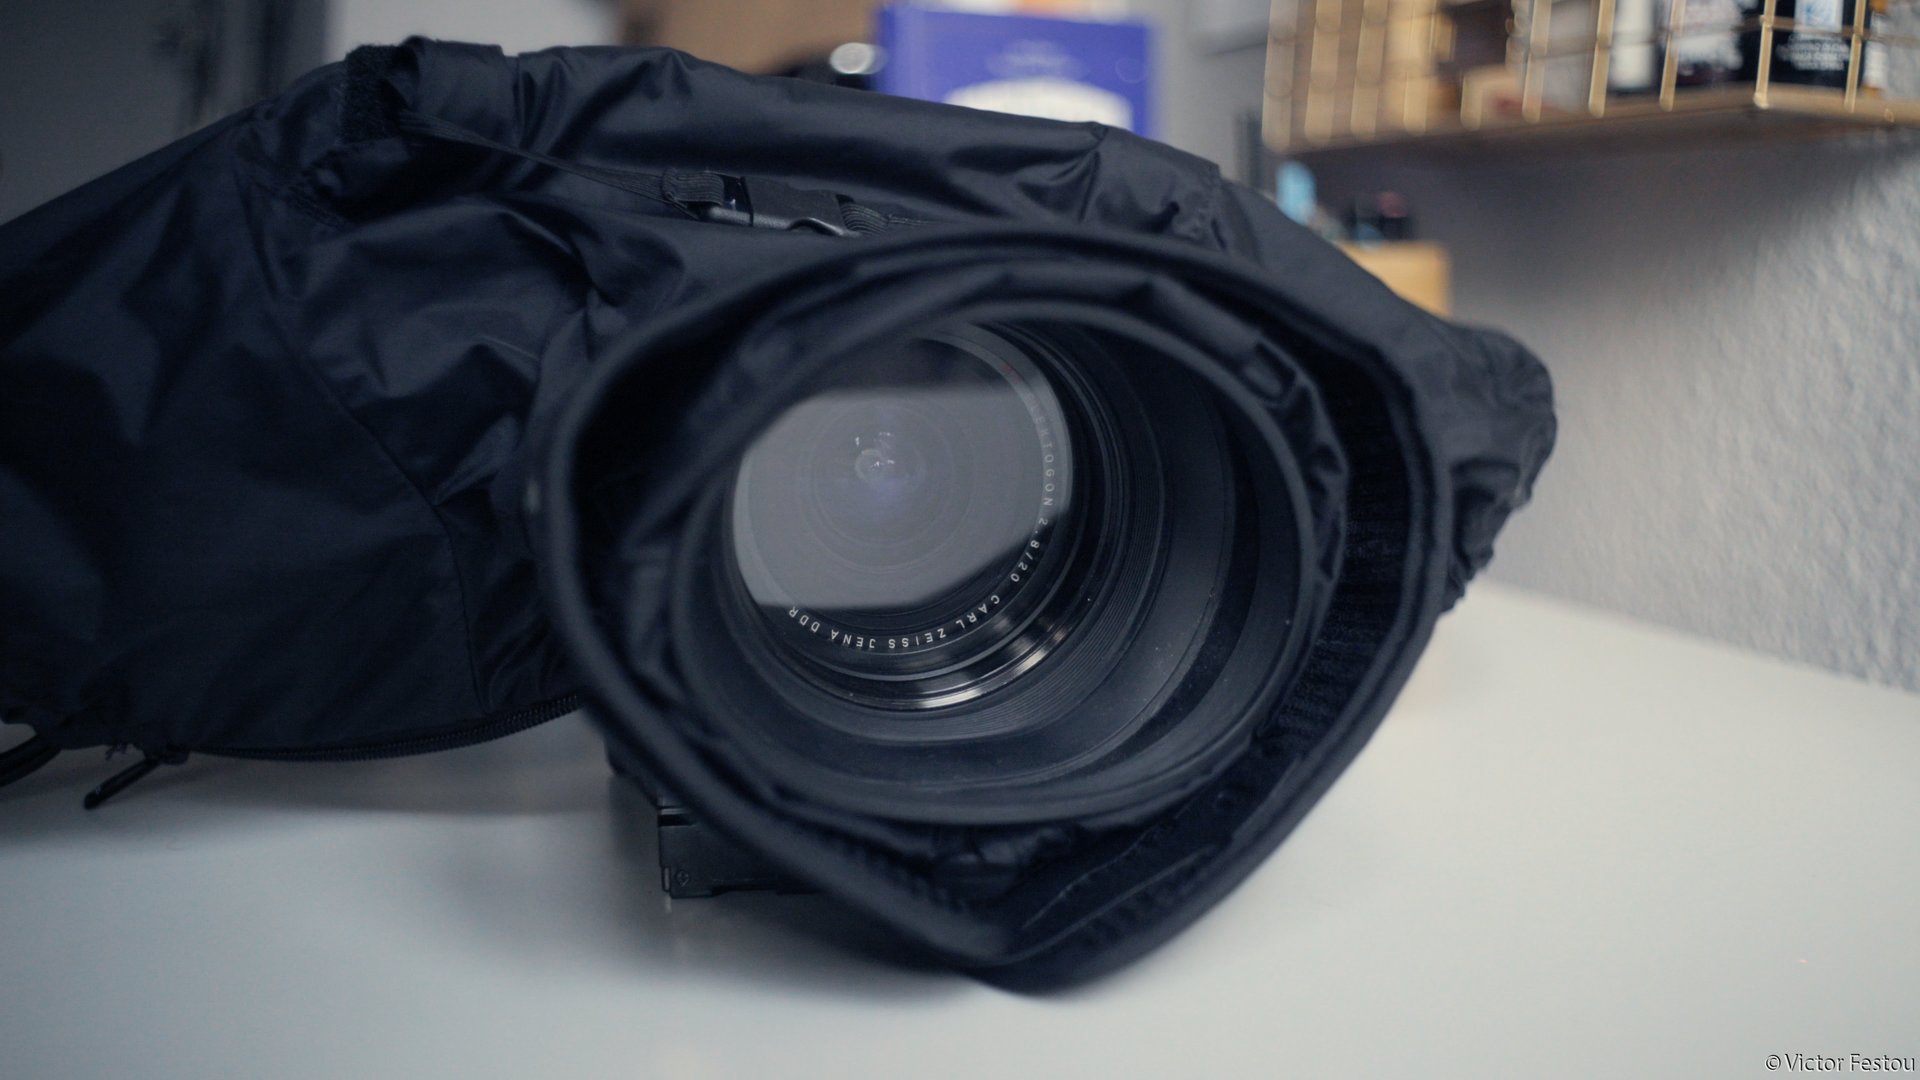
The camera is slipped through an opening at the bottom, which as a zipper and a pull tab on each side, allowing to close it over a ballhead or tripod. This way, it’s protected even from splashes coming from below, making it suited for use on the beach for example. I kept it open in Iceland, as with the cold weather and humidity, the warmth of my hand created a lot of condensation and clouded the window.
On the lens side, the protection is tightened on the hood or the barrel of the lens with another elastic cord and a toggle.
A semi-rigid flap can also be tightened around the front or serve as a makeshift hood. This is also where the extension is attached with a Velcro band.
The extension features the same elastic cord to tighten it, but is also opened on the bottom to ease getting it on and off. It can be closed with Velcro.
Observations
If the protection can be a bit laborious to put on, as you have to squeeze the lens through its sleeve, it is well protected from all directions.
Depending on the weather conditions, there can be condensation if it’s entirely closed.
Another downside is that even folded it takes a bit of space, as the semi-rigid plastic window could be damaged if bent too much. It will fit easily in a backpack but not in a sling bag or pouch.
I have quite big hands and accessing the lens focus or aperture ring can be difficult if the lens is large.
Considering this, I tried to find an easier to protect my camera on casual strolls:
Minimalist rain cover
Use
2022 Update: the seams are not sealed, this protection is therefore only suitable for occasional light rain showers. I present other alternatives in part II of this article HERE
I use adapter rings on all my lenses to have a unified 77mm filter thread. All my accessories and filters can then be easily swapped between all my collection. One of these is a rubber adjustable hood found on Aliexpress. It can be shrunk or extended to prevent vignetting depending on the focal length.


Avant: Pare-soleil retracté | Après: Pare-soleil allongé
I realized that the extension of the standard rain protection fitted over the hood perfectly and tadaaa: a simple and really compact way to protect my camera.

The magnetic hood for the rear LCD also helped keep the protection out of the way while protecting it from raindrops (blog post on this lcd protector here ). here).
Observations
This is the one I use the most as I can fit it in any pouch or bag. The rubber is often already on the camera so putting the protection on is a matter of seconds.
If I have to stay a long time under the rain I will swap it out for the one presented above but for casual use or emergencies I haven’t found an easier and quicker way.
A disadvantage is that while the protection is large enough to cover the camera with a medium sized lens, it will be too short for a telephoto. Water splashes can also be a problem as the bottom is still exposed to the elements.
Another problem is that rain droplets will impact the bottom of the rubber hood and spray water on the bottom of the lens front element.
Video rig rain protection
Use and design
If it’s possible to take photos with just a camera and a lens, in video accessories can make a setup bulky, just by the addition of a follow-focus and external recorder for example. Photo rain protection gear becomes too small and cramped, needing another solution.
While prepping for a trip to Norway during autumn with the idea of shooting a short documentary, we decided to make our own rain protections with some impregnated cloth held on a metal wire frame with gaffer tape, expecting adverse weather.
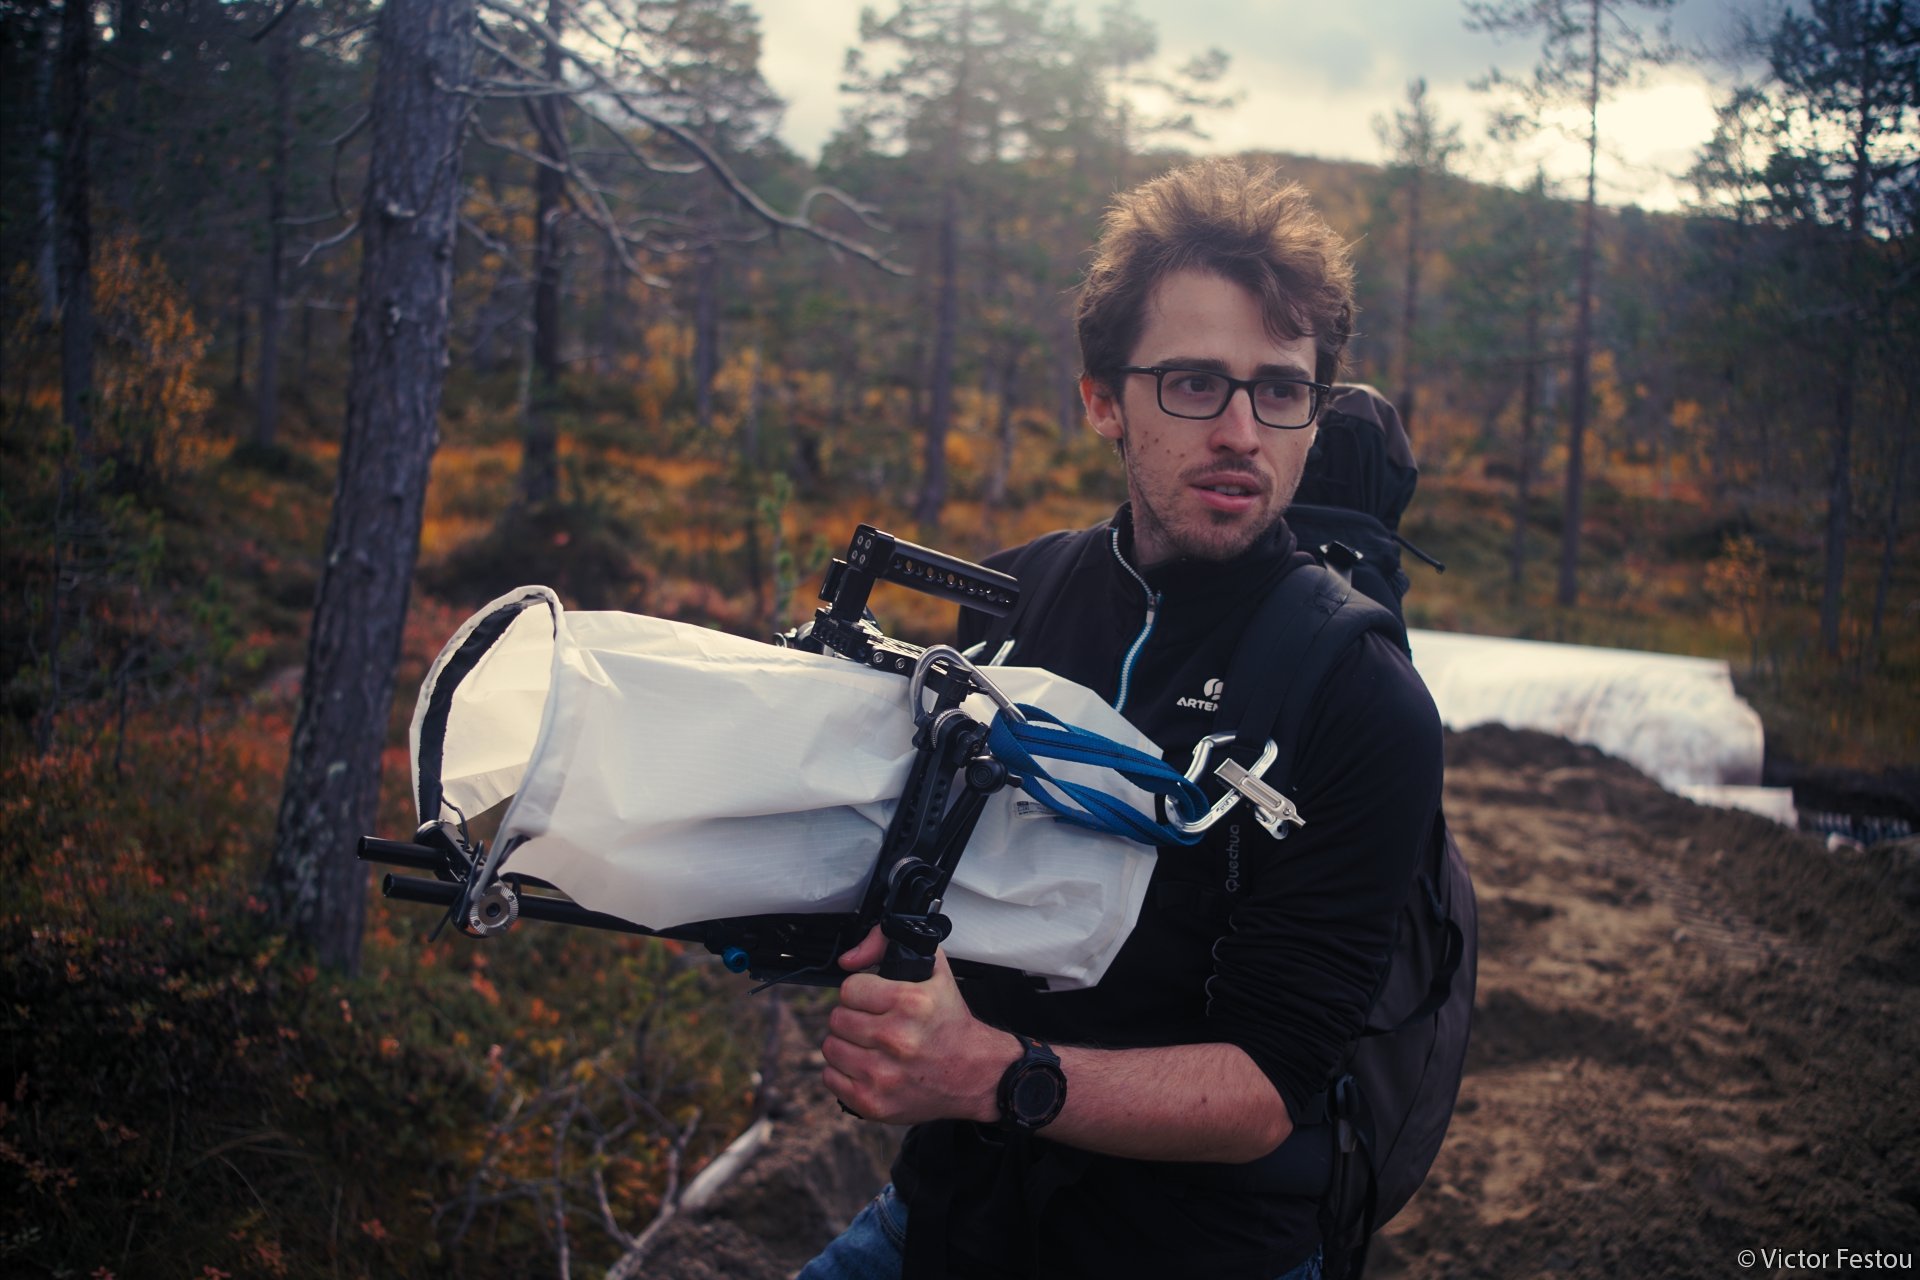
The idea was good and the cameras were well protected even with oblique rain and high winds, but they were a few shortcomings:
- The opaque cloth preventing from seeing the settings and complicated the operation of the cameras.
- There wasn’t enough material on the follow focus side which left it unprotected.
- The length of the protection wasn’t adjustable and was awkward to use with short lenses. We had to bend the wire to make it shorter.
- The back had no wire support so the cloth fell on the LCD and obstructed the view. We used clamps to hold it out of the way but it made the back less protected.
- While moving the camera, the front of the lens was open to the elements. In very windy conditions, it could get wet in seconds so we had to juggle to keep the camera sideways from the wind and protected.
- The wind was strong enough to push the protection in front of the lens, making it visible in the shots.
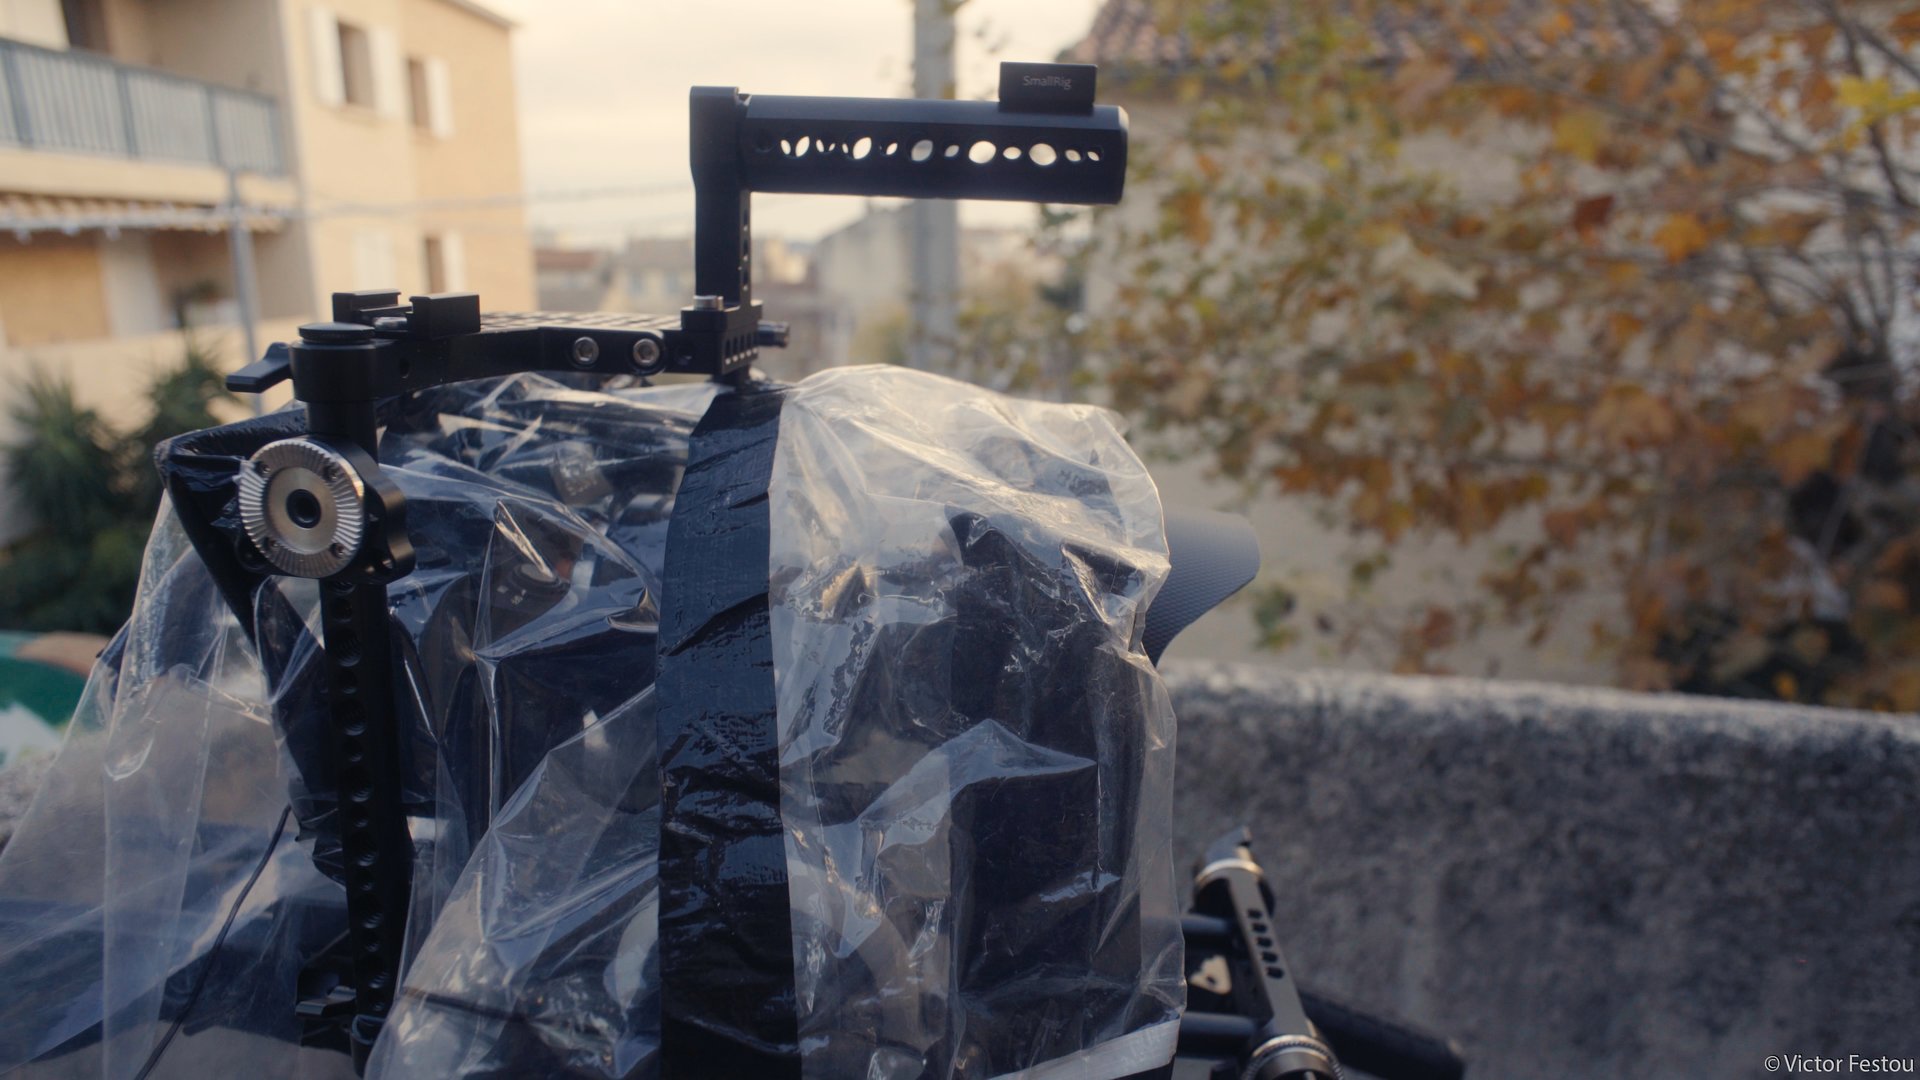
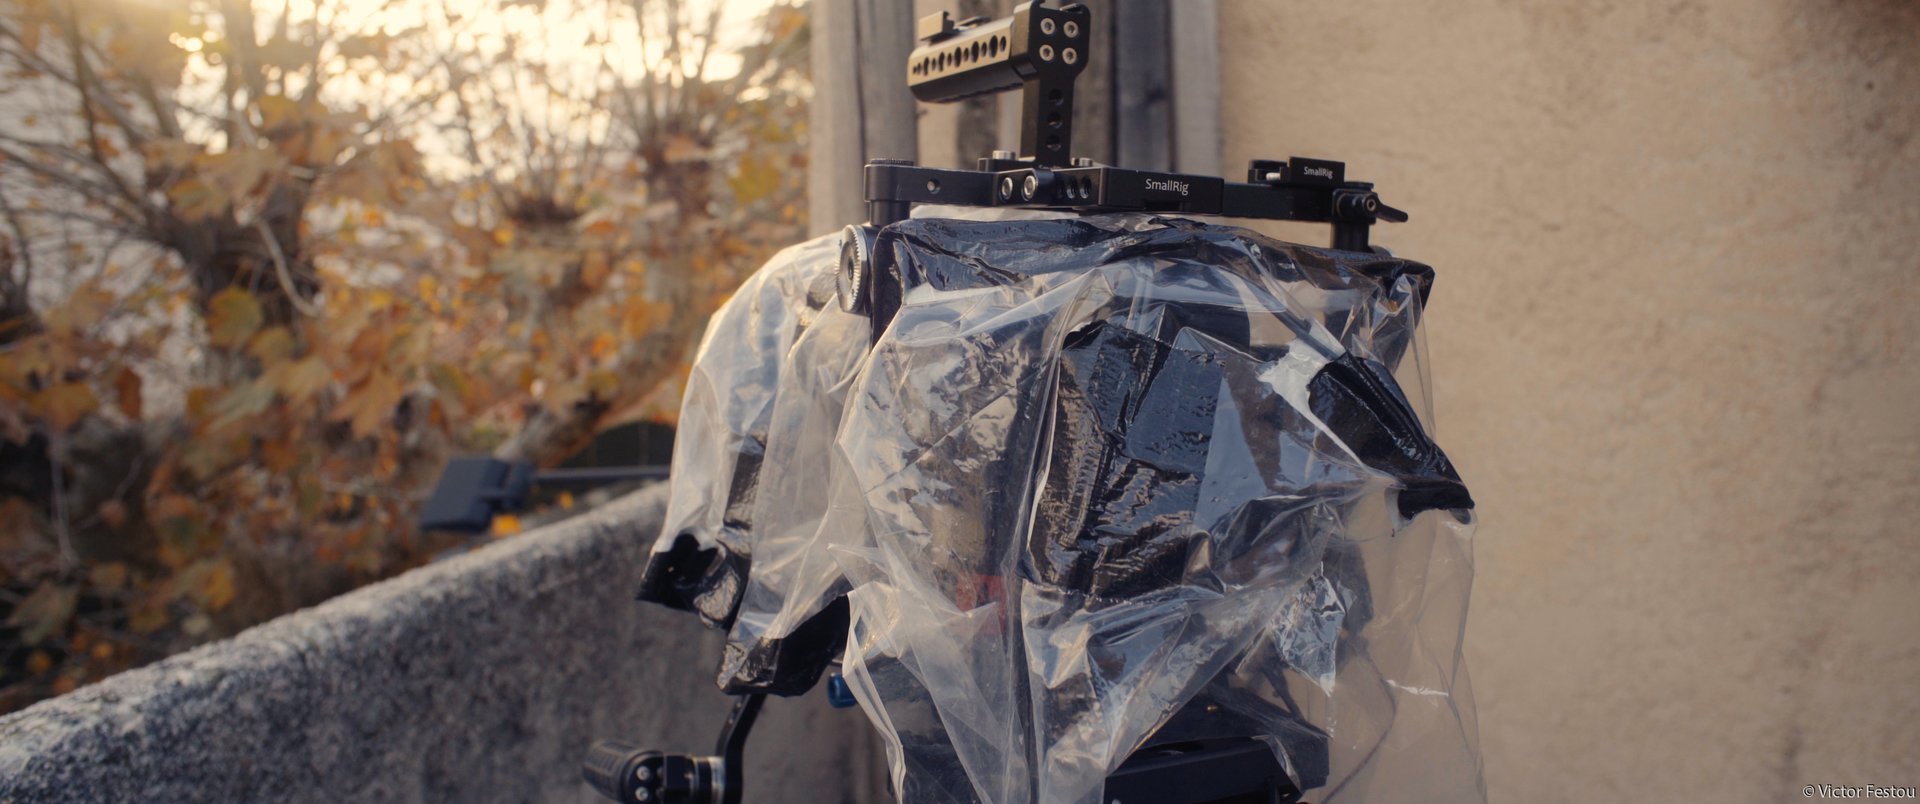
I recently came back on the idea and created an improved version of the first one.
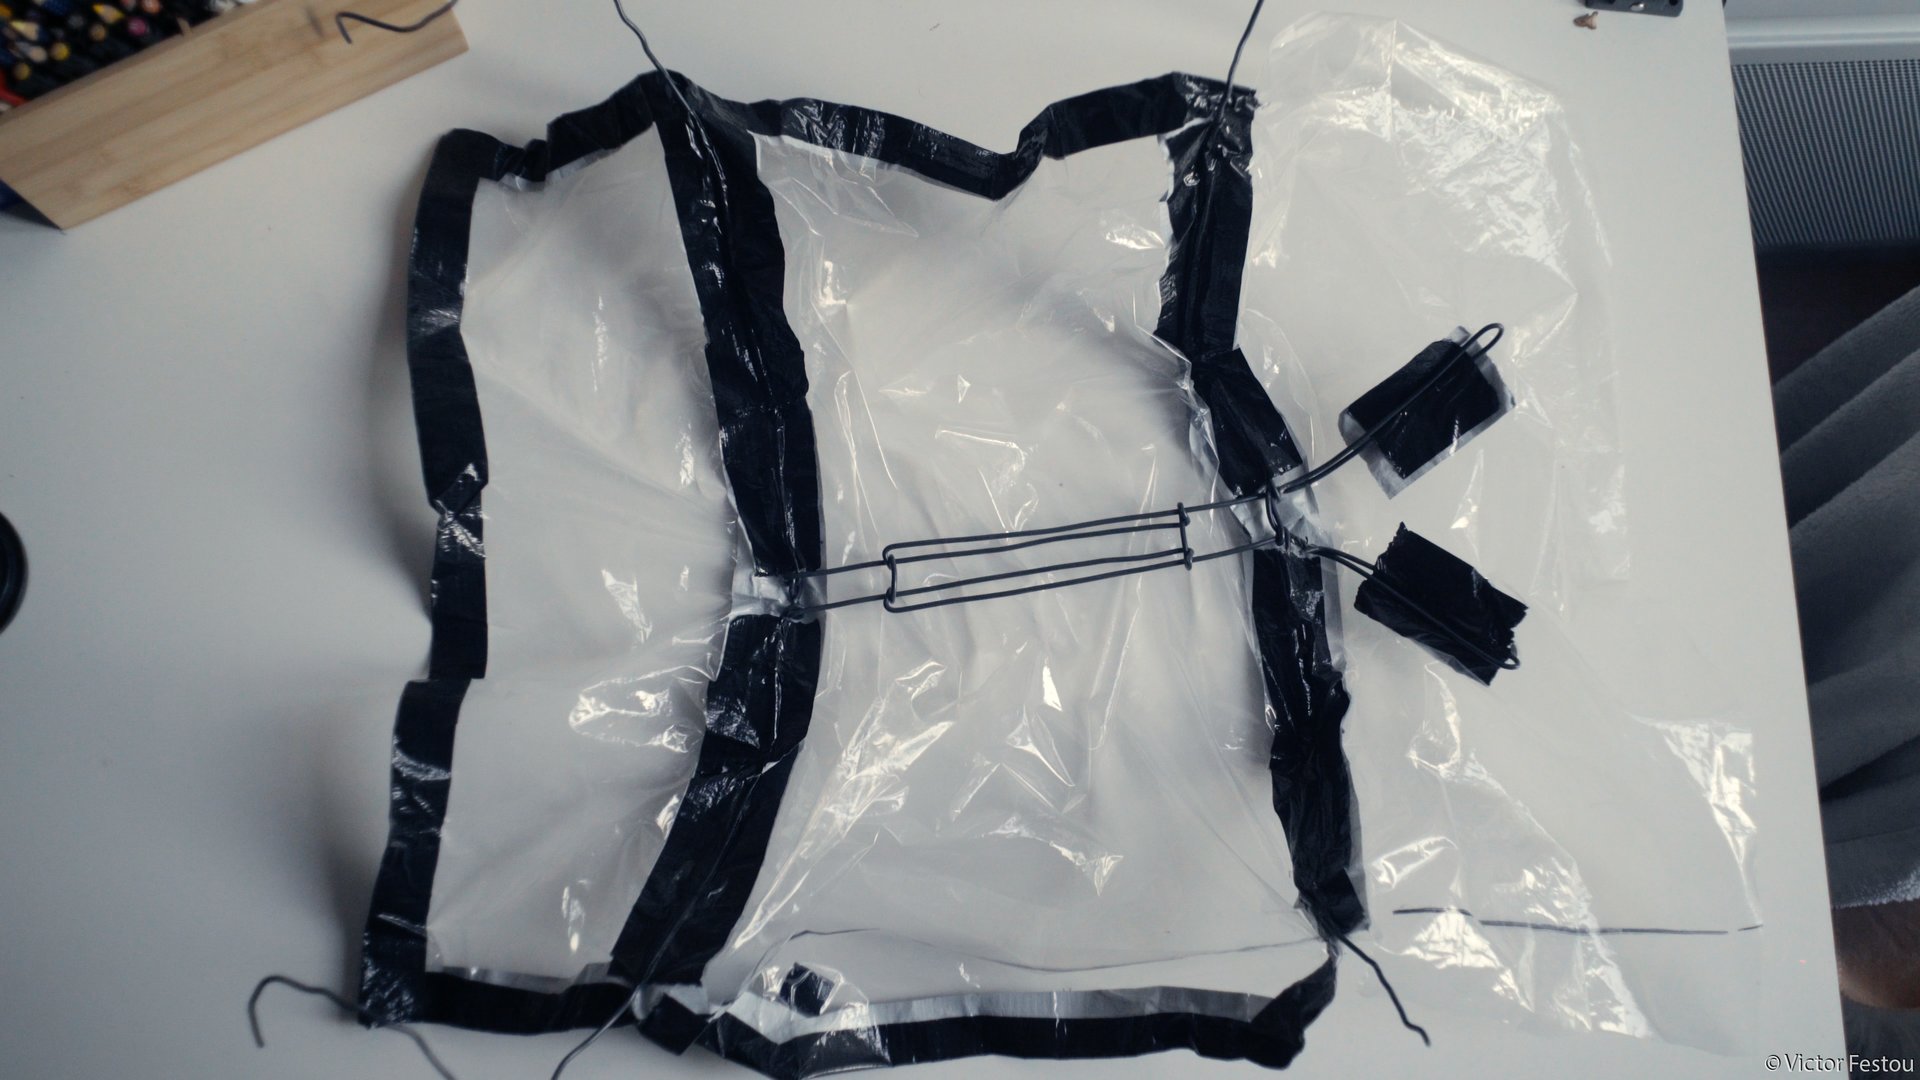
It is made from the same metal wire held by gaffer tape but I used a transparent plastic shower curtain this time, cut in a single piece to prevent leaks.
The side of the follow-focus is longer so that it stays dry.
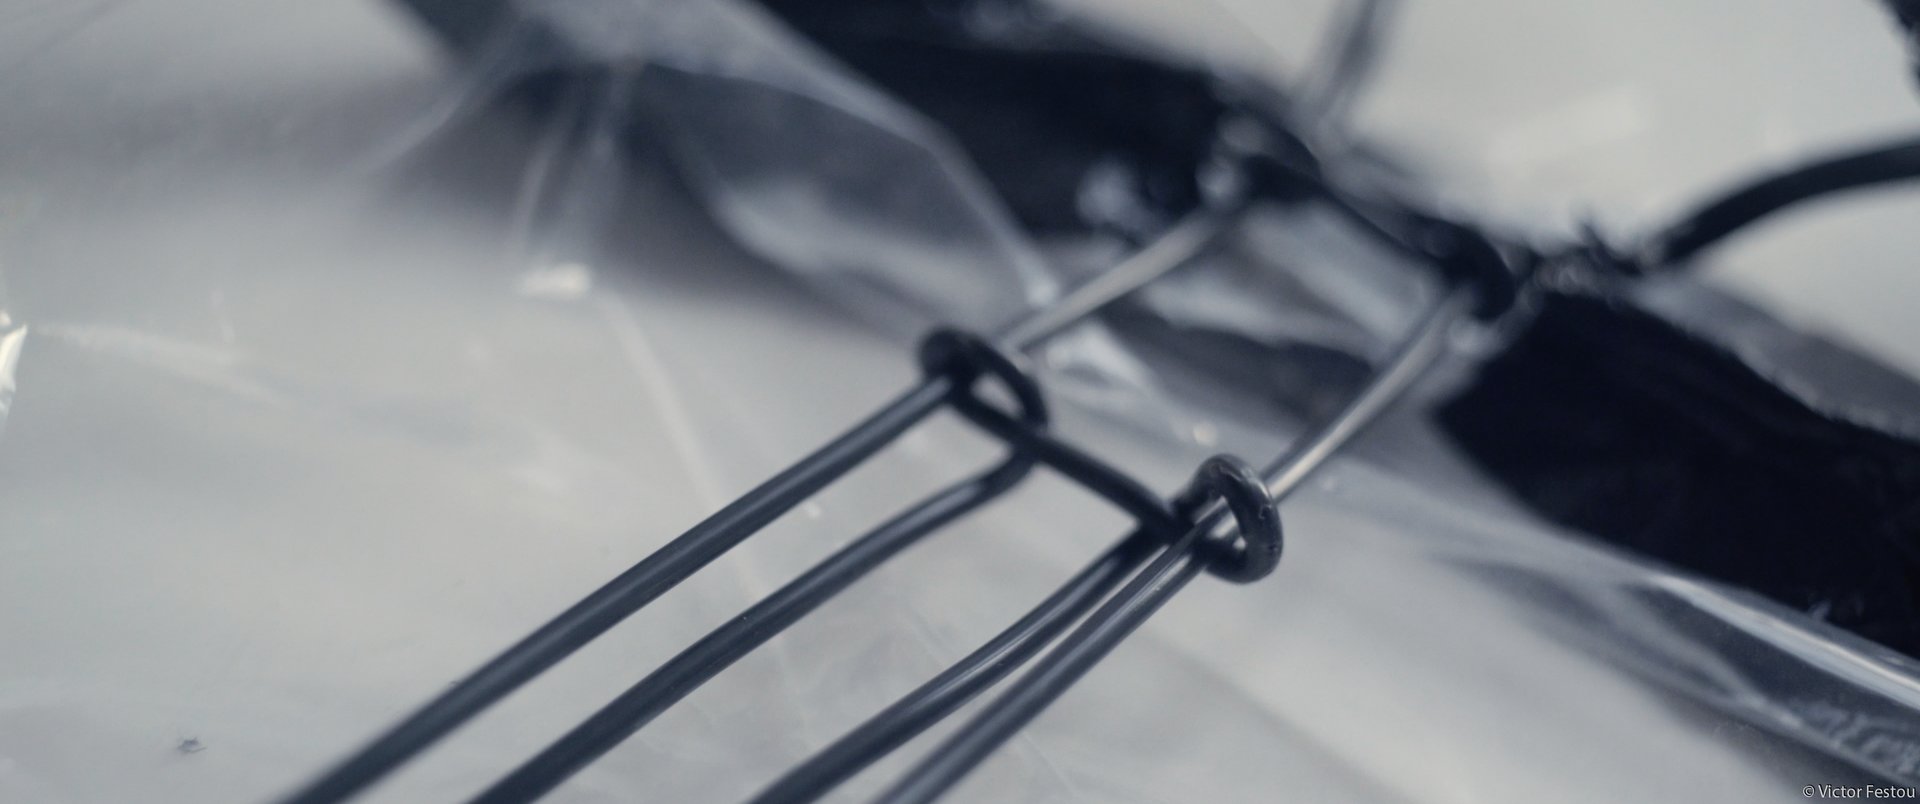
I made a kind of adjustable wire slide to shorten or elongate the protection easily. It also add rigidity to the frame even at full extension.
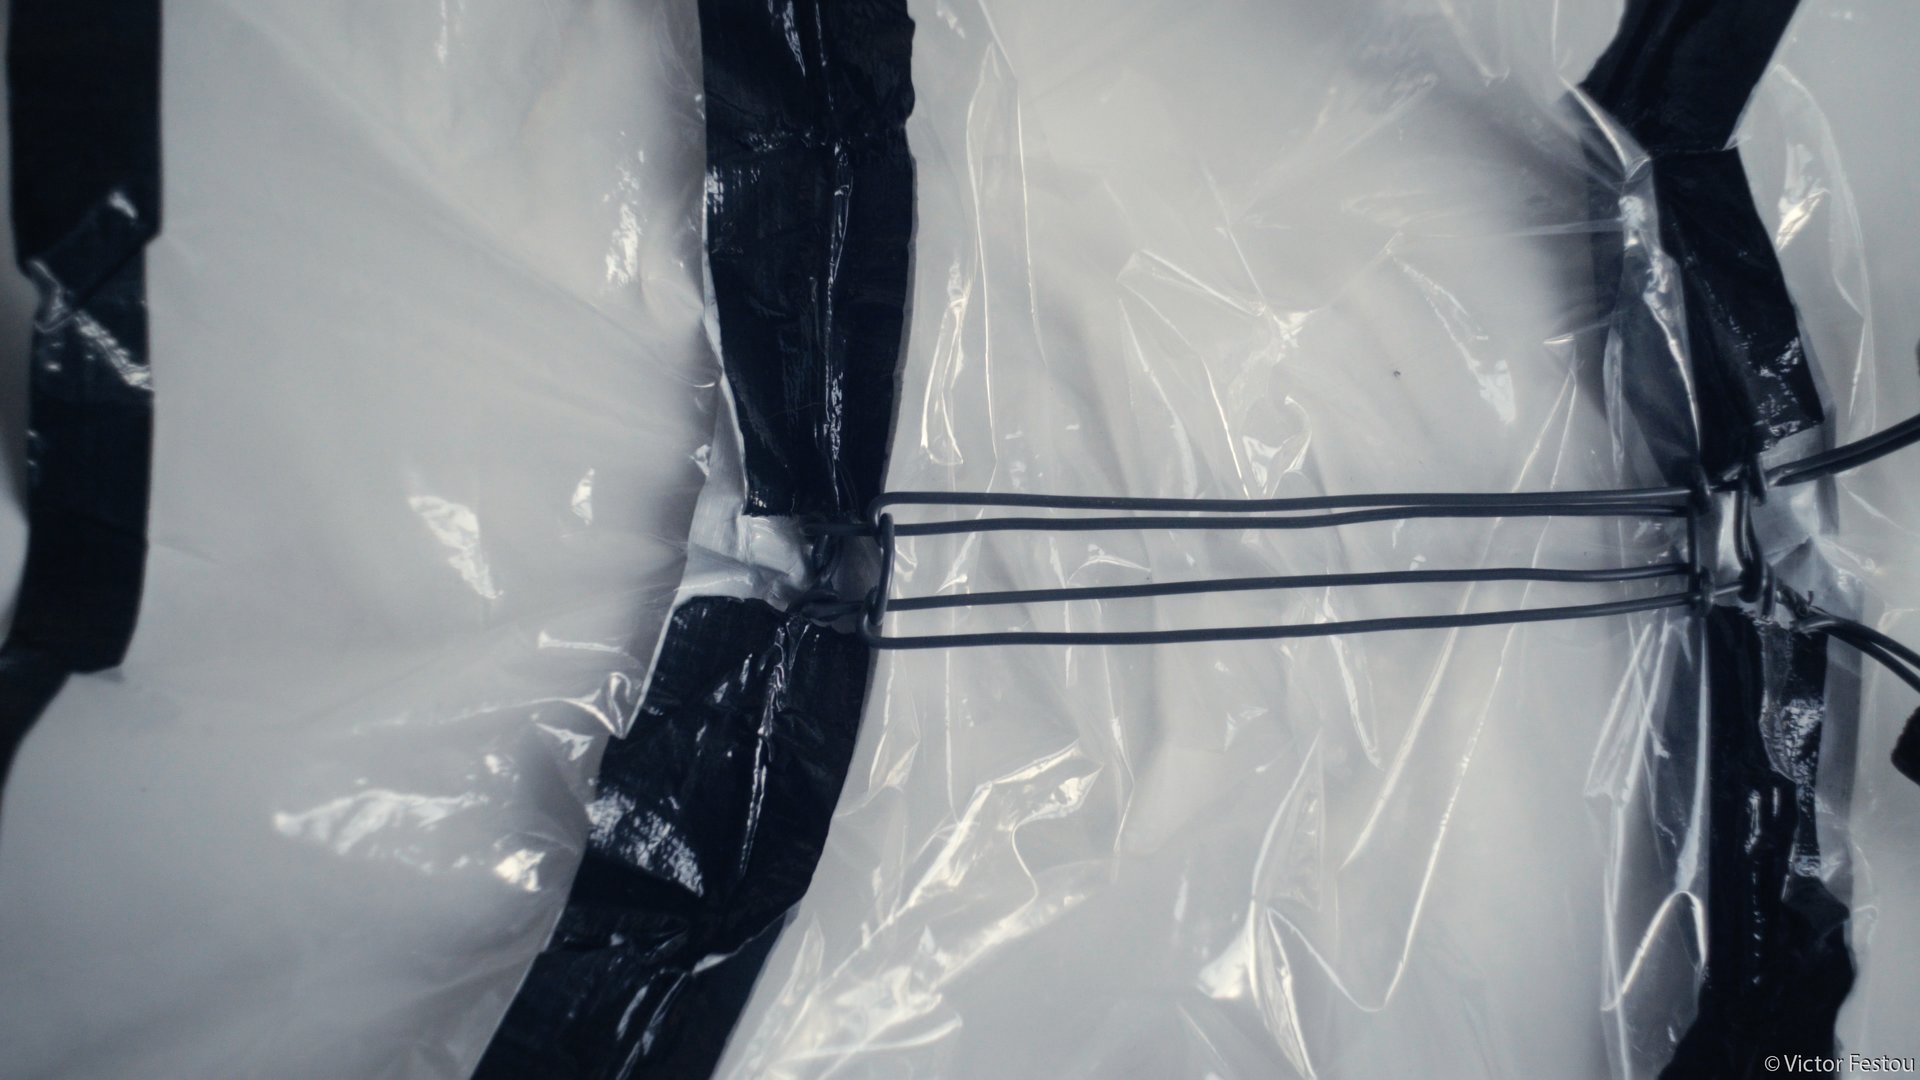
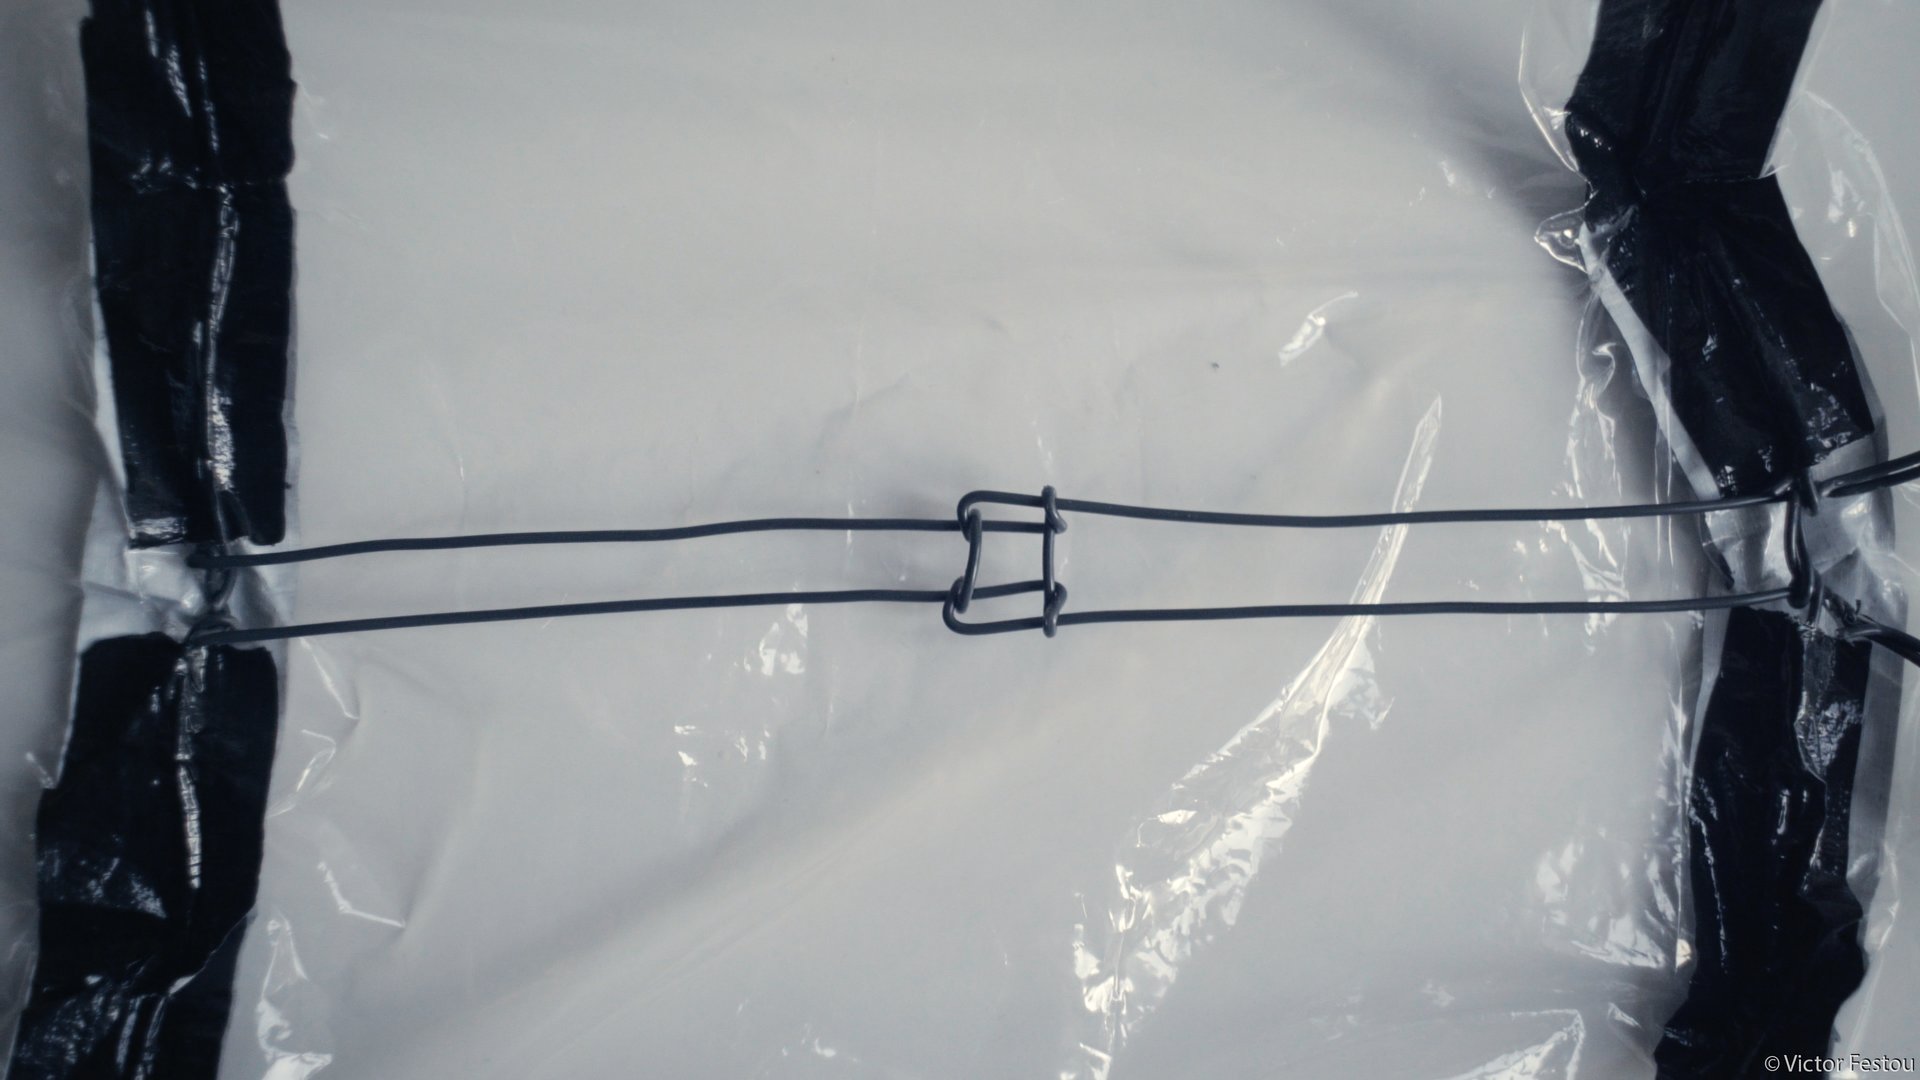
Front: Slide retracted | After: Extended Slide

Before: Rain protection at a minimum | After: Maximum rain protection
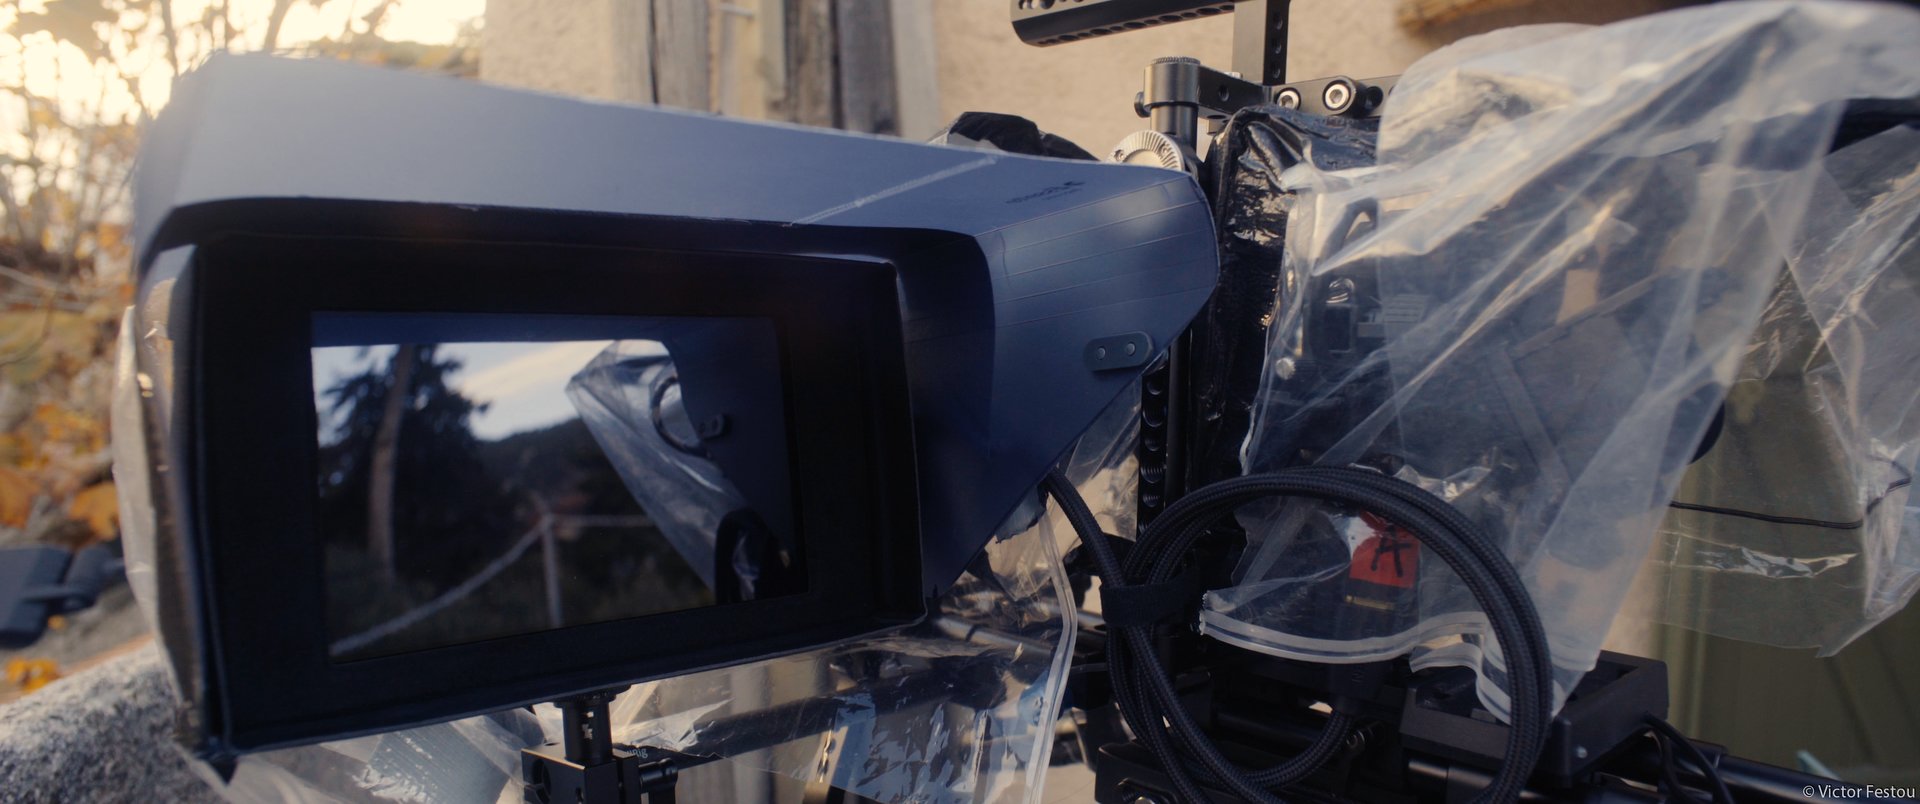
The back now has two wire supports to keep the LCD clear or to protect the back side once bent down.

I also let more material at the front to make a folding flap, protecting the lens during camera position changes.
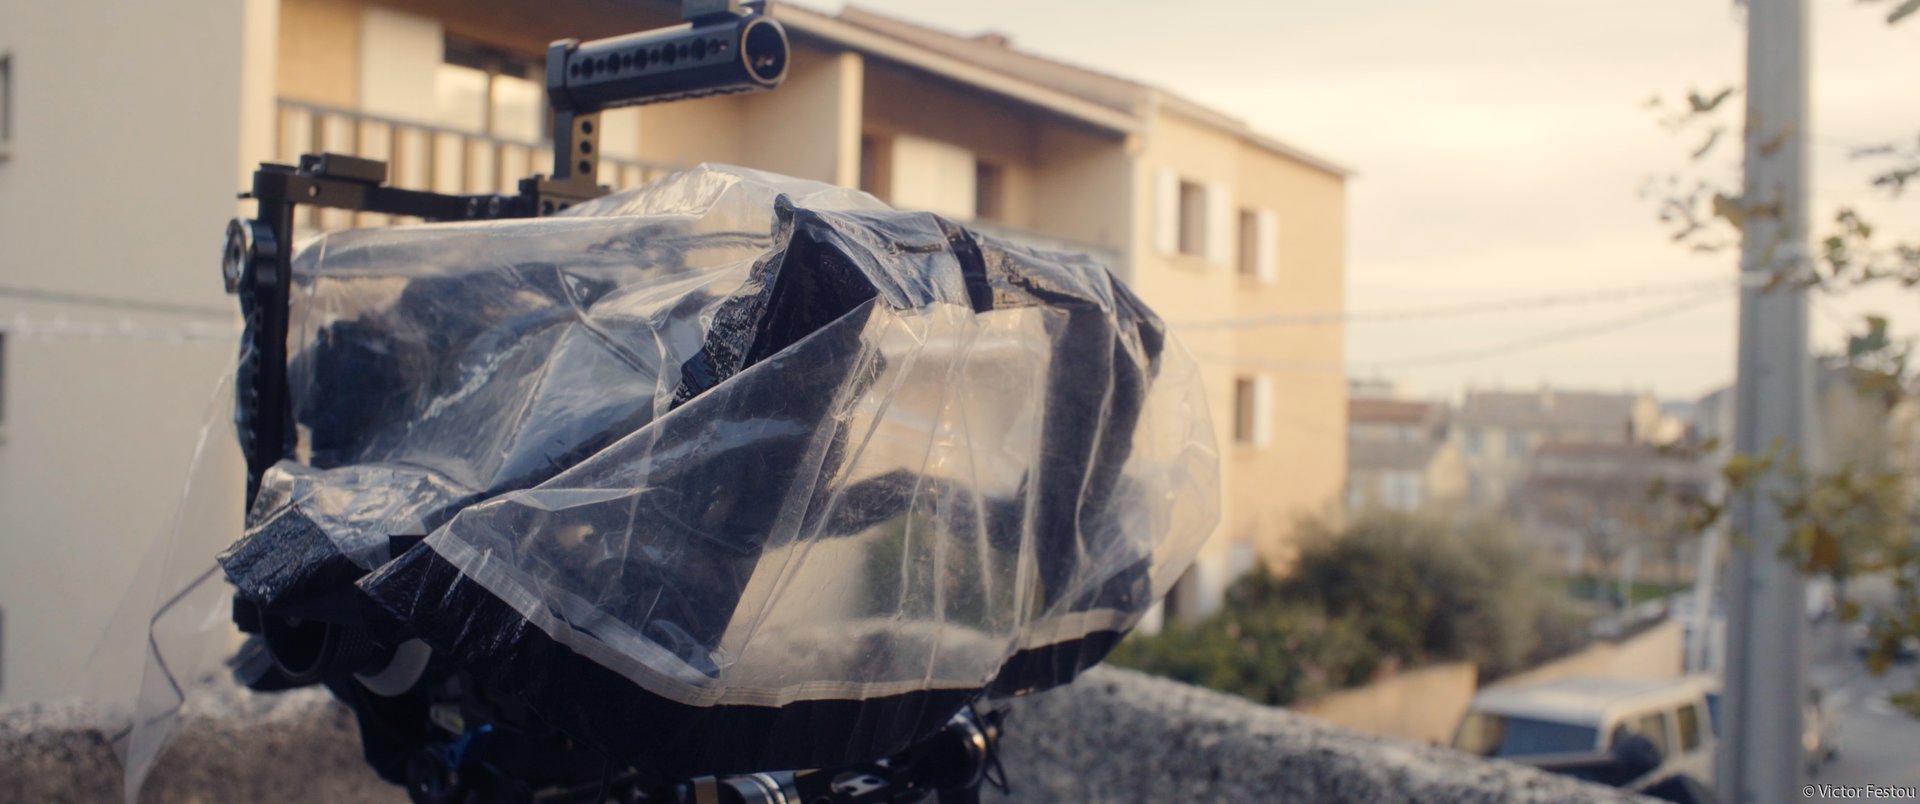
Then, I made custom hood cutouts snapping on a metal hood with a 77mm thread. As explained above, the rubber collapsible hoods have the downside of water splashing on the bottom of the lens while hitting the inside of the hood. The ones I made are opened on the bottom and therefore don’t have this problem. They are also rigid enough to prevent the curtain from getting into the shot.


The metal hood was found on eBay. The cutouts were made in a Ikea thin plastic cutting board. The whole is held on by a series of Velcro cable ties.

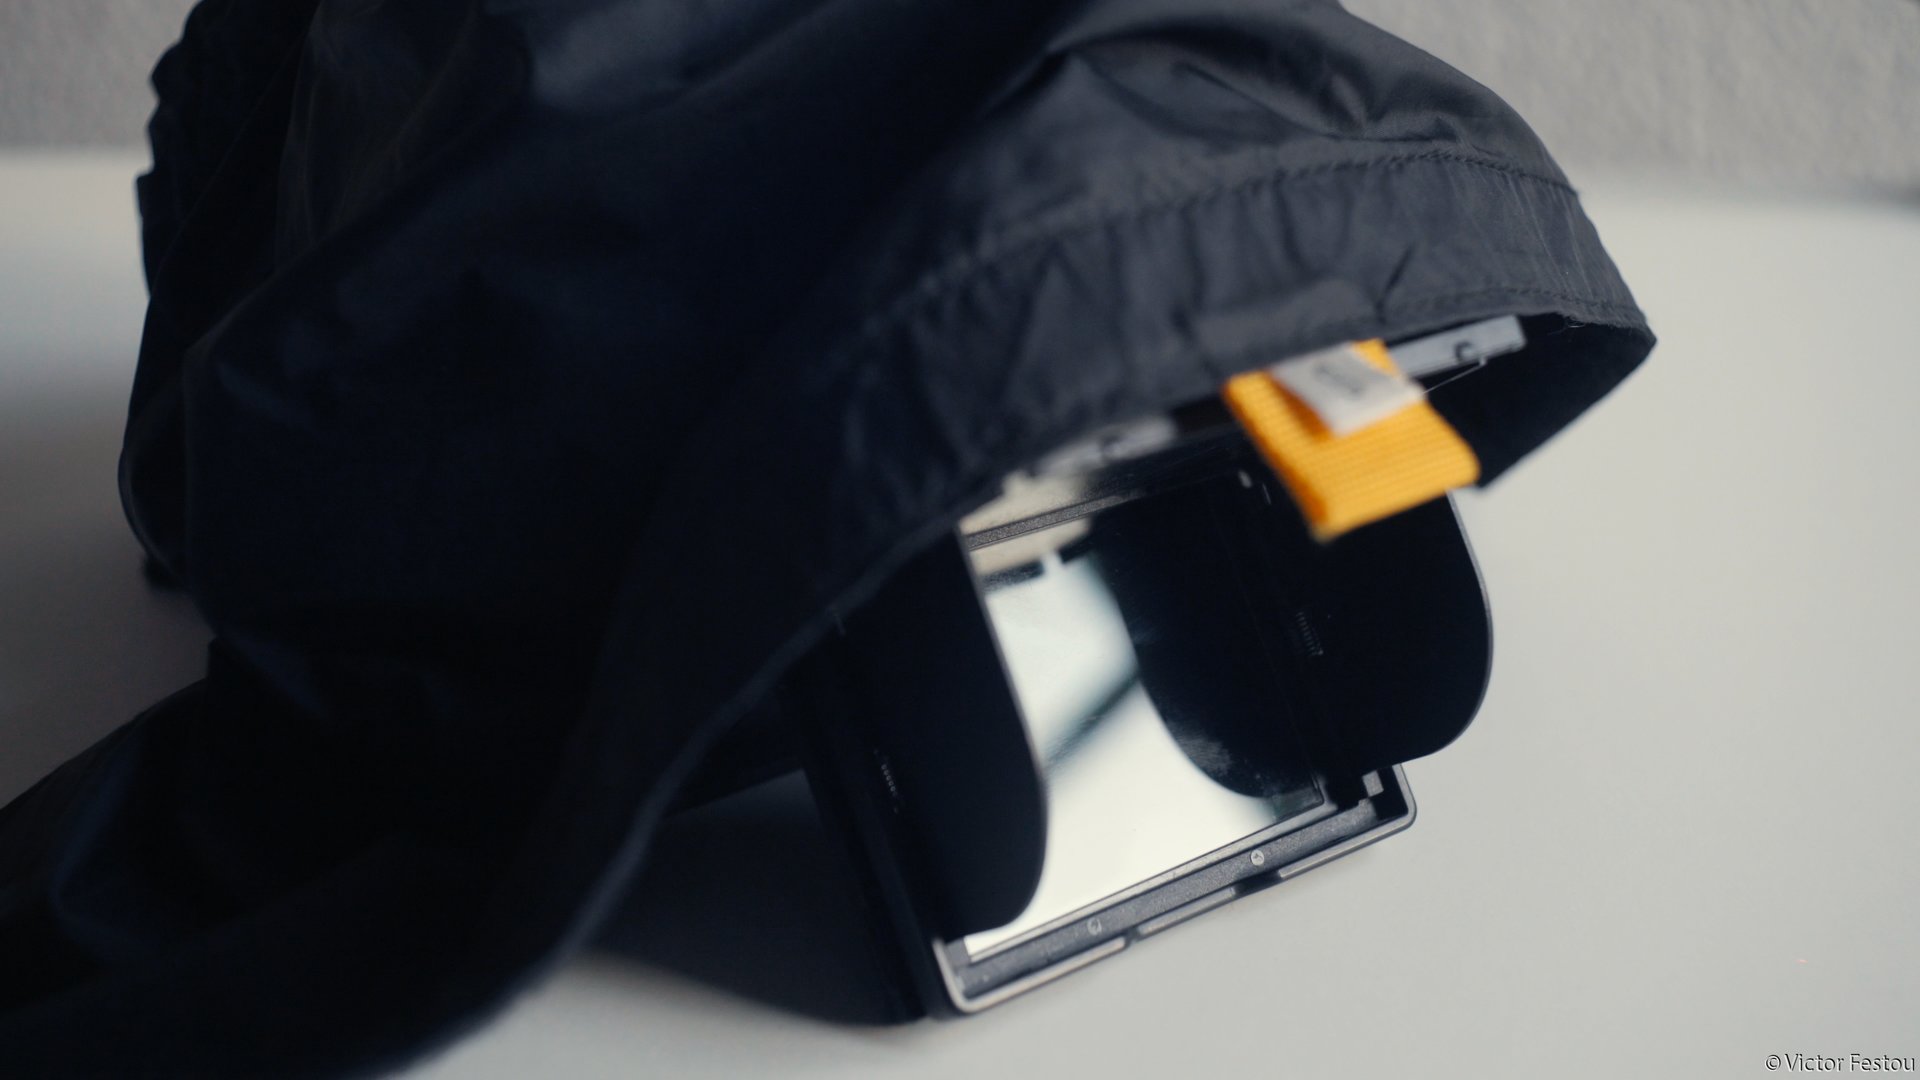
I also created a protection for my Atomos external recorder. I found a plastic document pouch which the seams fitted the contour of the Atomos and cut it to size and cleared the connection ports. It is held on the Atomos by the ¼” screw on the top and two Velcro bands on the sides.
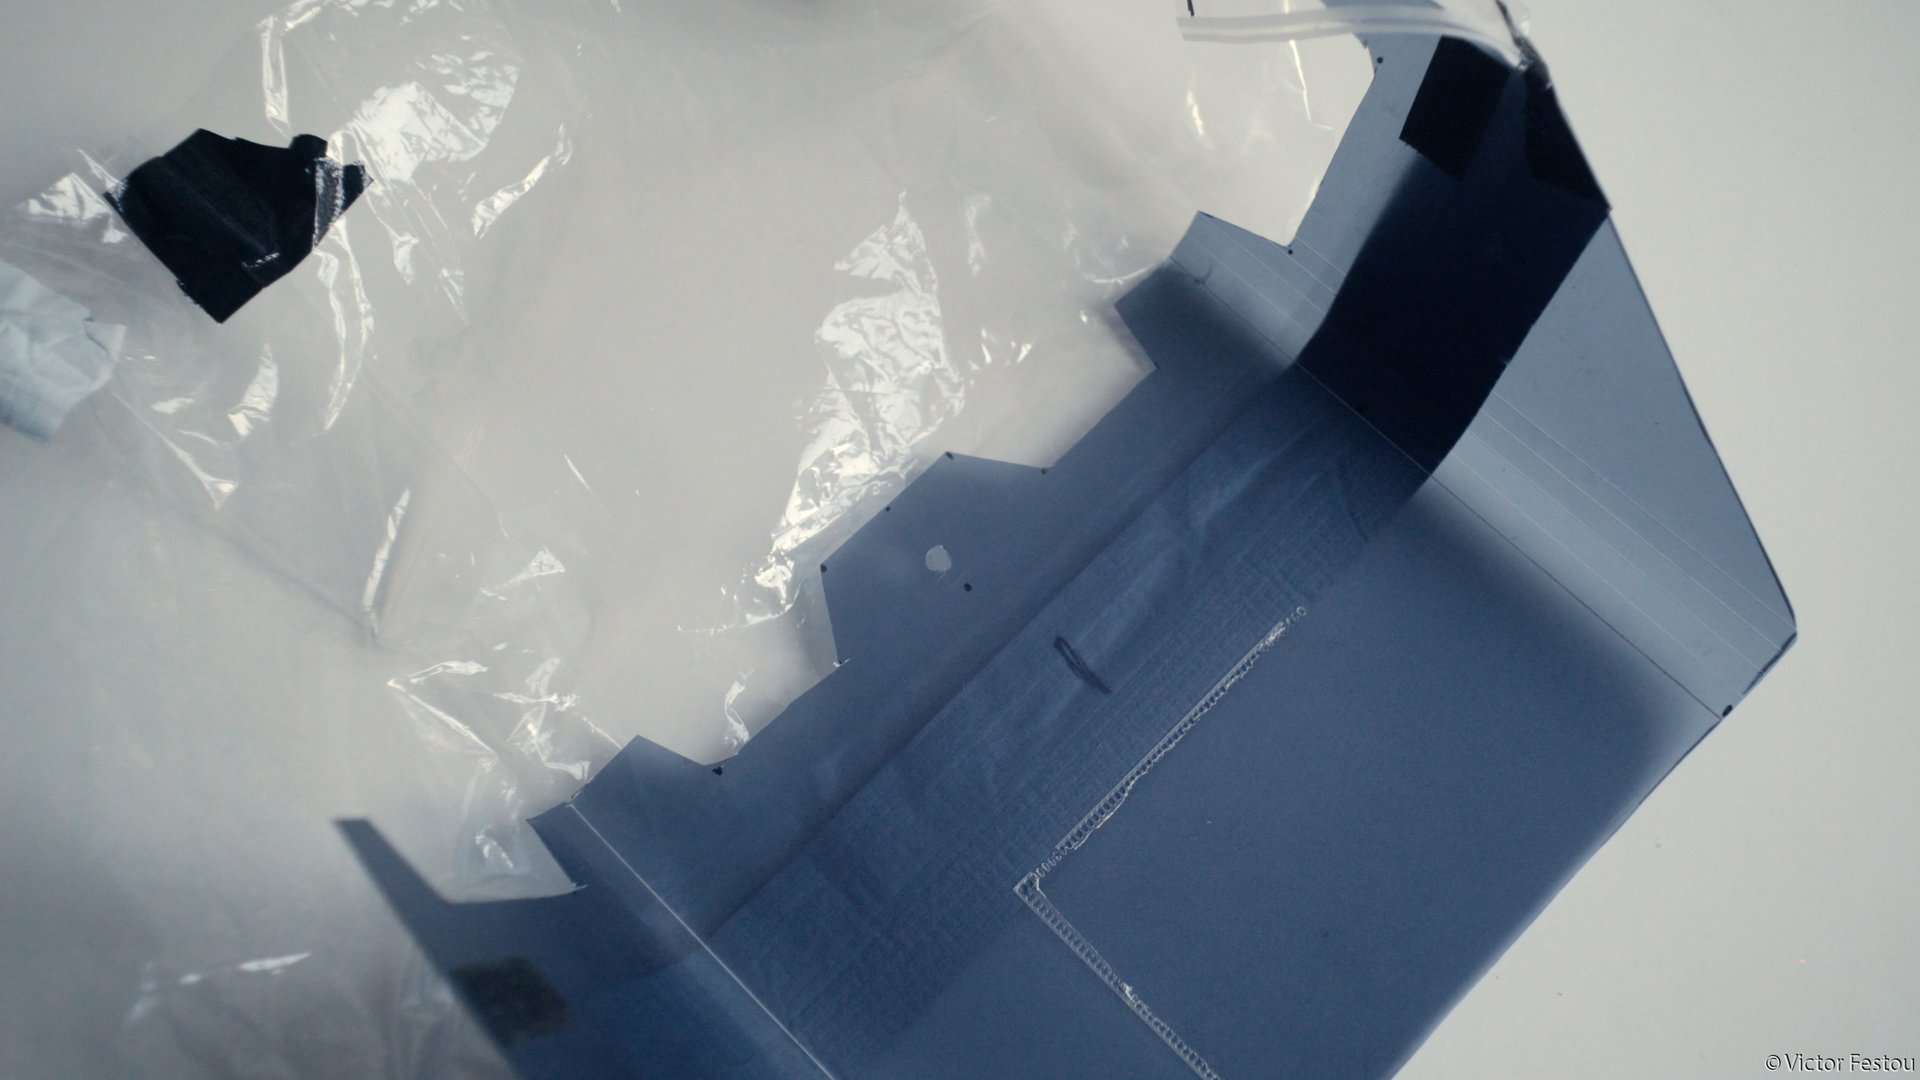
I use the Atomos upside down so that the fan is less audible and this turns out to be an advantage here, as the intake and exhaust is on the bottom and not choked by the protection.
Now it just needs to be painted matte black to prevent reflections.
Observations
This is obviously the rain protection gear that is the longest to put on, as you have to slide it through the rig and attach the wires to the frame and rods, but it covers every sensitive parts of the rig. I wouldn’t be afraid to sit under the rain for hours with it.
There is also no need to take the protection on and off to change lenses or the camera, so that makes the long setup time less problematic.
All the downsides of the first one have been adressed and as a result it’s easier and more pleasant to use.
It is really cheap to make, as I had to pay 25$ for all the materials needed. It can also be adjusted to fit any setup.
One downside is that it’s not protected from below, but it could be corrected by the add-on of another piece of curtain to cover the bottom.
Conclusion
So this is the three ways that I protect my gear from water damage. Each have their advantages and disadvantages but all have their use case. I hope that this post will be informative and help you or inspire you for your projects.