
A small post to talk about the replacement of the factory installed LCD protector on a Sony a7r2 with a GGS Larmor Gen V
Even by taking care of my camera, protecting it as well as I could from humidity, drips of water and impacts, I noticed a rapid degradation of the LCD protection. I originally though that the protection was peeling away from the LCD but after some time searching on the internet, I found that other users had the same issue and that it was in fact the protector itself which was desintegrating.
As always, a full list of the articles in this blog can be found HERE.
The most extreme conditions my camera was exposed to were a trip in Iceland, where temperature rarely fell below 0°C and another trip in Vilnius, Lithuania. There, the conditions where a little harsher with dips below -5°C, but again I took every step I could to protect the body from rapid temperature change and condensation. As you can see this are not extreme conditions and do not justify in my opinion the state of the LCD protector. I just think it was a bad batch, or that Sony use dubious quality LCD protectors for their cameras. Maybe it has been fixed (and I hope so!) in the 3rd generation cameras…

Some users reported to have gotten rid of the LCD protector and replacing it with another from third party brands. I decided to do the same when the peeling reached the sides of the screen and made it difficult to read informations.
I chose the 5th generation of the Larmor GGS model, because in addition to providing a glass antiglare protector, it provides a smart little sunshade screen.
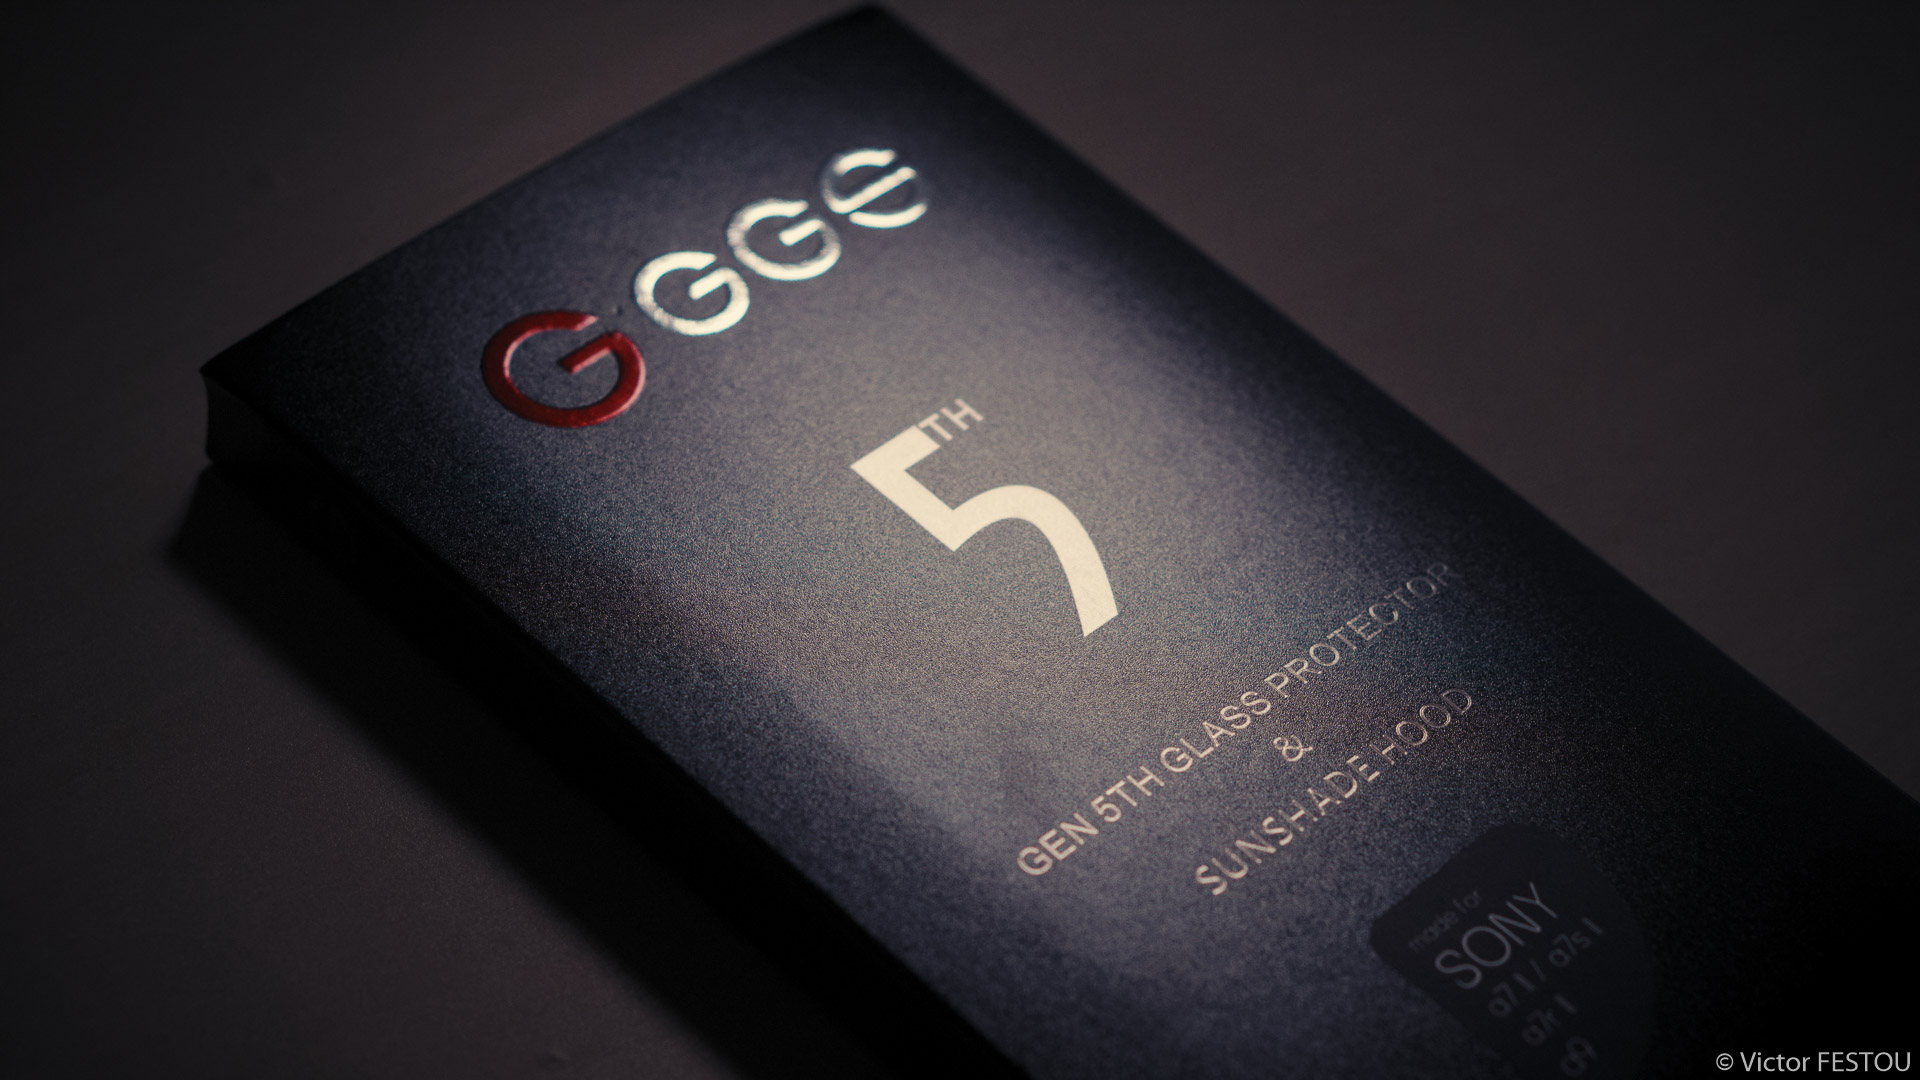
The packaging contains nearly everything, including a small manual, the screen protector, the magnetic sunshade screen and a pre-moistened microfiber wipe to clean the LCD before applying the new protector.

The first step was to peel the Sony installed LCD protector. It required the use of a scalpel to lift the border and start from there. By keeping the LCD pushed against the body (to prevent any warping of the screen or damage to it), I slowly but firmly pulled on the protector to remove it. This is the most critical part of the replacement, as it requires quite a bit of force to take it off, and it seems quite easy damage the rear screen. Fortunatly it went without a hitch for me.

Once the protector taken off, I cleaned the remaining glue and traces with the included micro-fiber wipe. It left some fibers, so I used a small blower to get rid of them. This is another important step, as a speck of dust left under the new protector when applying it will leave an air bubble.
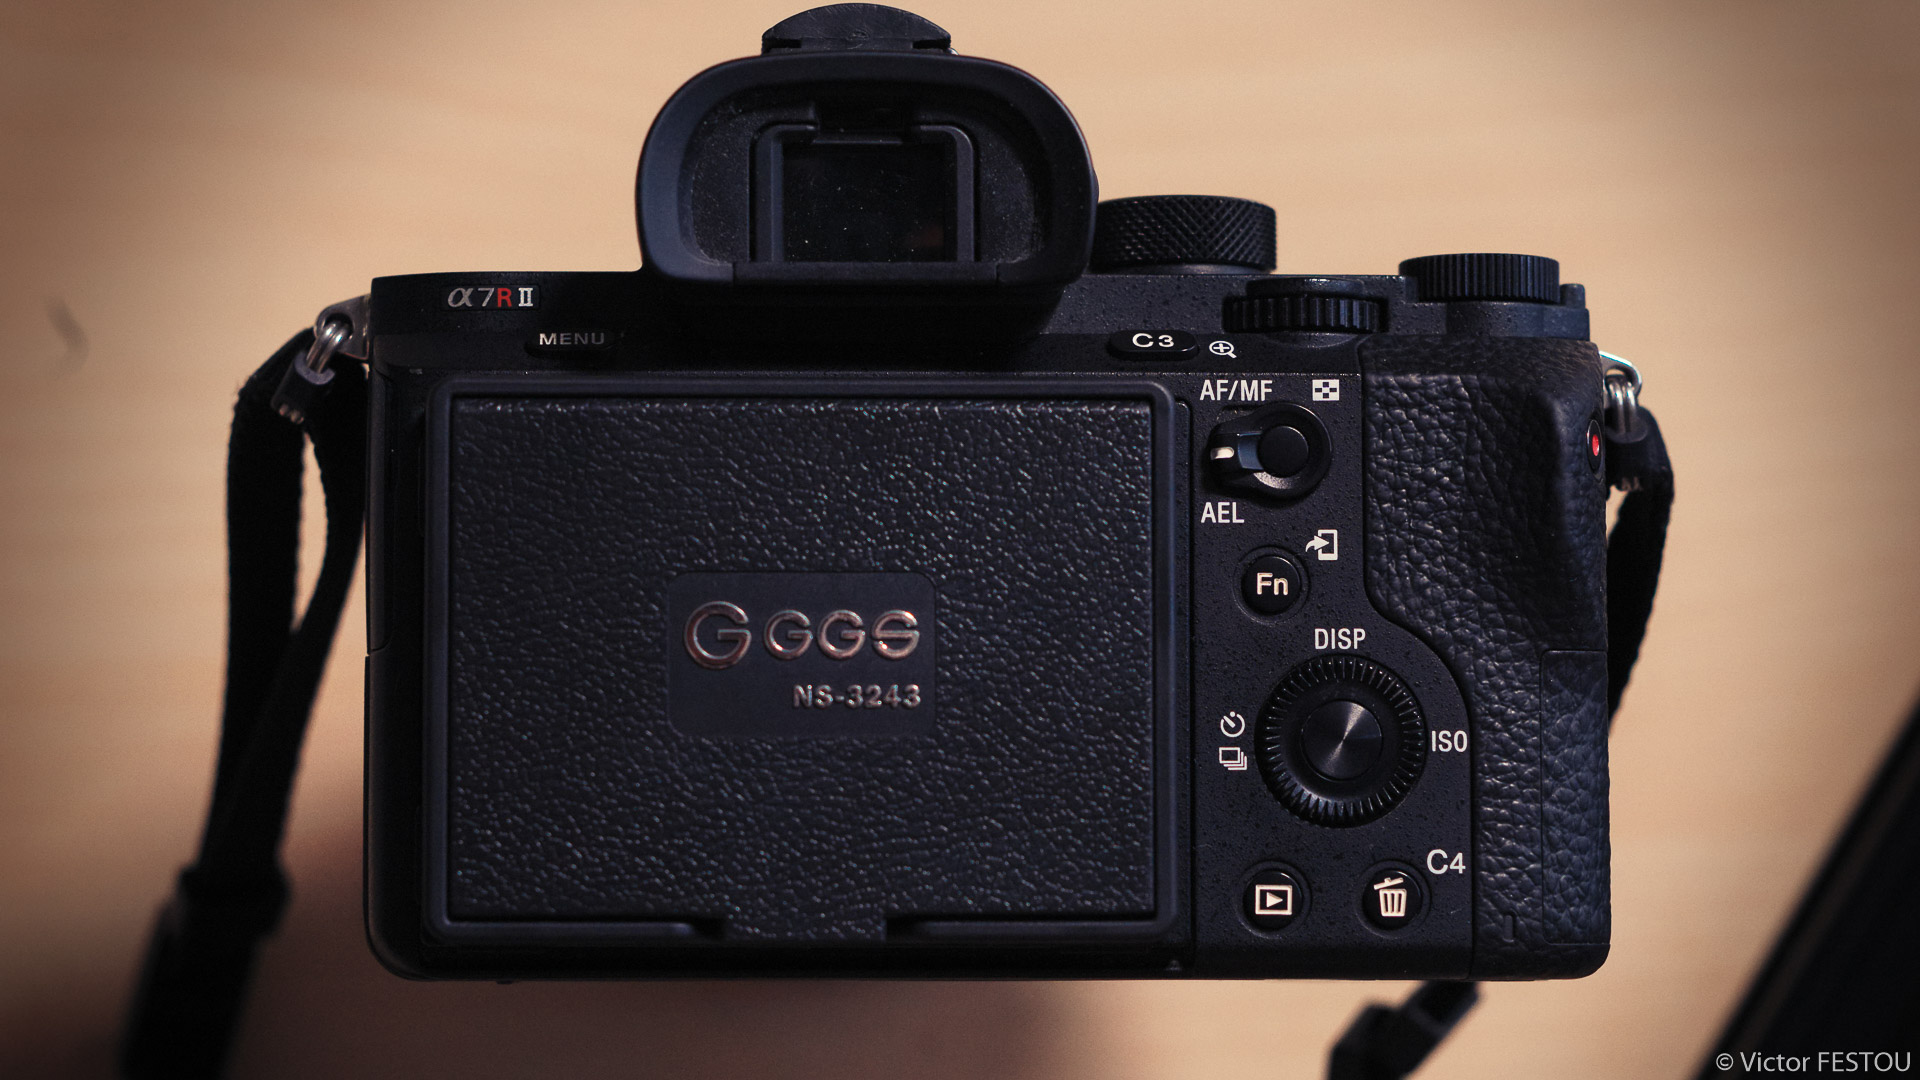
I then applied the new protector. The manual insists on the careful positioning of the glass frame before pushing it against the screen, again to not create air bubbles I think.

The protector also possesses a metal frame embedded in the glass, which supposedly makes it tougher but it also makes it possible to mount accessories on it with magnets.
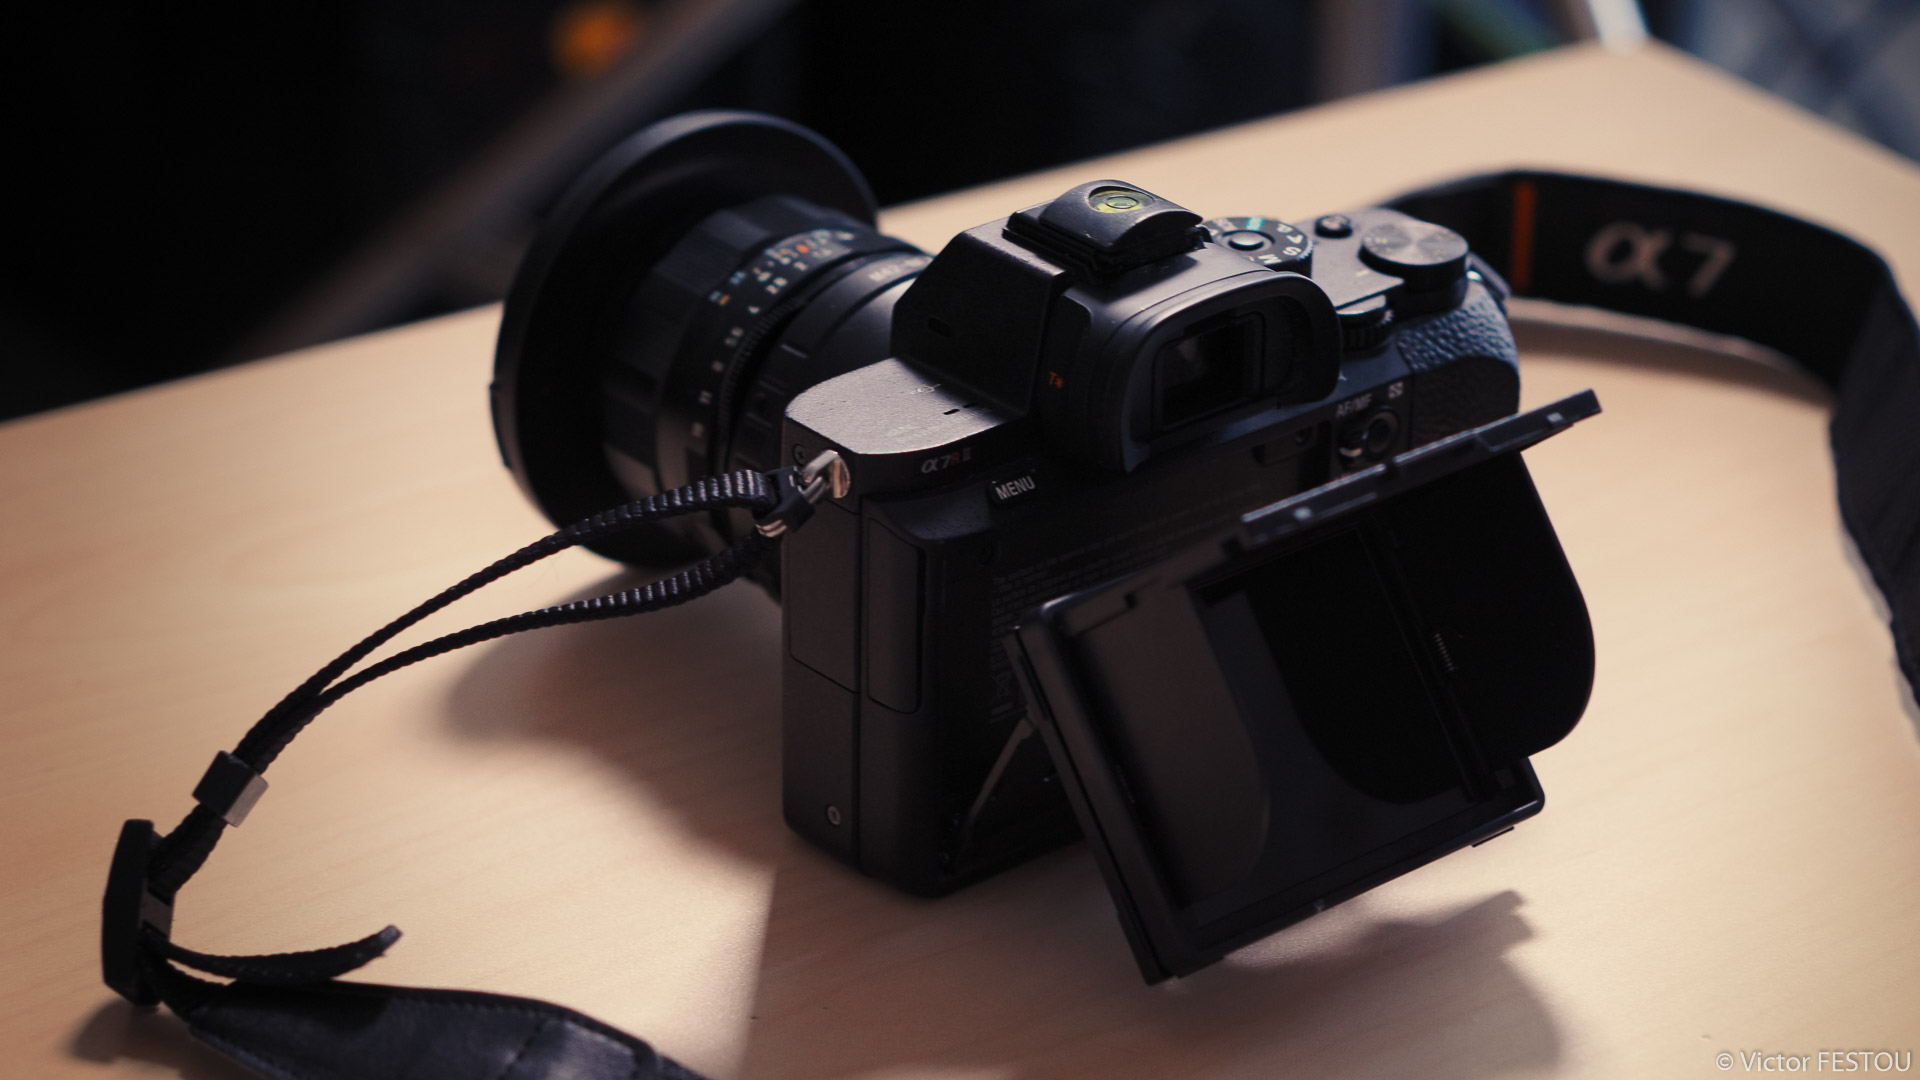
I took the time to make this post as I could not find much information on this product, which made me quite hesitant to make the jump and take it. For the moment, everything looks all right and as expected. The sunshade screen is sturdy and seems to protect the LCD well. The magnets are strong enough so that it doesn’t easily comes off or slide but not enough as to tear the protector away when taking it off. The readability is so much better it honestly feels like a new camera.
No the make it pass the test of time. I’ll update or create a new post if any issue comes up or I found anything interesting.