
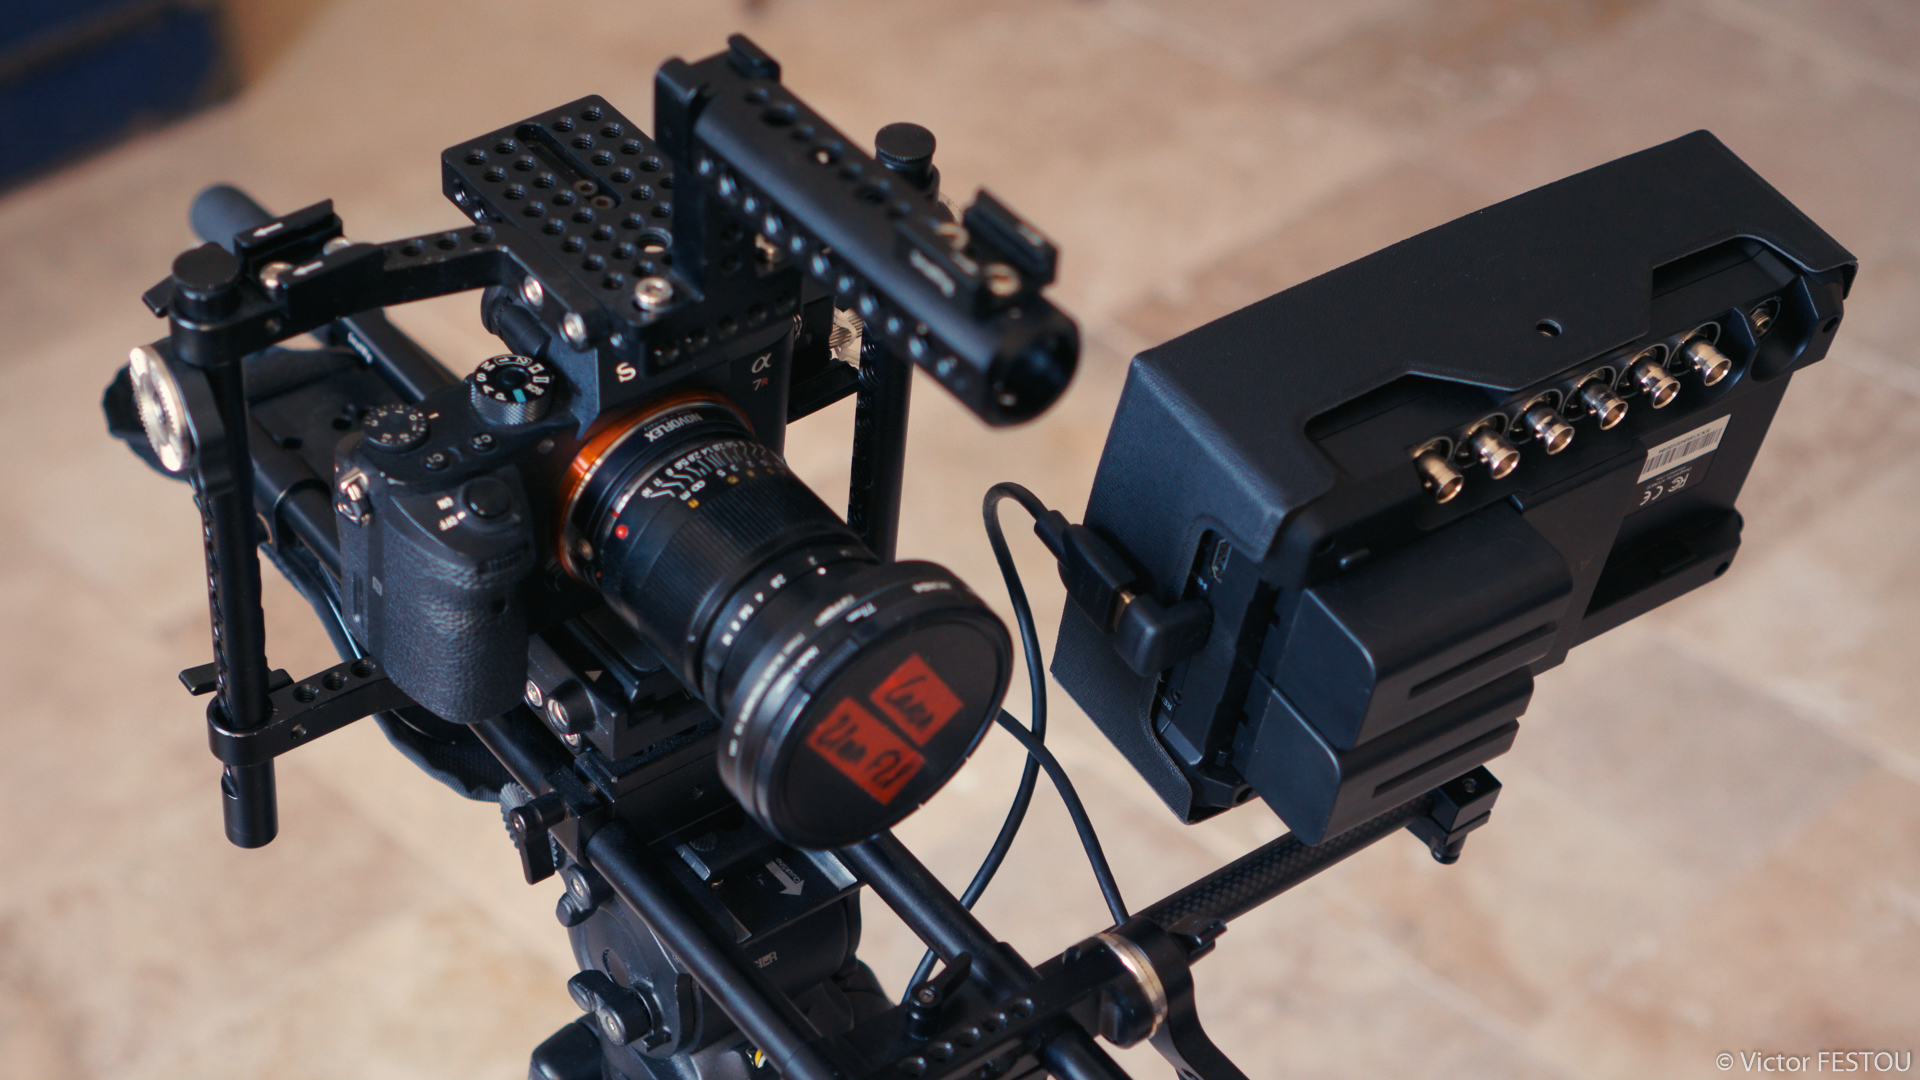
What does an external recorder bring to the a7r2 ?
This blog post is a gathering of the first impressions and tests of my newly acquired Atomos Shogun Inferno
As always, a full list of the articles in this blog can be found HERE.
After seeing the limitations of the internal H264 codec of the Sony a7r2 and always trying to achieve the best image quality possible, I considered my options and could either:
- Change the camera body to another Sony: unfortunately the 3rd and 4th generation bodies didn’t present any serious improvement to image quality that could justify the investment of a new camera.
- Switch brands: now, on top of the price of a new body, there would also be the cost of buying all the adapters for the new mount. There was also my few Sony lenses which would be unusable and needed to be changed. This option was therefore also too costly.
- Use an external recorder: If the price of an Atomos seems high, once you factor all the other options in, it can be an effective way of getting better image quality. I’ll let you judge with this article if you think this is a worthwhile investment or not.
Why the Shogun Inferno?
There is many Atomos external recorders, like 5″ models which can still record 4k60p but are much more smaller and lighter.
But I wanted a 7″ screen for the comfort of viewing and getting a detailed image. If I needed to get a second recorder for another camera, I would pick a 5″ model, where the size of the screen isn’t as important than on the A-cam.
I also chose the Inferno model which is a bit more expensive than the standard Shogun, but has the advantages of having more I/O options, like SDI inputs and outputs. I think it’s more future-proof as those can be useful when paired with a cinema camera.
Content of the package
The recorder is provided with a small soft case which wouldn’t offer much protection and:
- 1 Master Caddy (un petit boîtier en plastique fourni avec 4 vis pour monter un SSD ou HDD au format 2,5″),
- 1 12v power supply with all international adapters to connect to the mains
- 1 adapter cable to connect two XLR ins to the recorder.
In this state, you need to have your own Sony NP-F batteries to use the Atomos without a wire to power it. You also won’t have any easy way to derush the SSD, without unmounting it from the Master Caddy and using an external dock or SATA cable to transfer the files to your computer. I had the hindsight of getting the additional accessory pack which includes:
- 1 weatherproof hard case with two precut foam organizers
- 3 additional Master Caddies
- 1 USB 3.0 dock to transfer the files easily to your computer
- 2 5200mah batteries (type Sony NP-F750)
- 1 fast charger for Sony NP-F batteries
- 1 sunhood
- 1 male 2.5mm jack to 2 female 2.5 jack for remote control
- 1 D-tap cable to power the Atomos from a V-lock battery
I think it’s a must-have has there is a lot of advantages: you can safely store, transport and organize everything. All the accessories have their own space and there is also additional storage for two Sony NP-F970 batteries. Transferring the files is as simple as plugging the Master Caddy directly to the computer. The D-tap adapter brings more flexibility and autonomy to the recorder, depending on your rig. Finally, the huge sunhood allows to shoot in very bright conditions without reflections and low contrast. I’ll talk about it more later.
Handling
Batteries and power supply
The recorder can be powered by 2 Sony NP-F batteries or with the included power supply. You can specify in the options the priority of the power source. If set to DC, once plugged in, the Atomos won’t drain the batteries at all, which is really useful while alternating from a handheld to a more static shooting position. Just a small hitch, the recorder can’t charge the batteries, even powered off, from the power supply.
Another detail: you can power the Atomos with a single battery. You will have a lot of warnings popping up, but if you want to shave every gram you can, it’s a good compromise.
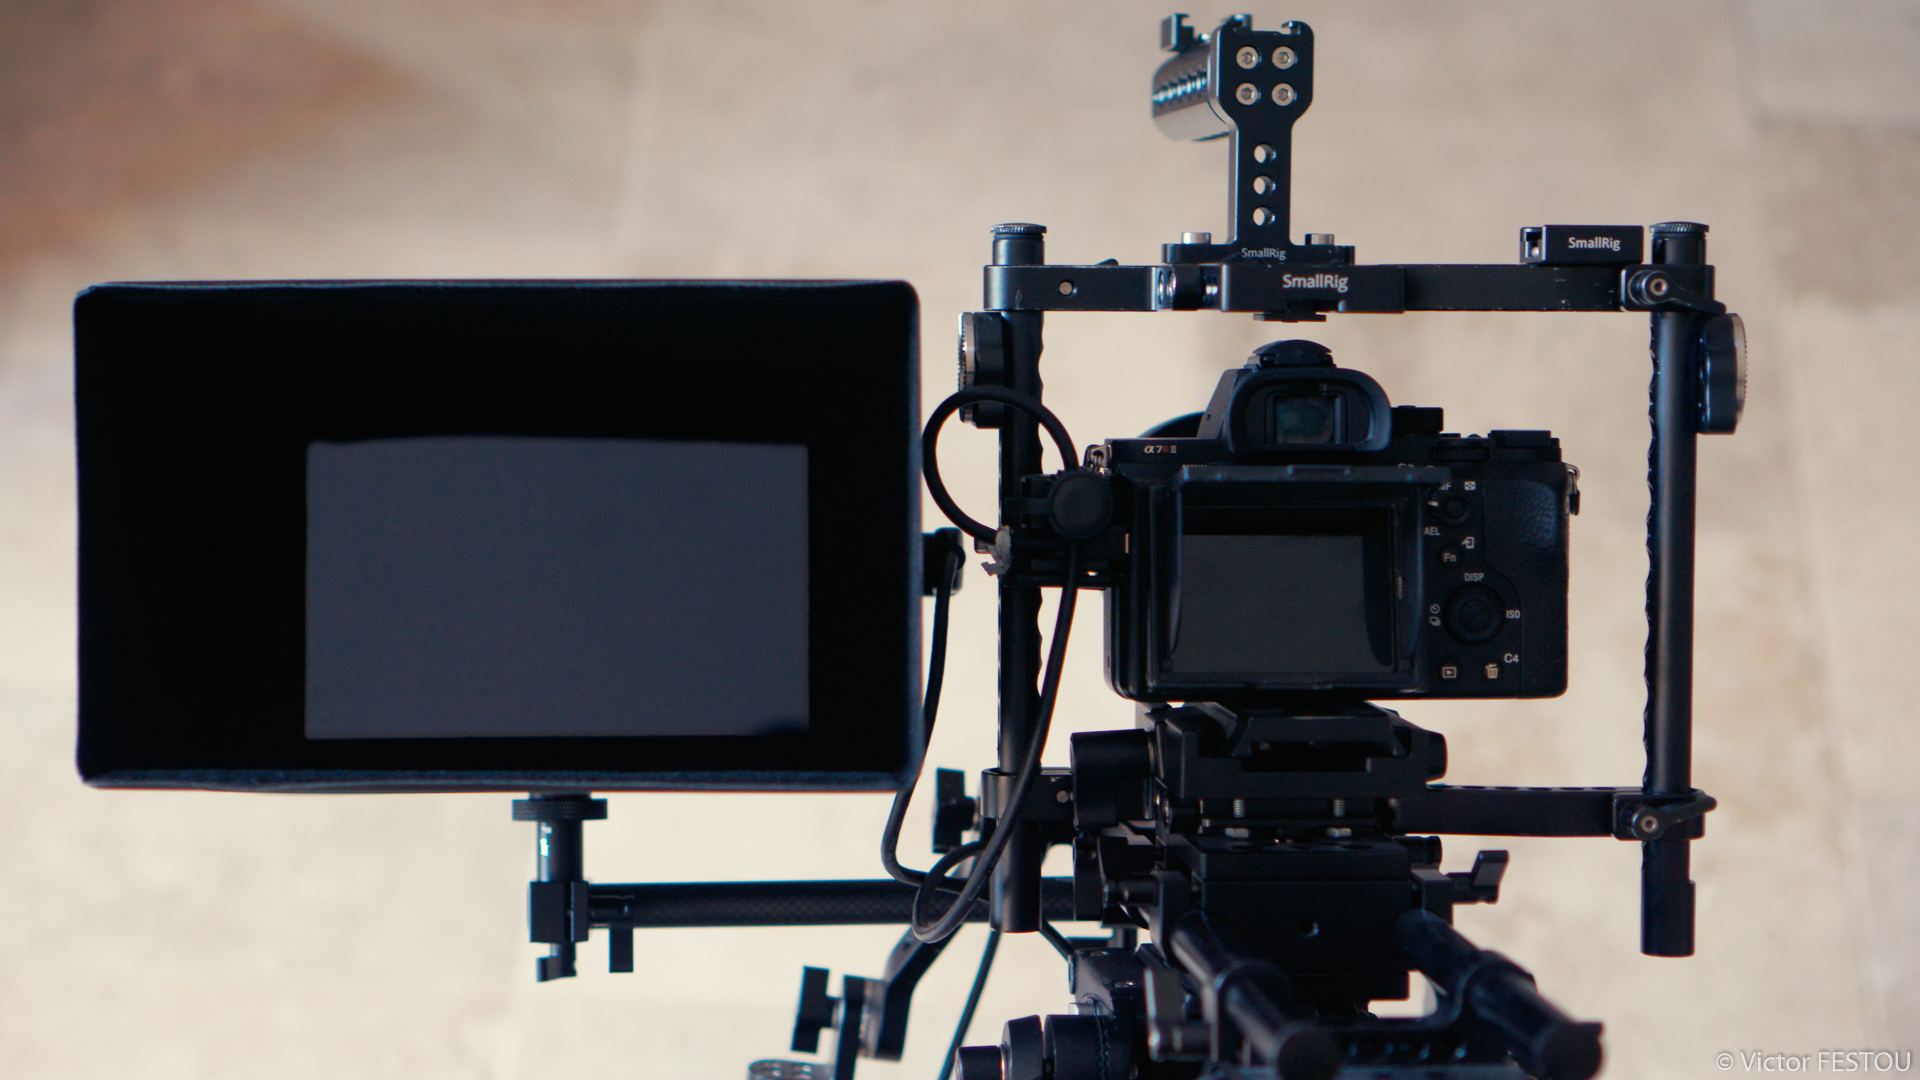
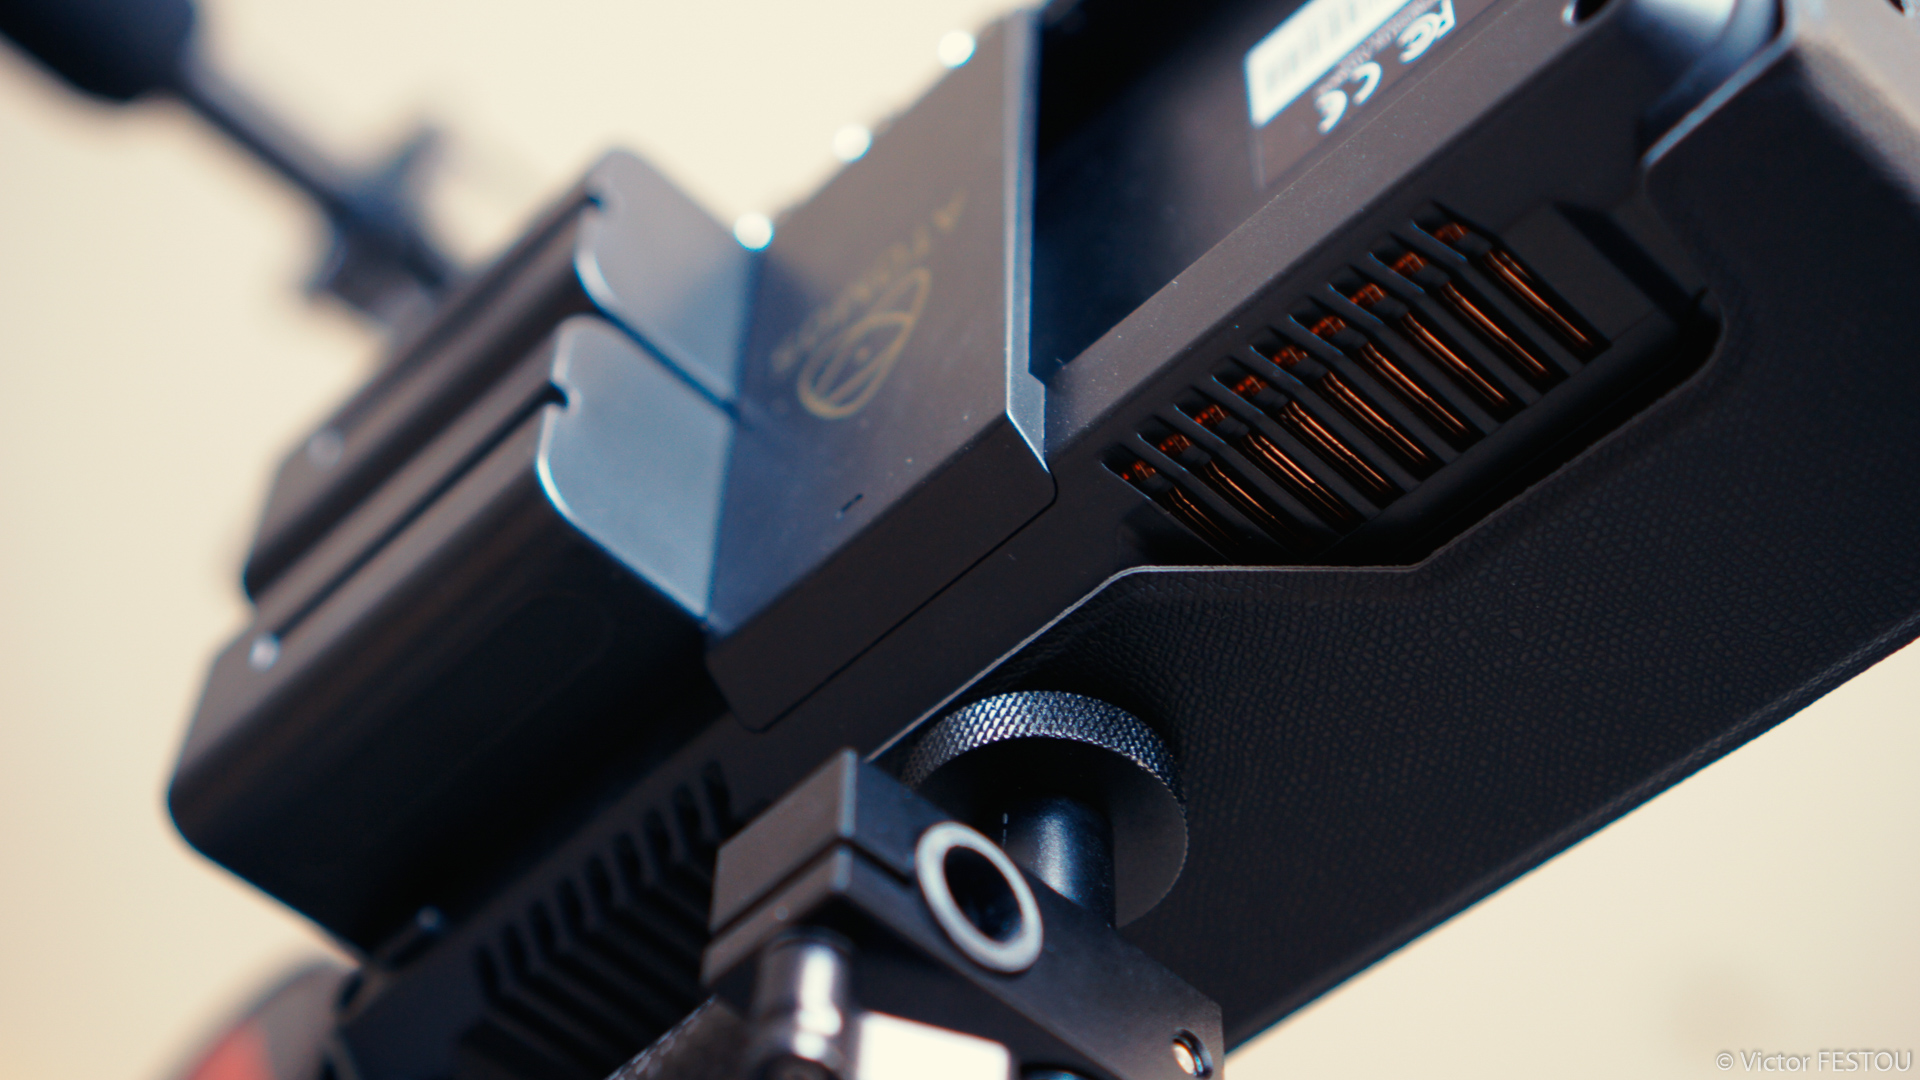
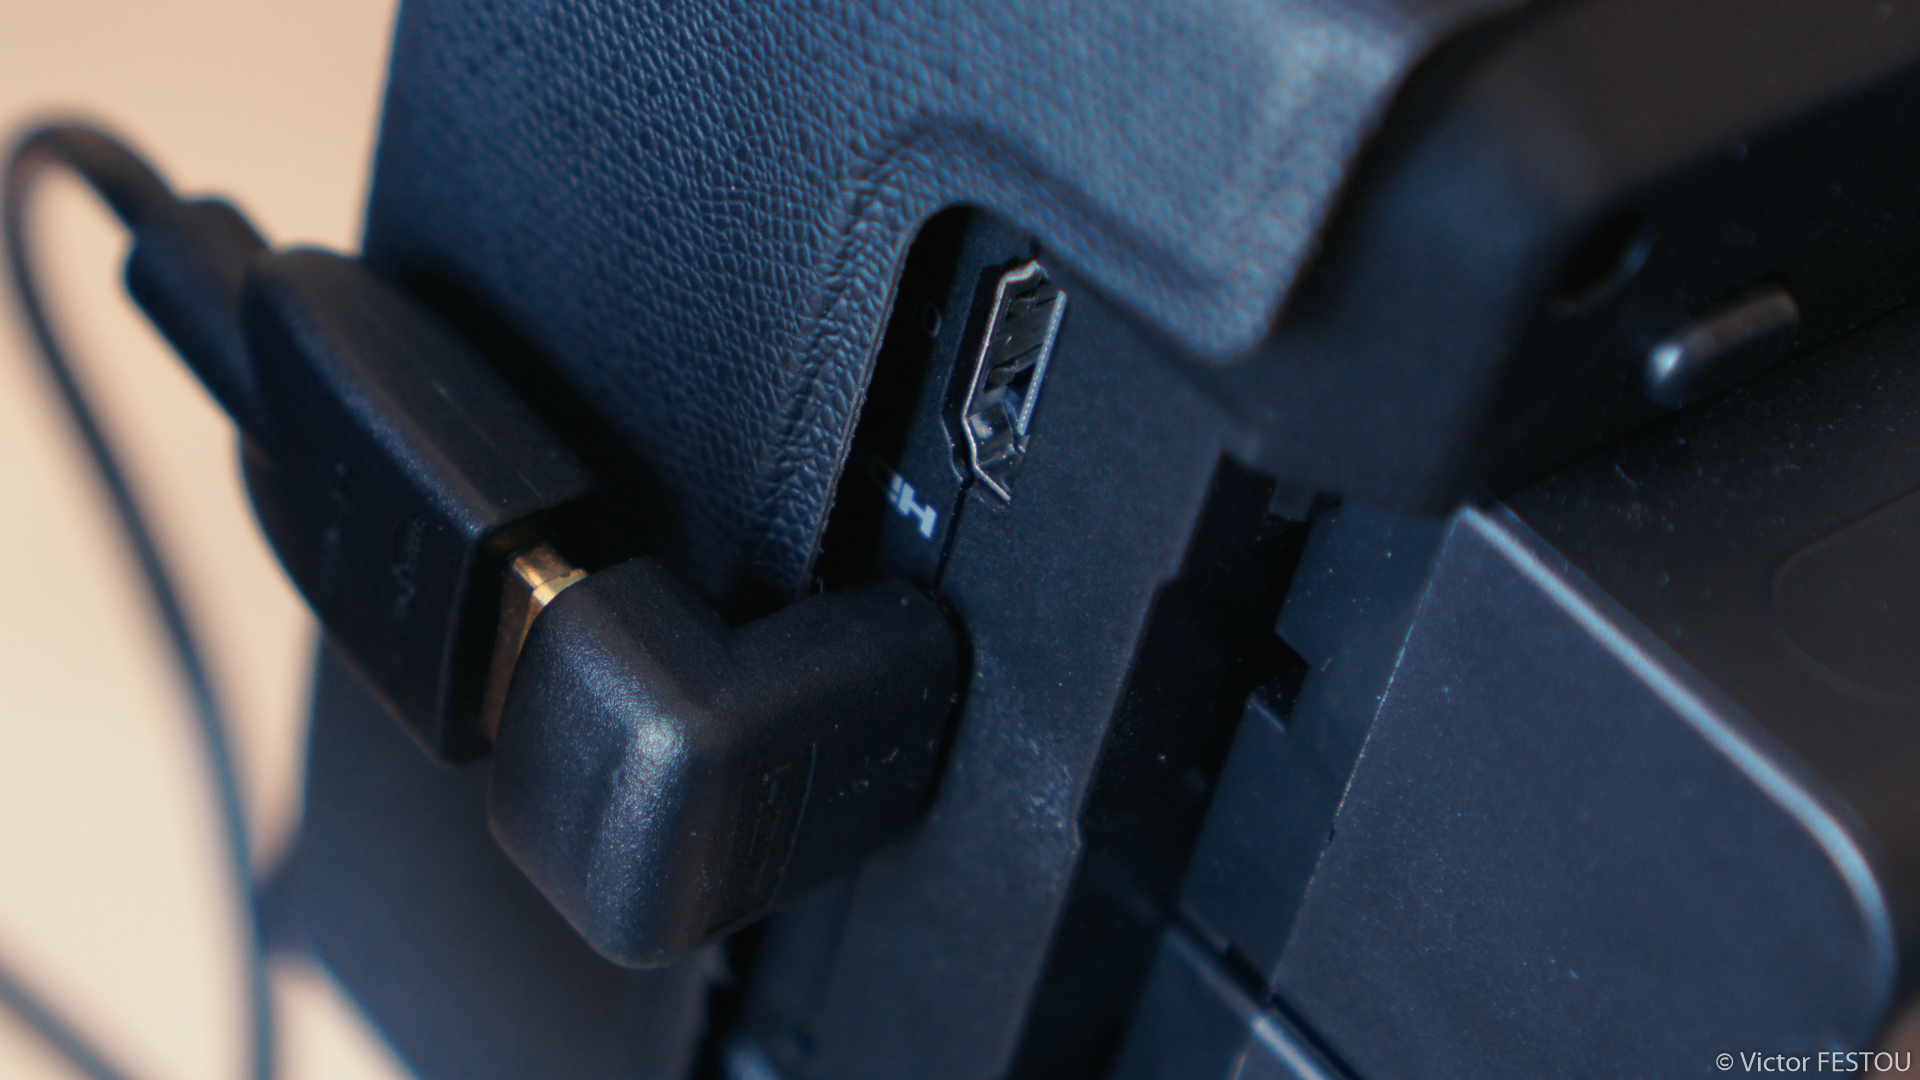
Size and operation
If the screen is only 7″, the casing is quite a bit bigger to accommodate the processing, cooling and additional I/O. Topping off at 214 x 127 x 45mm and more than a kilogram with a SSD and batteries, it’s not a lightweight item. The touchscreen is a pleasure to use even with a thin scratch protection screen that I added. The only switch you will find is the On/Off. A single push will power on the device, but you will need to hold it 3 seconds to power it down, as to prevent accidental shutting off. If pushed when powered, it will lock the touchscreen from accidental presses.
All the other controls will be operated from the touchscreen.
Sunhood
The sunhood is composed of 3 parts:
- The frame which is mounted on the recorder by 2 thumbscrews to the 2 top and bottom ¼” threads.
- The 4-sided sunhood which needs to be firmly sited in the frame. On the underside, there’s a small hatch closed by two elastic cloth frames, used to slip your hand into the sunhood and operate the touchscreen.
- An additional magnetic flap which reduces the back opening and prevents further light leakage. With it installed, there’s only a small slit to look inside.

An important note here: it’s much more complicated to use the touchscreen with the sunhood on. As it also create an enclosed space and if your face is too close, there can be fogging of the screen if the temperature outside isn’t high.
Still, it has the advantage of being extremely effective. You can precisely judge the exposition and contrast of the image without it getting washed out by the exterior light. This is also why I prefer a good sunhood rather than a bright screen.
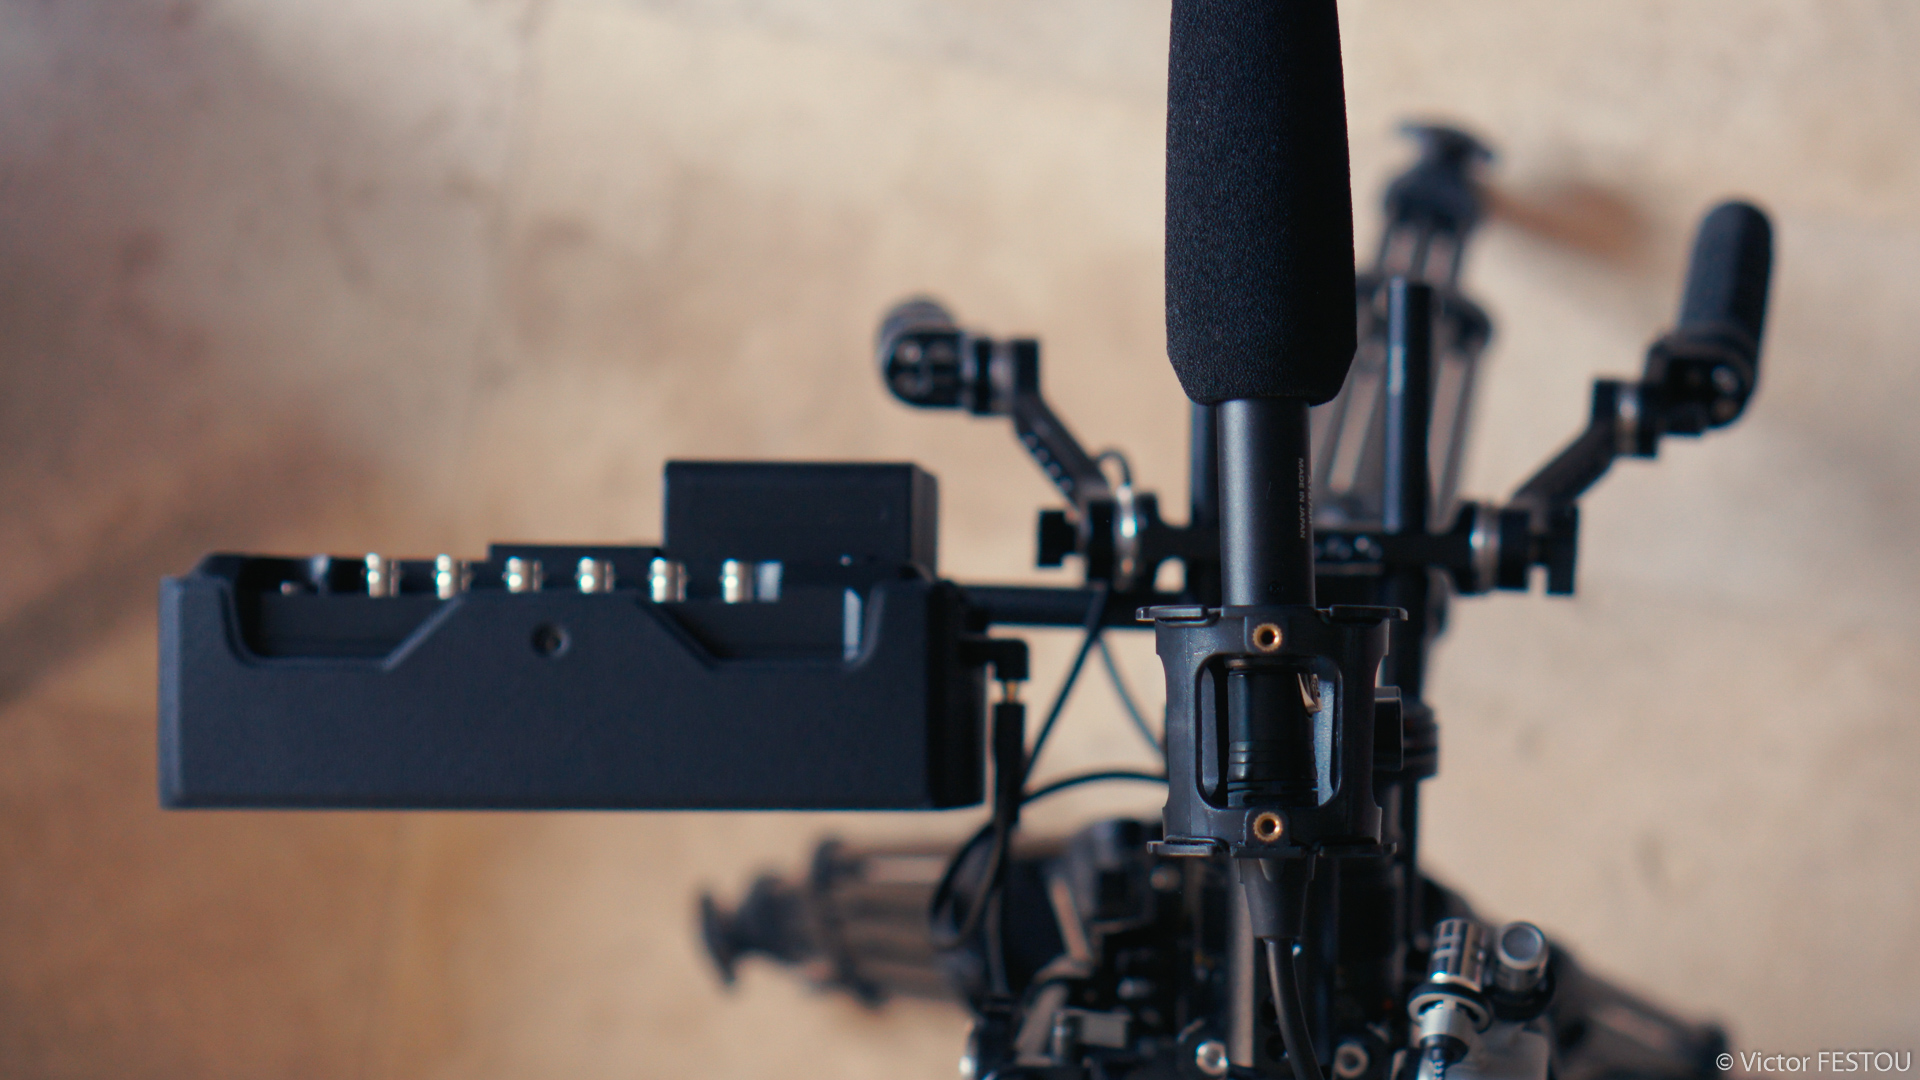
Mounting to the rig
Before getting the Atomos I had a 7″ monitor on the end of a smallrig magic arm. After some years of use, it had a hard time holding in it in place so I changed the holding system as the Atomos weighs more than double. Rather than buy a pricey but sturdy magic arm, I ordered some Smallrig accessories to mount it on a 15mm rod. If I lose a little in flexibility of positioning, there is no chance that it can loosen and fall.
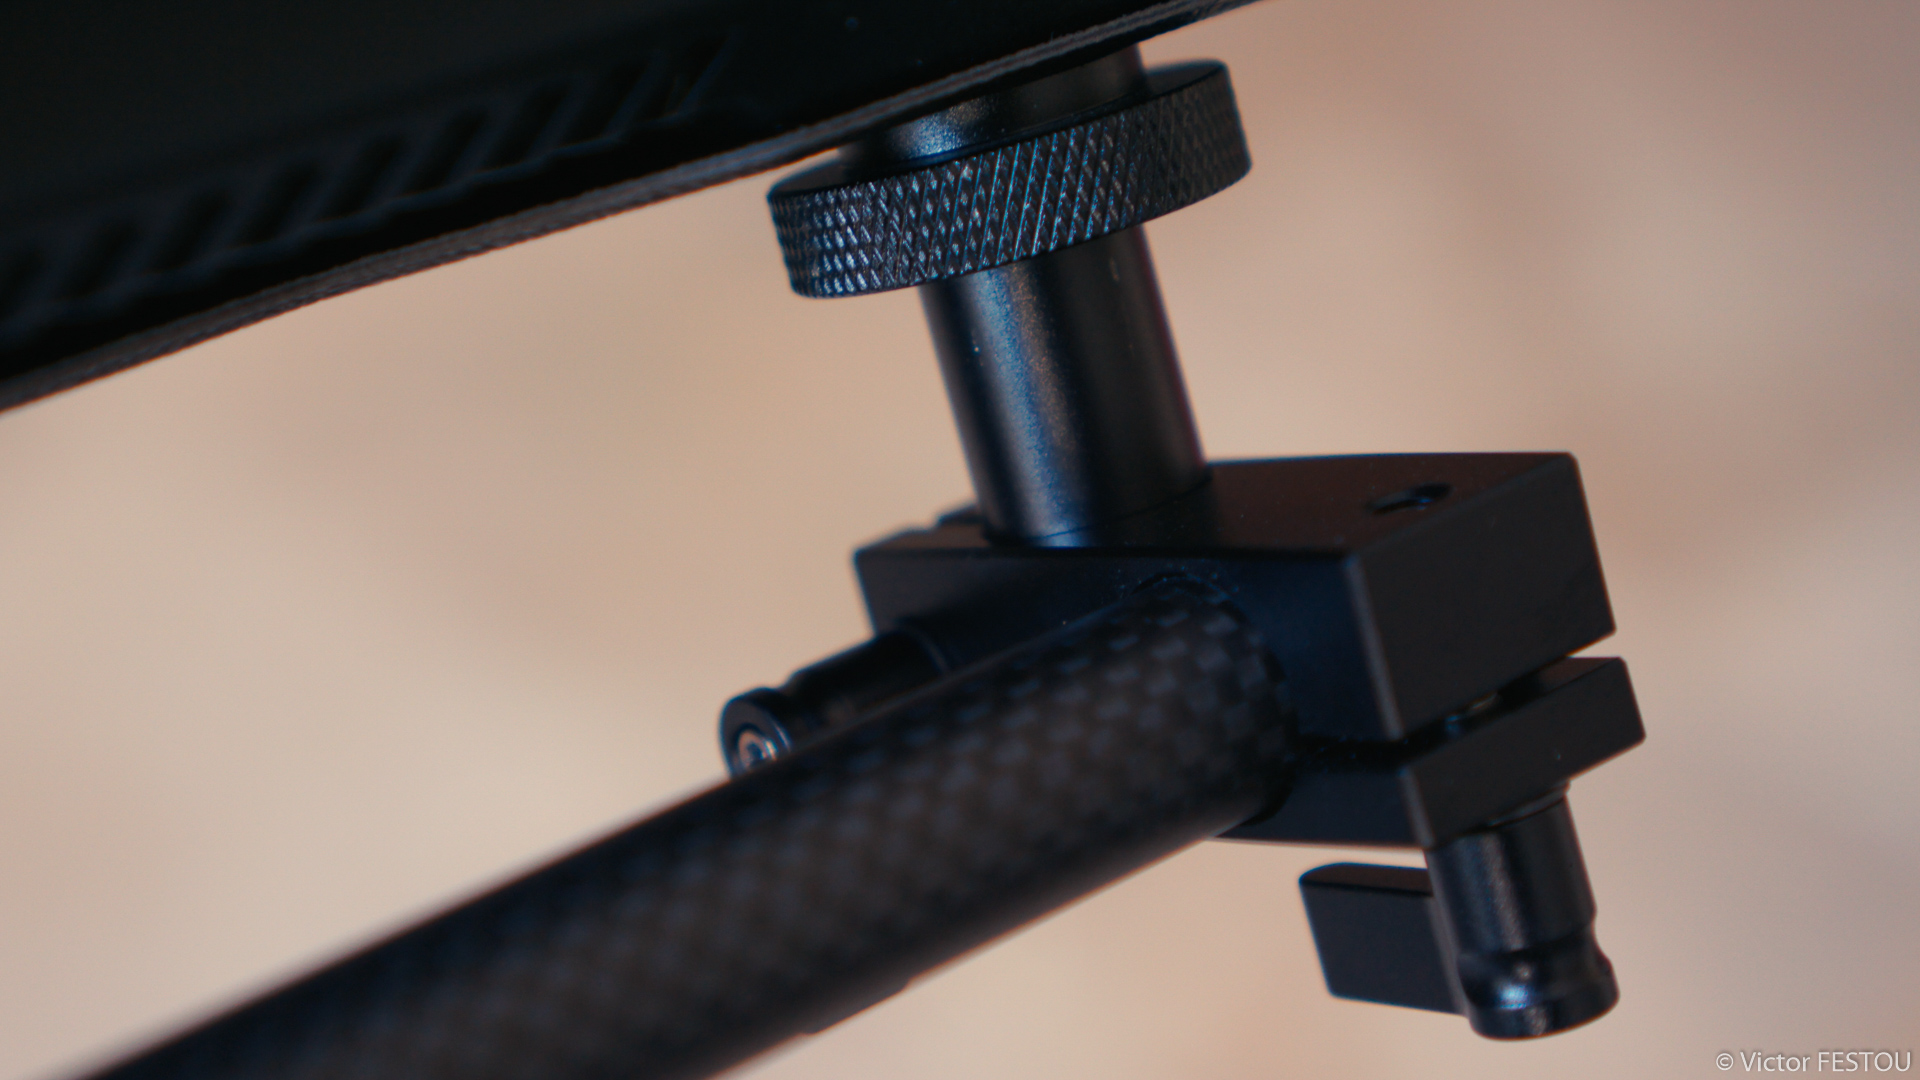
Image tools and assistance
All the standard scopes are present: Waveform, Parade RGB, Vectorscope can be either surimpressed on the bottom left corner, along the whole bottom of the screen or on top of the full image. Transparency and luminosity of the reticles can be adjusted.
In the tools you can find:
- Peaking, user definable are the colors (Cyan, Violet, White, Red, Green, Blue, Yellow), intensity (3 settings) and 3 modes (peaking over color image, peaking over black and white image, find edges mode)
- Zebras, from 50 to 105%,
- False colors, with the standard color gradients
- A blue channel only display (which I imagine for calibration with SMPTE bars)
- Display guides for the formats: 4:3, 16:9, 1.85:1, 1.9:1, 2.35:1, 2.40:1
- Safe-zones display
- Anamorphic desqueeze 2x, 2x (4:3), 1.5x, 1.33x, I’ll get back to this further along.
- 2x zoom for precise manual focusing
Tags and metadata
It’s possible to add tags to the rushes in a separate window, like “Bad audio”, “Favorite” or “Reject”. You can’t customize them. They will be inscribed in the clip metadata and usable in every NLE. I haven’t use this feature yet but I can imagine it useful in a documentary setting for example, where you can prepare the editing phase every evening by tagging the rushes
LUTS and color management
There’s also a window for the use of LUTs. There are basic ones, like a LOG to rec709 conversion with predefined device profiles, several HDR profiles (not working in HDR I haven't tested them) A lot of predefined ones are already loaded, like basic conversions from Log formats to rec709. There’s also HDR LUTs, but as I don’t work with HDR, I haven’t tested them. Finally, 8 slots are reserved for customs LUTs by the user. I quickly exported my own from Resolve and loaded it to the Atomos. They only need to be saved in .cube, copied to the media SSD and loaded to the memory in the recorder.
That’s probably one of the features I was most excited of after the DNxHD codecs. The Sony a7r2 doesn’t have display LUTs to work with slog2, neither had my old monitor, so the image is extremely flat and desaturated. If with experience you could judge exposure pretty accurately, all color work was extremely difficult, even by pushing the monitor saturation to the max. Now I can even create specific LUTs for each project, if a particular aesthetic is sought after.
Anamorphic desqueeze on 16:9
For use with anamorphic there’s a feature which I find very useful for cameras which don’t have a dedicated anamorphic shooting mode, like a 4:3 or 6:5 recording format. The problem is that on 16:9, such as on the a7r2, with a 2x anamorphic ratio, you get a 3.55:1 ratio after desqueezing, which is way too wide and stretched.
There is a variety of 1.33x anamorphic lenses specifically for 16:9, but I find them to be a bit of a gimmick. Even if you get the famous 2.35:1 ratio, all the characteristics and flaws of real anamorphic lenses, like the oval bokeh, long flares and streaking, don’t really show up in 1.33x
Thankfully the Atomos has a solution: by selecting the 2x 4:3 mode, the recorder automatically crops the 3.55:1 frame to 2.66:1 and shows on top a 2.35:1 frame guide (or any other format you selected). Even on Sony, it’s super easy to frame and the size of the image on screen isn’t microscopic.
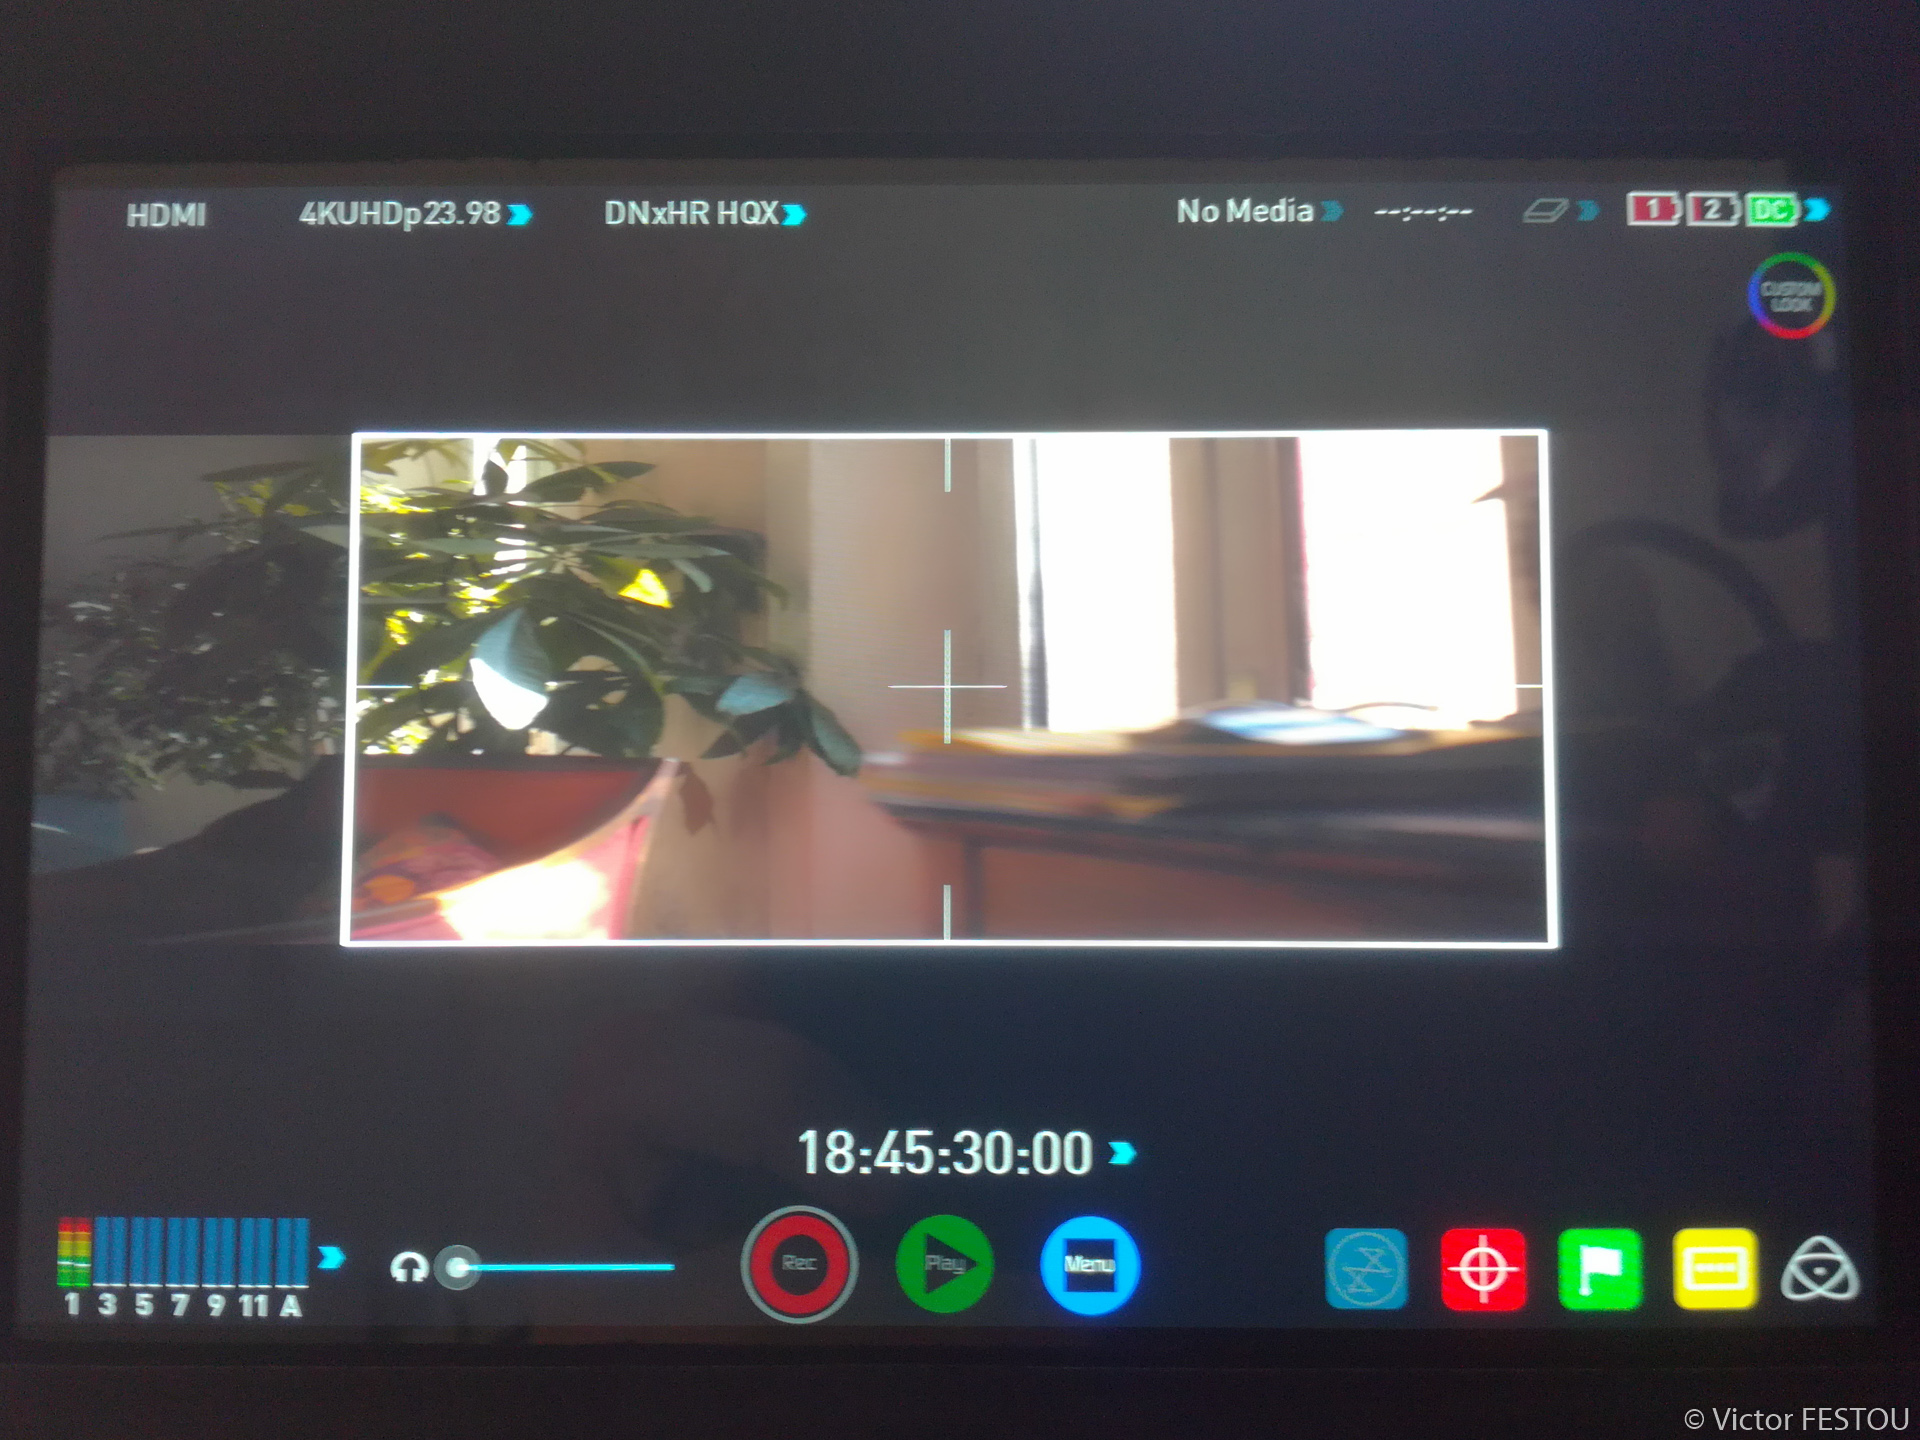
bty
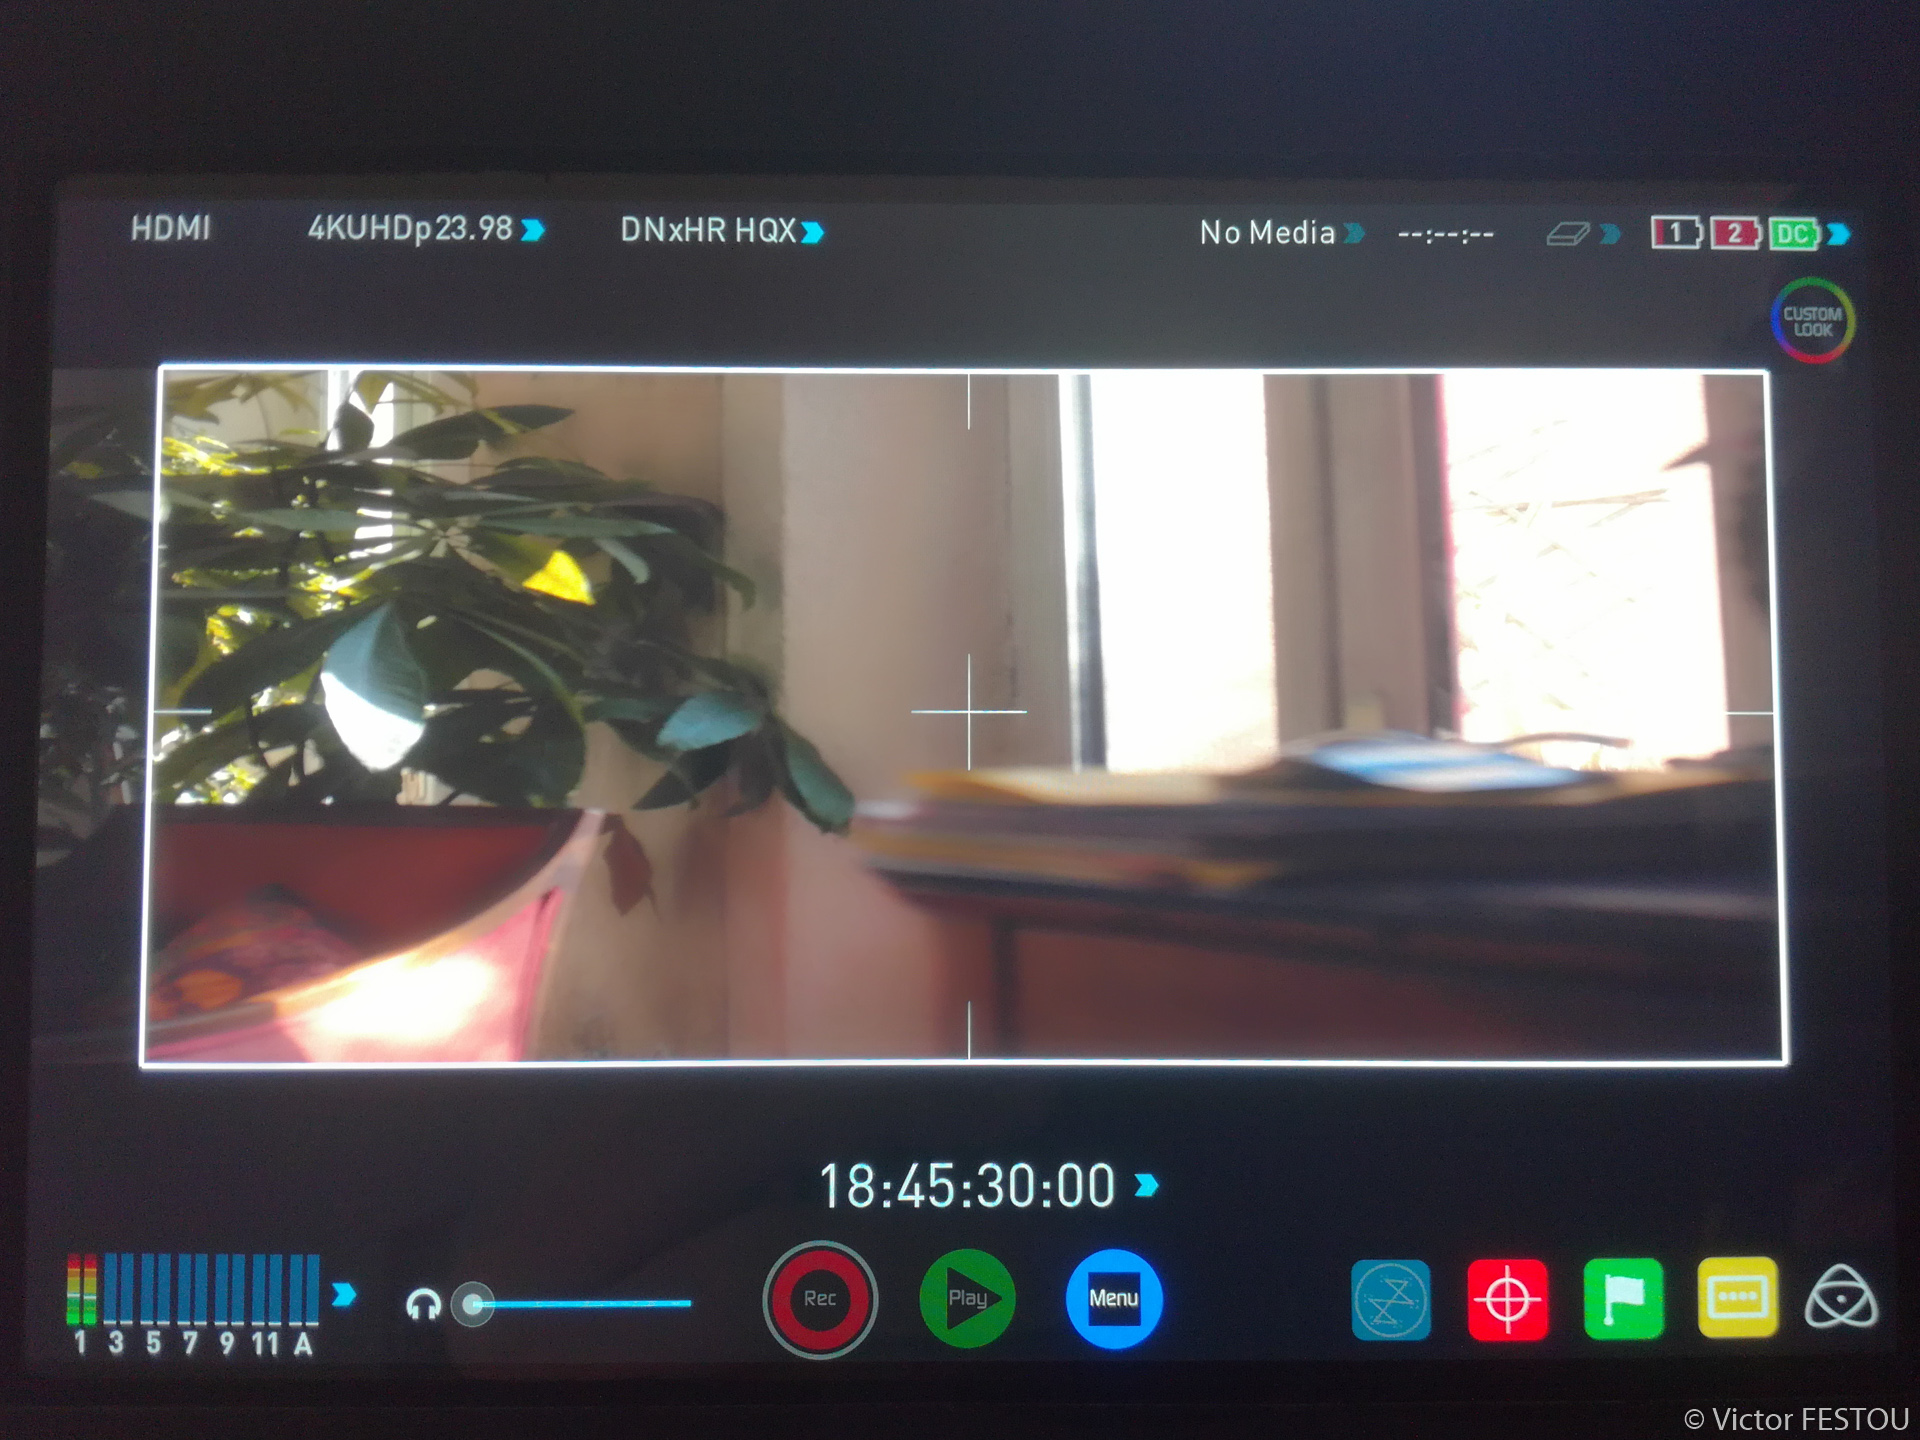
bty
Before: 2X Mode | After: 2X 4:3 mode
Despite the bad quality of the photos, you can easily seen that the screen real-estate is better exploited with the 2x 4:3 mode.
Shortcomings of the cooling system
Unfortunately everything isn’t optimal on the Shogun Inferno. My main gripe with it is the presence of a cooling fan inside the recorder, which actively blows air on a small copper heatsink.
If the fans aren’t ramped up 100% all the time, they can be audible in a quiet room. To remedy this, I chose to mount the Atomos upside down so that the vents face down and not up as standard. You can flip the screen in the options and as everything is touchscreen operated, there is no downside to this. It slightly reduce the wind noise it produced and dampens a bit the fan noise. The microphone is also placed in front of the screen, so that it doesn’t catch as easily the parasitic noise.
But you will still need to use noise reduction in post-production. I’m quite new to this, so I tested with noise reduction and using and expander to further reduce the whining, which was quite successful.
Recording Options
Codecs and bitrates
Now let’s look at the recording codecs. You can either choose ProRes or DNxHD. My personal preference is to use DNxHD but there isn’t much quality difference between the two codecs. To unlock the DNxHD license, you need to go to the Atomos website and enter the serial number of the recorder. In return, you get a password which unlocks the Avid license.
With DNxHD (in 1080p resolution), you get 4 different options:
- DNxHD 36: 36Mbps bitrate, is only useful for proxy files. 8bit 4:2:2
- DNxHD 145: 145Mbps bitrate, standard quality. 8bit 4:2:2
- DNxHD 220: 220Mbps bitrate, good quality. 8bit 4:2:2
- DNxHD 220x: 220Mbps bitrate, good quality with better color depth: 10bit 4:2:2
Note that those bitrates are doubled in 1080p60.
With DNxHR (higher resolution than 1080p), there’s also 4 options, the bitrates indicated are for 4K24p (3840×2160):
- DNxHR LQ: 135Mbps bitrate, low quality. 8bit 4:2:2
- DNxHR SQ: 440Mbps bitrate, standard quality. 8bit 4:2:2
- DNxHR HQ: 660Mbps bitrate, good quality. 8bit 4:2:2
- DNxHR HQX: 660Mbps bitrate, good quality with higher bit depth. 10bit 4:2:2
Recording with the Sony a7r2
The a7r2 can’t output 10bit over HDMI, only 8bit 4:2:2. 8bit has never been a problem before for me and my workflow, but I chose the Atomos to remedy 2 other aspects that I found much more problematic: the internal codec color sampling of 4:2:0 and the compression artifacts of XAVC-s. Those will be analysed in the Comparing the image quality section
I use these two modes the majority of the time:
- The 4K24p in Aps-c/super35 mode: it’s the best quality mode of the camera. It uses a downsampling from an approximately 15Mpx region of the sensor for a crop factor of 1.5x. I have a bunch of cinema lenses which do not cover full frame, so that was the main reason I chose the a7r2 over the a7s/a7s2. I never find this mode to have moiré or aliasing, and the image as always been of superb quality. The only downside is the quite high rolling shutter of 27ms.
- The 1080p60 in Full frame mode: whenever I need to do a slow-motion shot this is my go-to. I use the camera in NTSC and not PAL as it can achieve 60fps while only 50fps in PAL. This way, I can slow it 2.5x instead of only 2x without quality loss. The a7r2 is I think the last Sony camera with nice 1080p quality, second only to the a7s/a7s2 line. It’s detailed, without moire and aliasing, in contrast with the 1080p of the a7m3 for example, which is really soft. The rolling shutter is better in this mode, at 14ms, nearly the same as the rolling shutter of the 4K FF mode! I reckon it’s the result of a solid downsampling, without too much line skipping.
The 4k24p Full frame mode is way more situational for me, because it tends to show some moire and aliasing, even if it’s better detailed than the 1080p mode. The high ISO performance is also way wore than the 4k super35 mode, it’s really hard to go beyond ISO 1600. The only upside it has is its relatively low rolling shutter, which is almost half of the super35 mode, and it can be quite helpful to shoot action scenes where you don’t want any ‘jello’ effect.
The Atomos Shogun Inferno can for those modes go from:
- 4K super35mm: XAVC-s 100mbps 8bit 4:2:0 to DNxHR 660mbps 8bit 4:2:2
- 1080p60 FF: XAVC-s 50mbps 8bit 4:2:0 to DNxHD 440mbps 8bit 4:2:2
While the bitrate is at least 6 times better, the color sampling is also doubled!
Additional recording functionalities
PreRoll
It’s a nice feature especially to shoot slow-motion where you can’t predict the perfect moment. The Atomos records in continuously and keeps in memory 3 seconds of footage. Once the REC button is pressed, those 3 seconds are saved and the recording continues after it. This functionality prevents recording audio.
Timelapse
This is an option that can be helpful on a cinema camera without a dedicated timelapse mode but it’s really redundant on the a7r2, as the internal app is much more powerful. First you don’t have to power an additional device so that saves on batteries, but the app also automatically changes exposure without flickering. You can also use the full 42Mpx of the sensor, and with the Silent Shutter option you don’t even wear the body down.
Comparing the image quality
What are the advantages to recording in DNxHR?
Let’s compare the image quality between the internal H264 codec and the clips recorded in DNxHR.
If the files are huge in comparison, they are also way easier to decode for the computer. For those which have an old cpu or lack power, editing will be much more smooth and you won’t have to resort to transcoding and creating proxies.
So what are the improvements that we can expect :
- First the internal codec has only a color sampling of 4:2:0. Therefore, in DNxHD, you can expect more accurately reproduced colors, especially in the details.
- The XAVC-s use temporal compression (also known as long-GOP) to keep the file sizes down. From a key image, all subsequent images are derived. This can create artifacts if there is a lot of movement in the frame, or if the subsequent images are way different than the reference. This codecs use algorithms and tricks to make those flaws less visible but they exist nonetheless. DNxHR doesn’t use temporal compression so those artifacts should disappear. The only downside is that without temporal compression, it’s less efficient at storing data and therefore needs much larger file sizes to keep a good quality.
Test images
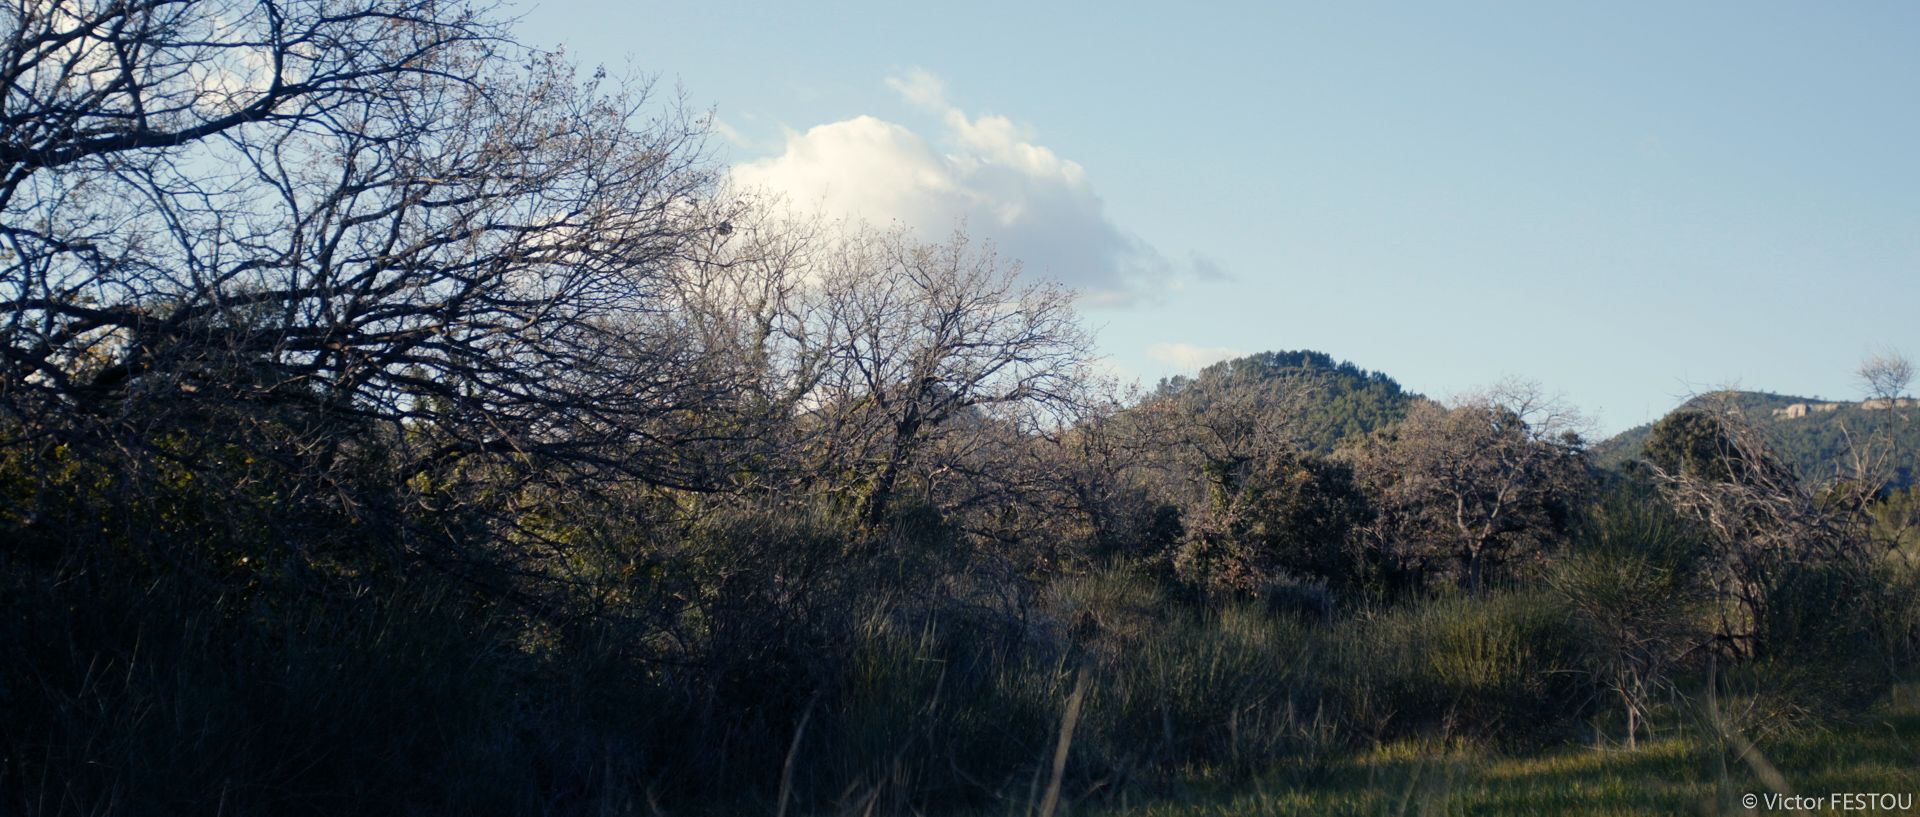
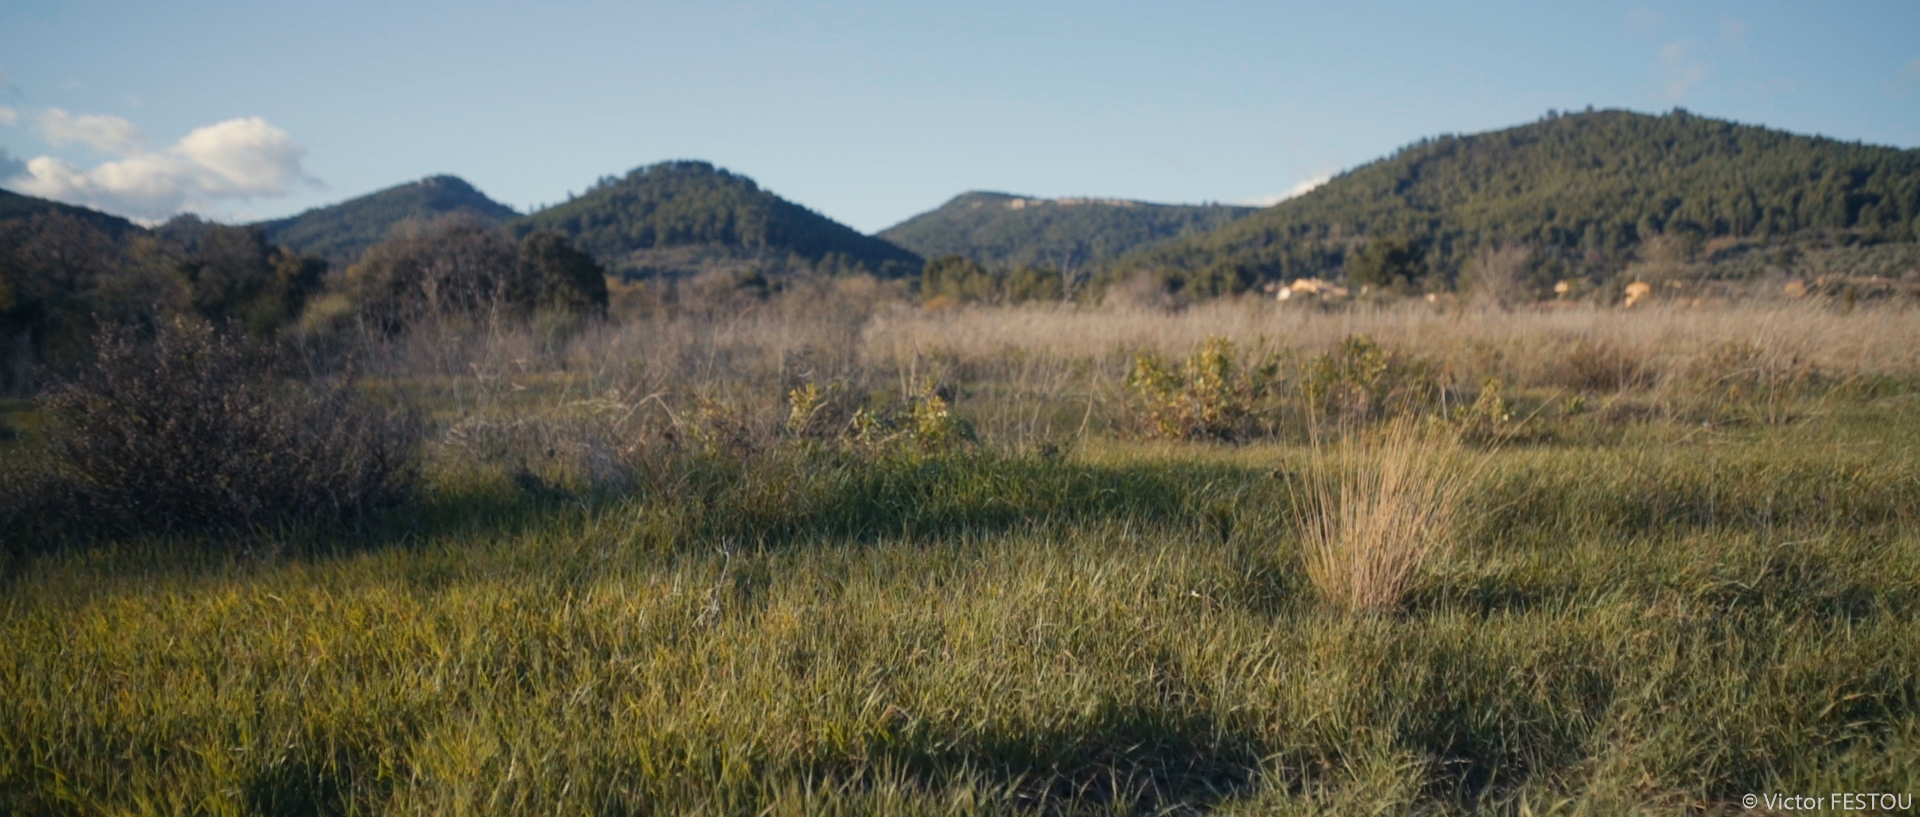
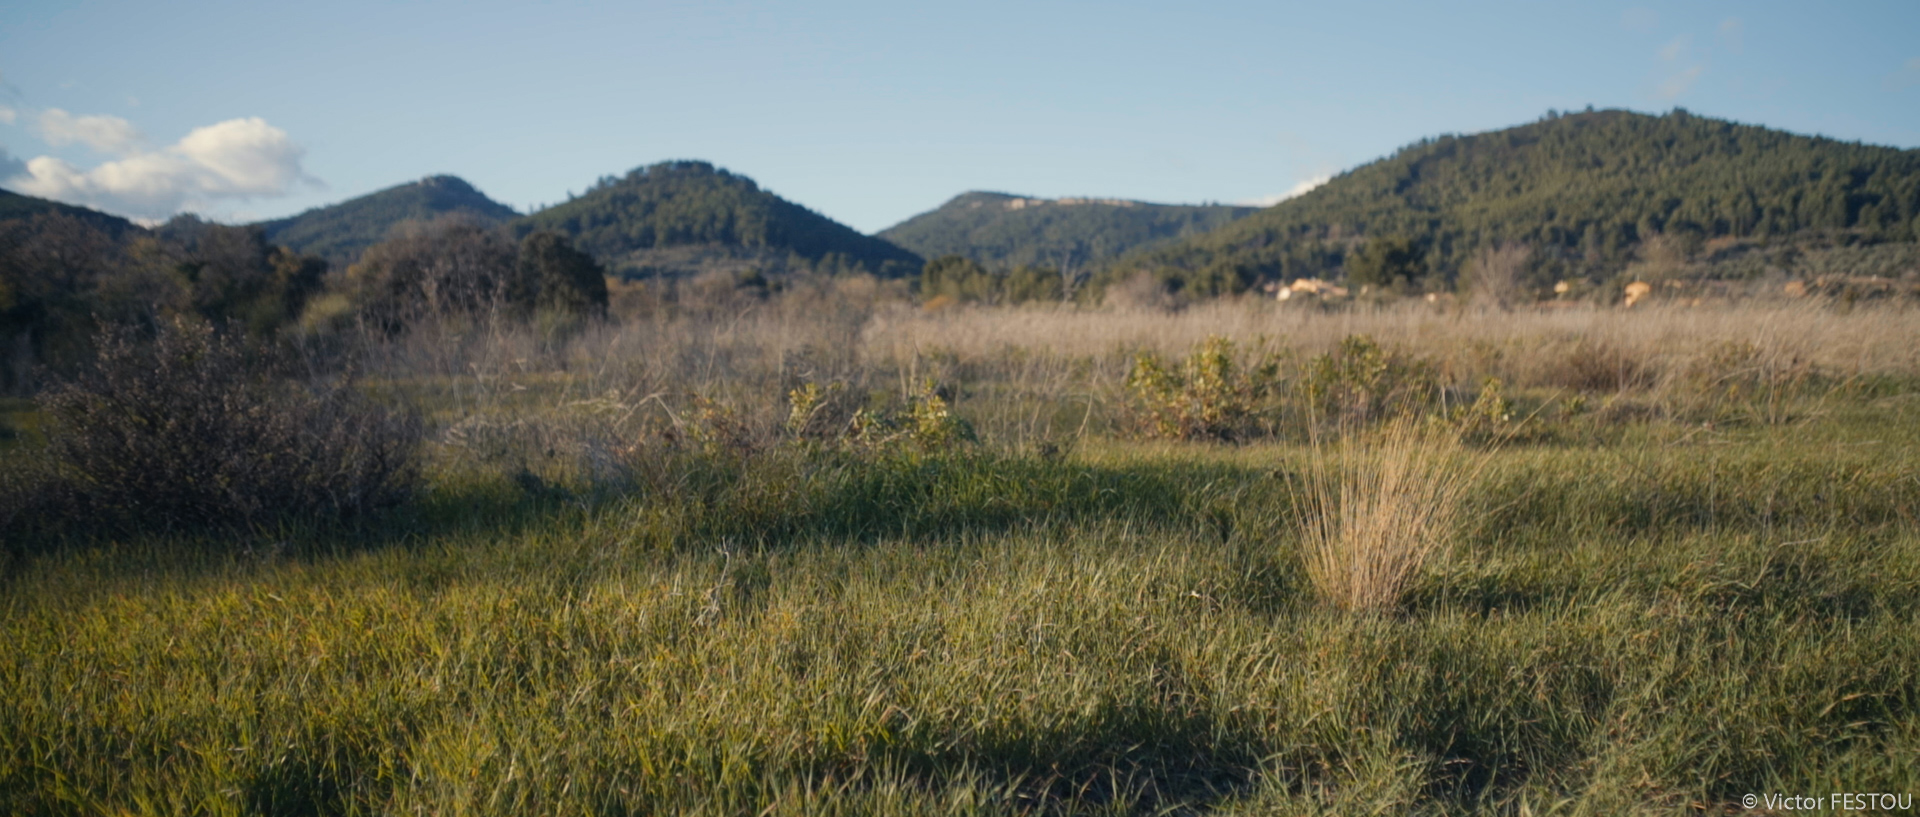
I’ve shot a lot of test footage in diverse conditions so I’m gonna just link below some examples that I found represented the main differences I found.
All the comparisons below will feature the internal H264 codec on the left and the DNxHR to the right.

Before: 4K H264 | After: 4K DNxHR


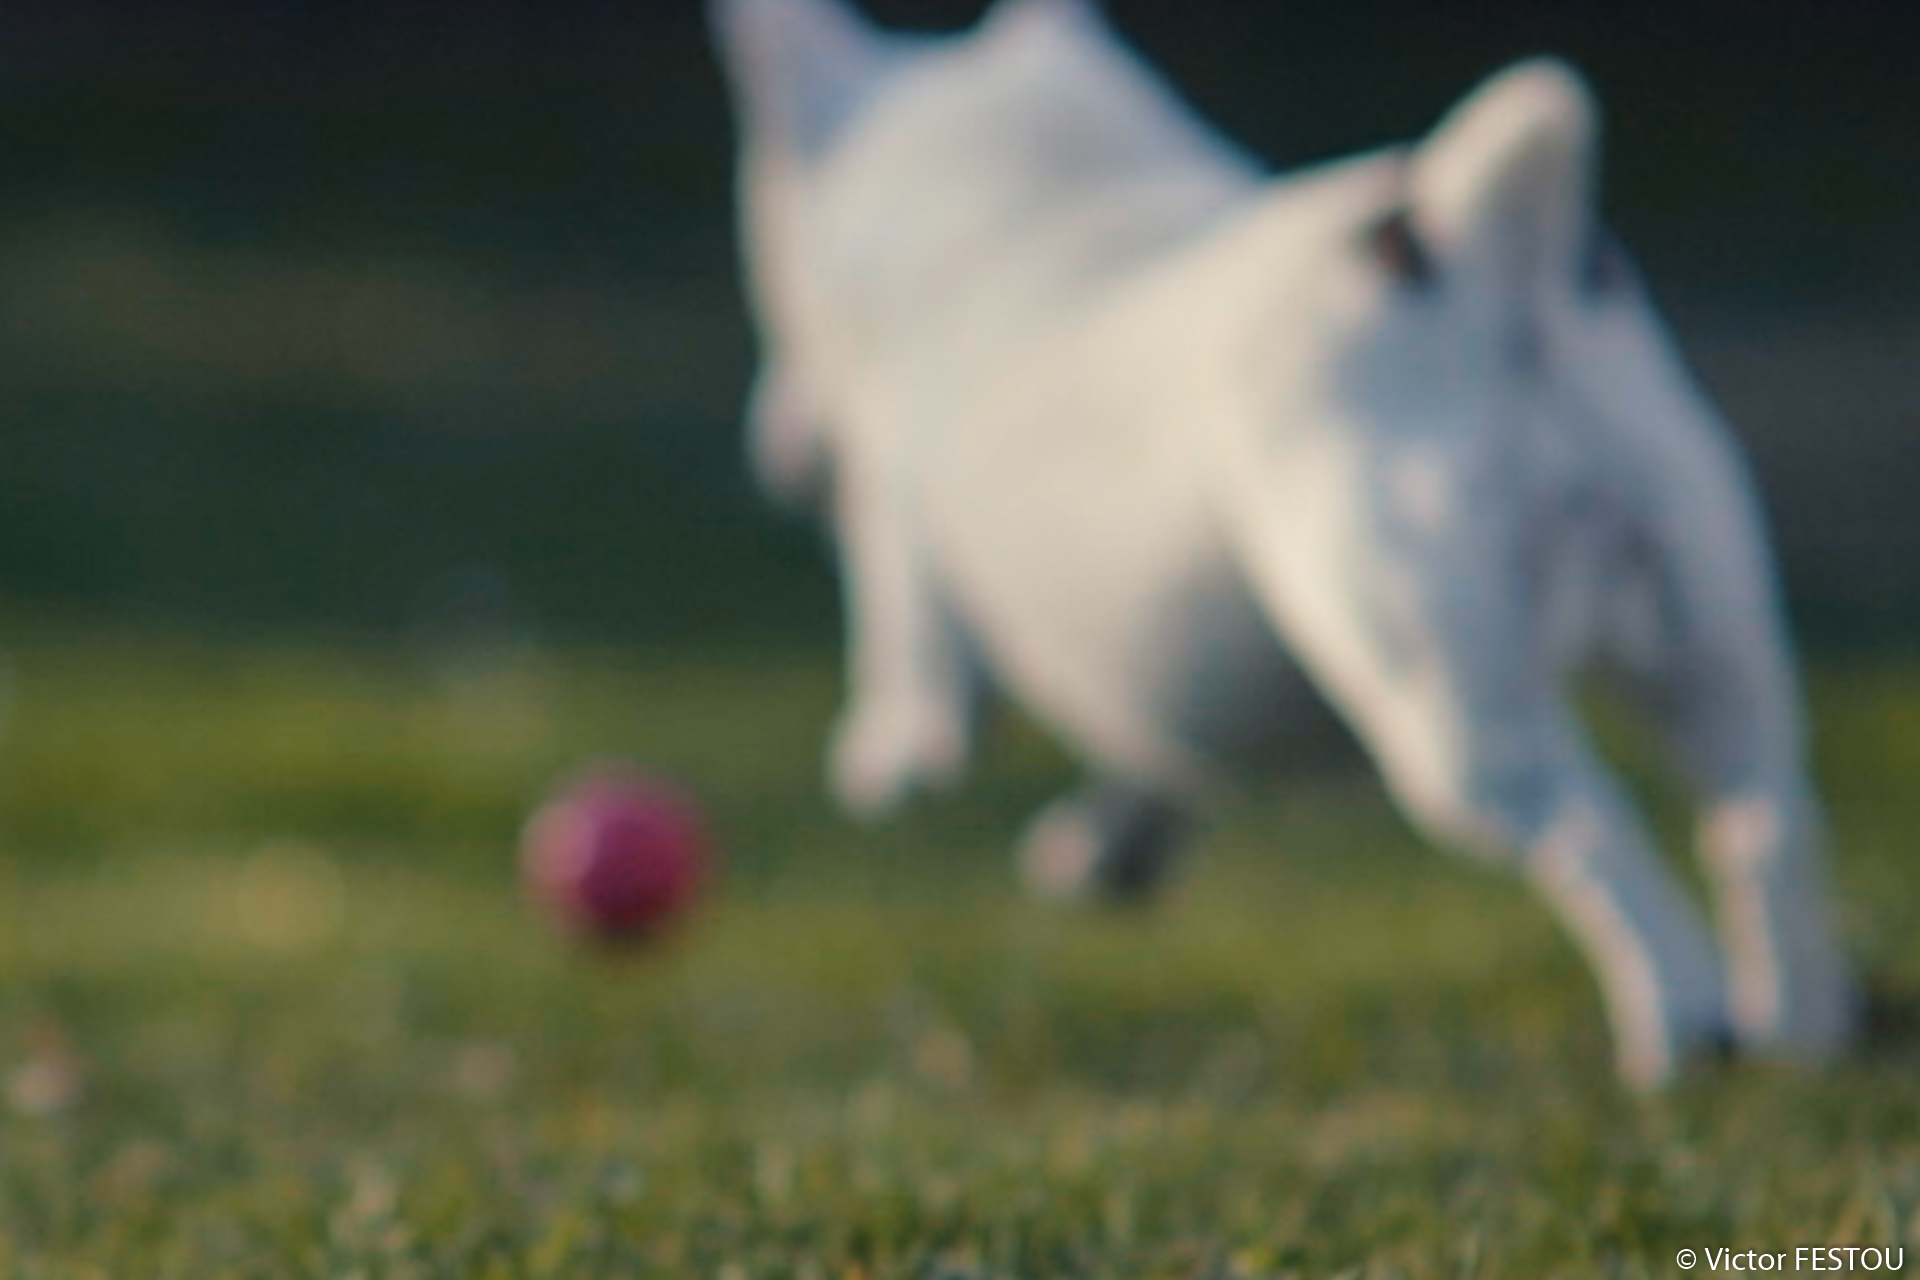
Before: H264 Close-up | After: DNxHR Close-up
This is a 4K frame shot in a relatively slow wind. It’s hard to see any difference in the full frame but a close-up show that the frame is less detailed. The internal codec seems more grainy and you can clearly see that the orange leaves on the tree disappear in the internal codec.
Before: 1080p H264 | After: 1080p DNxHD


Before: H264 Close-up | After: DNxHD Close-up
1080p60 shot. There was a lot of movement in the frame as it was a very windy day. You can also see the more grainy appearance of the internal codec. The color of the grass is also much more detailed and profound in the DNxHD. The grain of the H264 also negatively impacts the bokeh, making it less smooth.

Before: 1080p H264 | After: 1080p DNxHD

Before: H264 Close-up | After: DNxHD Close-up
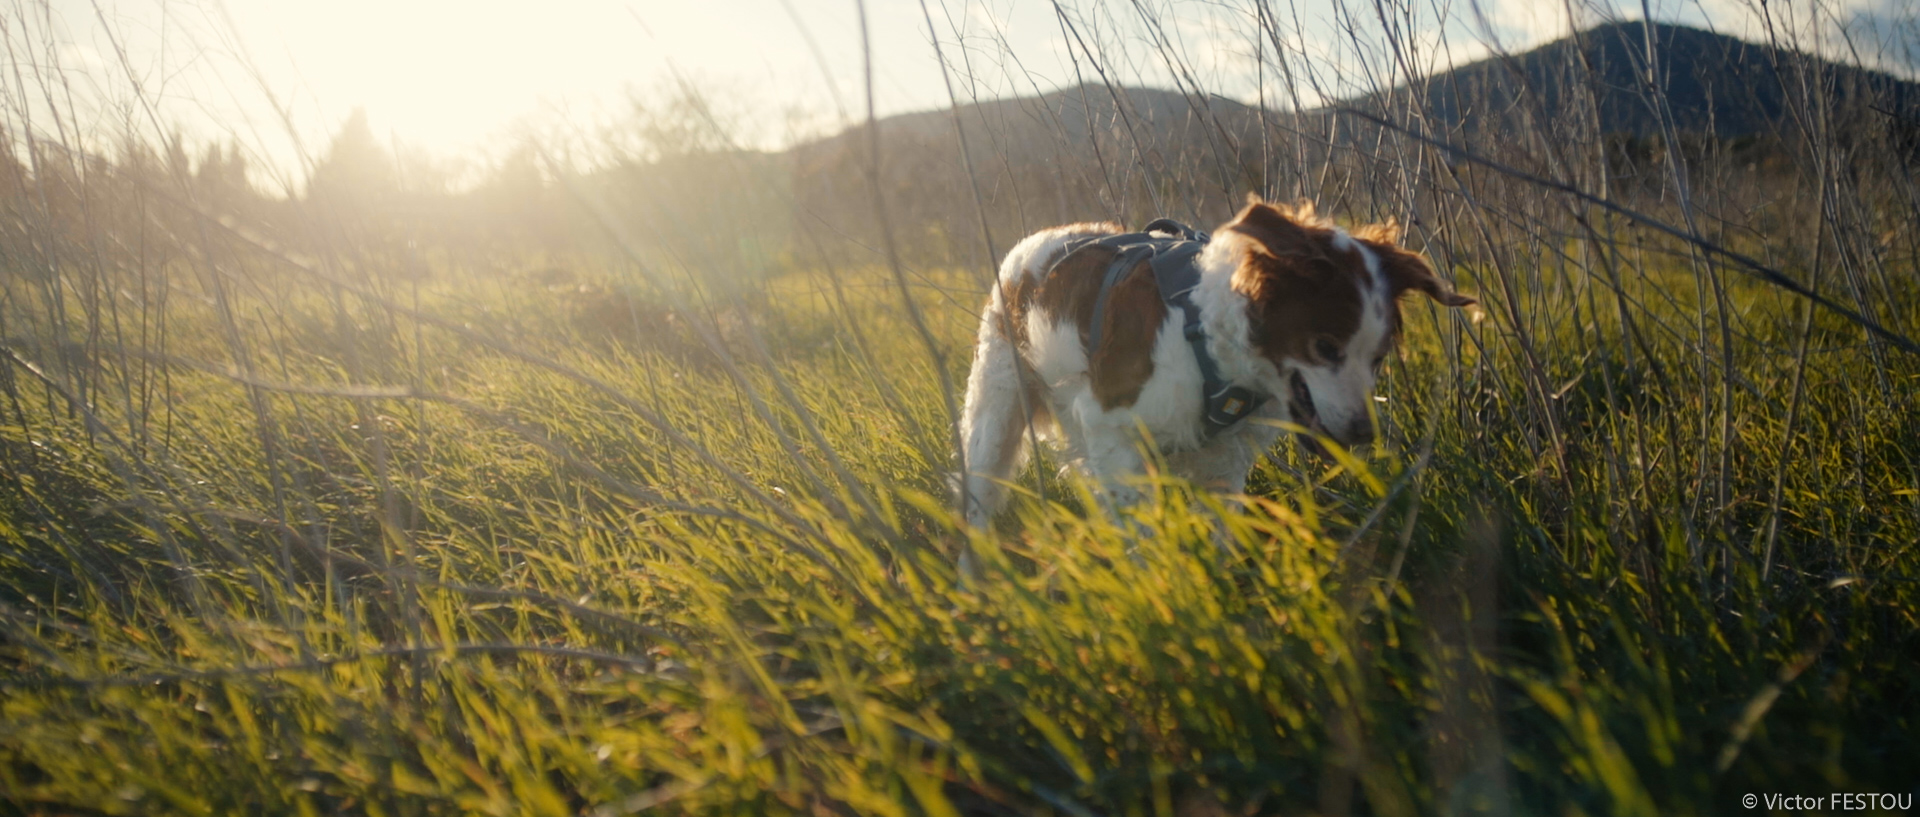
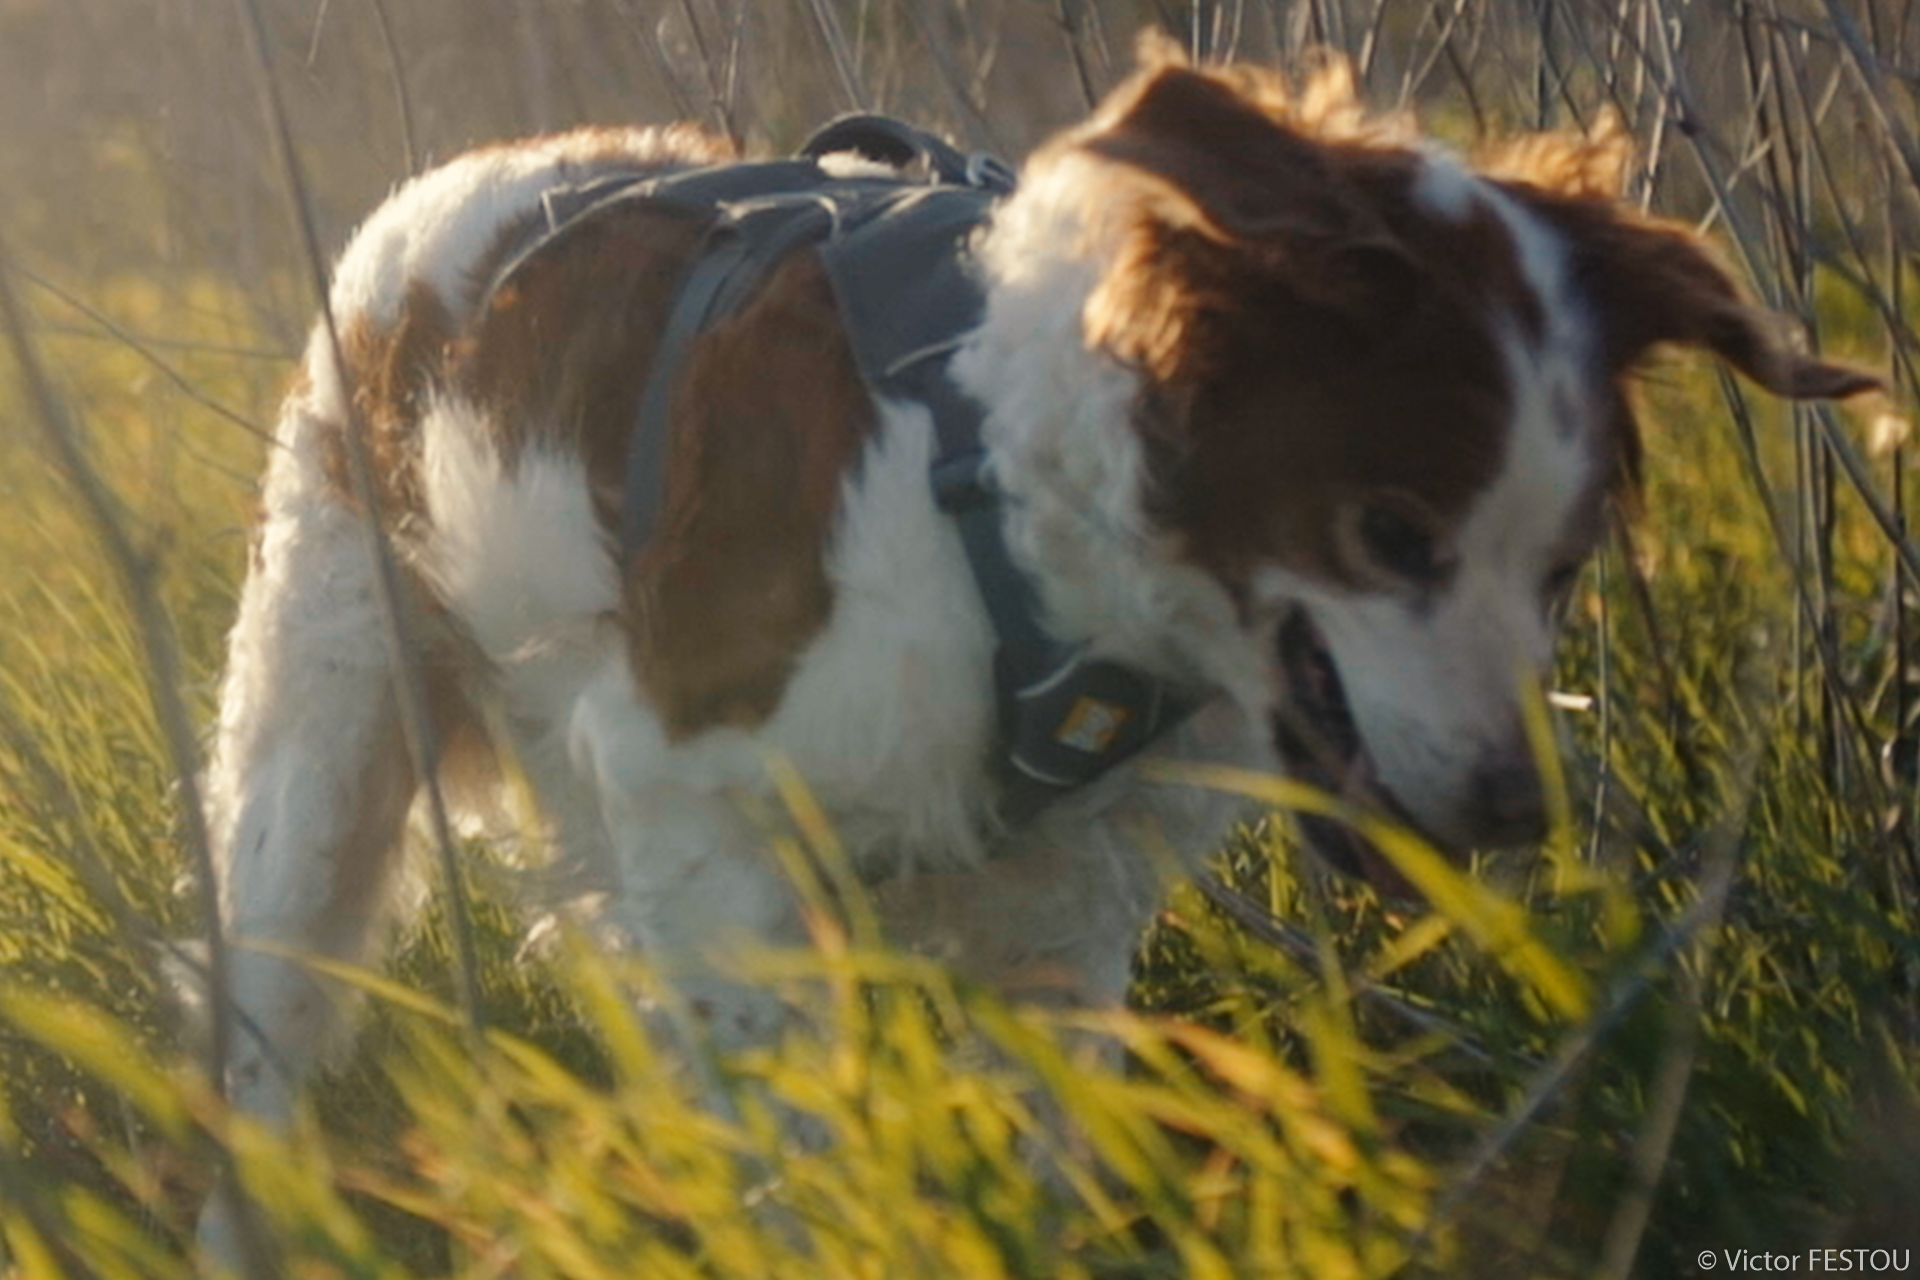
1080p60 shot. With a moving subject the internal codec shows the downsides of temporal compression: a lot of grain and macro-blocking are showing. There is also a clear detail loss, as some fur is completely blurred.
Before: 1080p H264 | After: 1080p DNxHD

Before: H264 Close-up | After: DNxHD Close-up
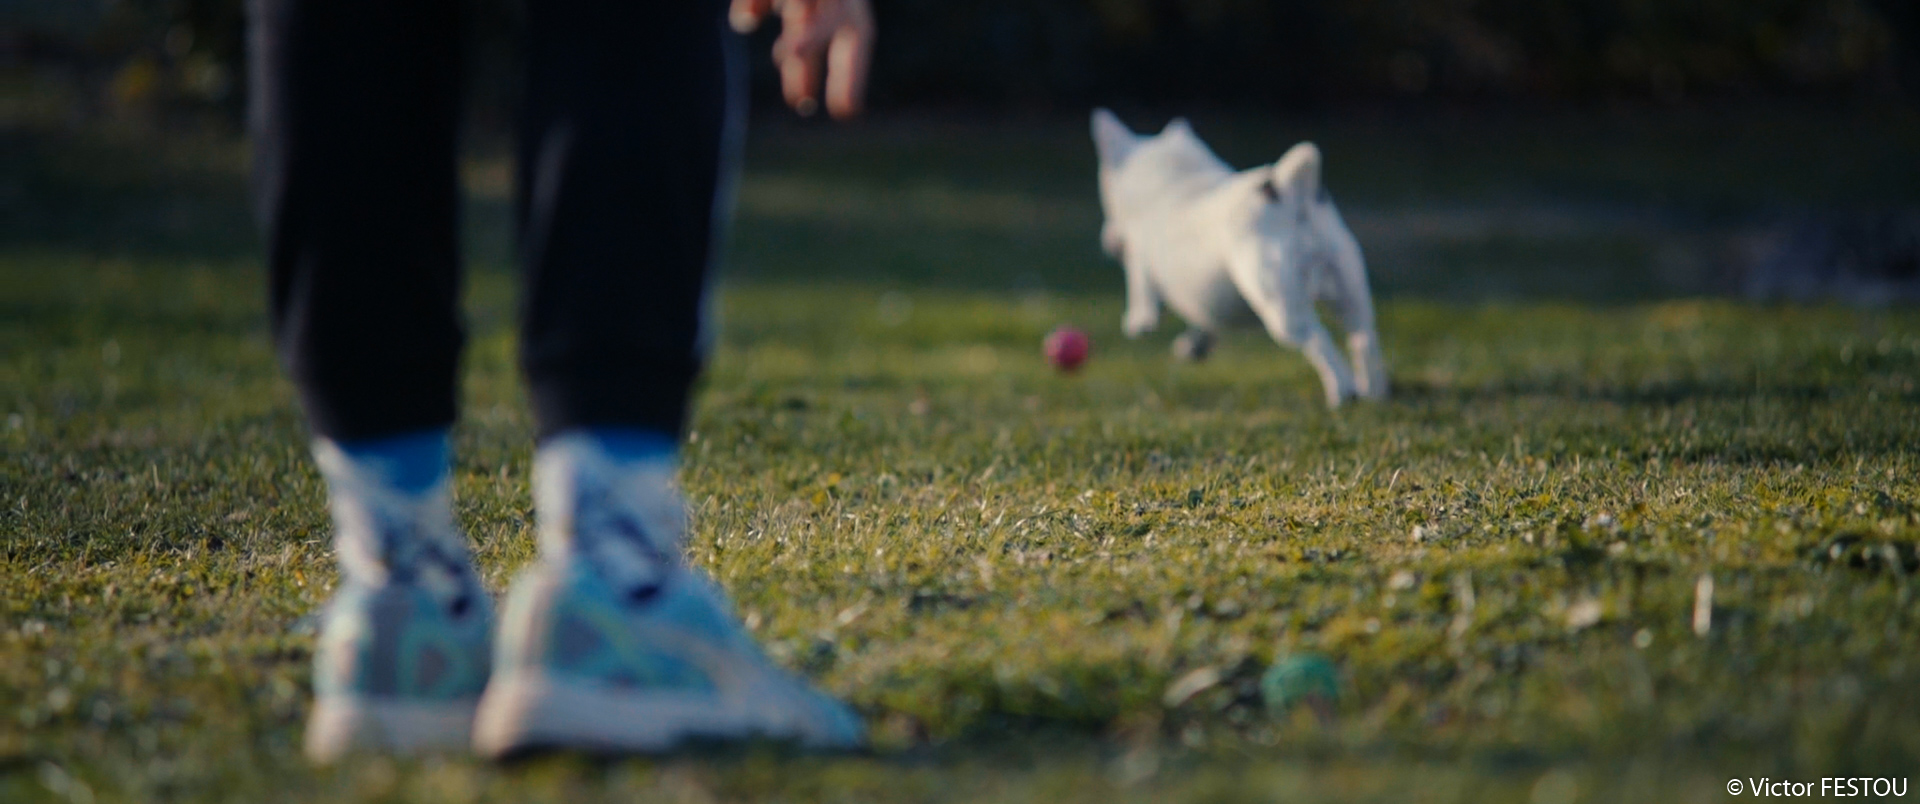
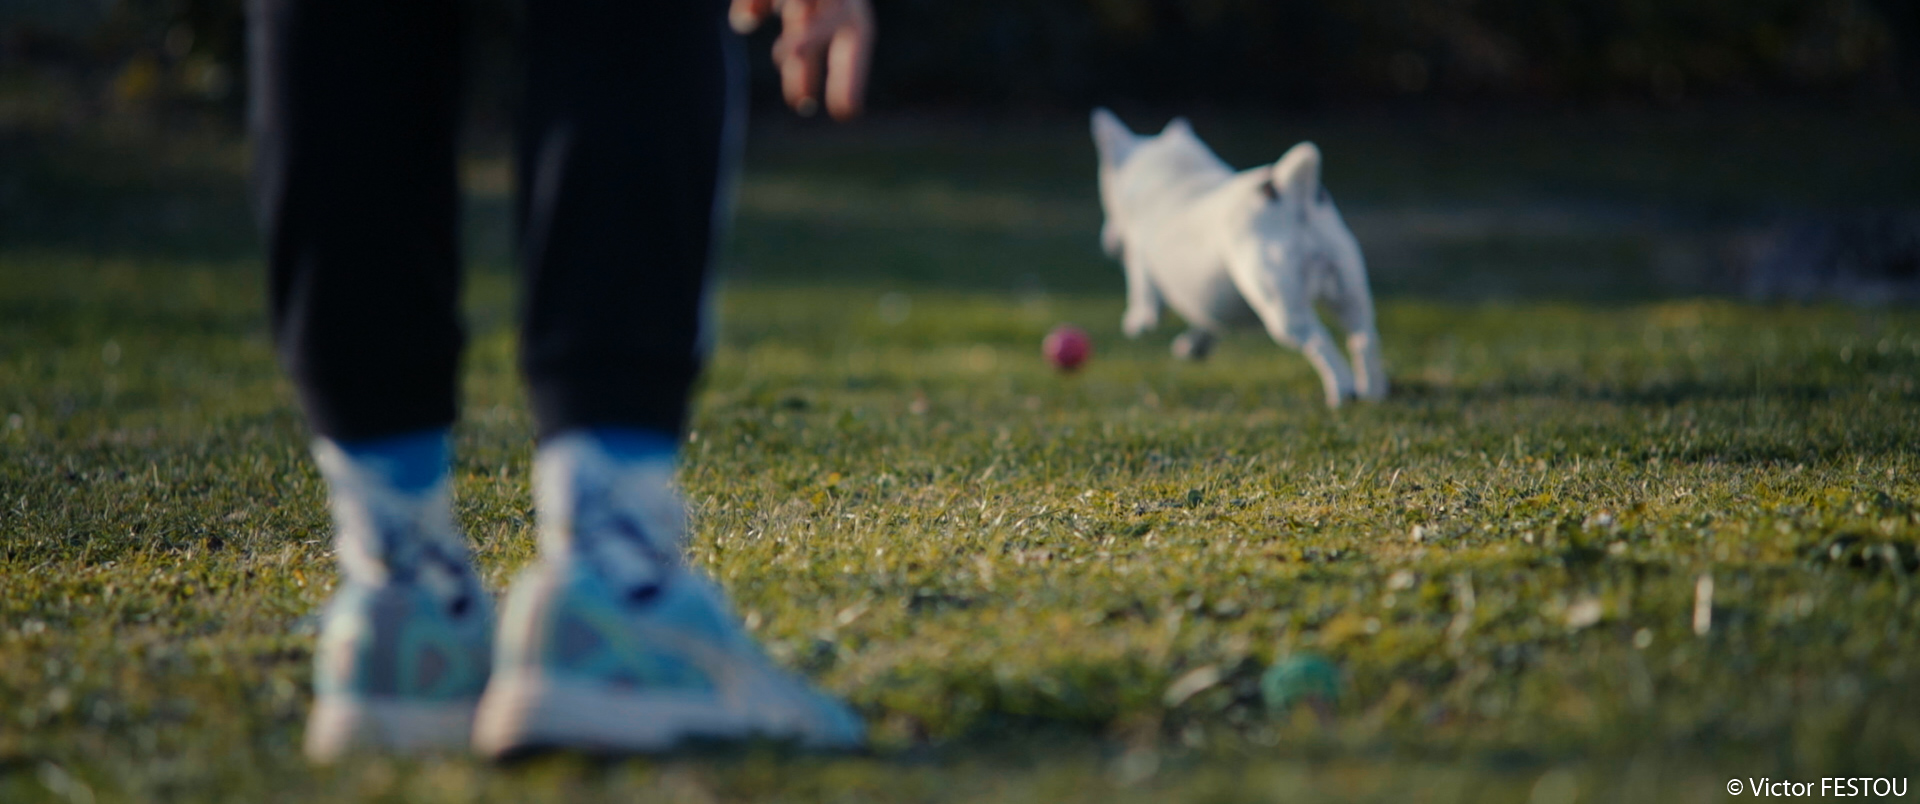
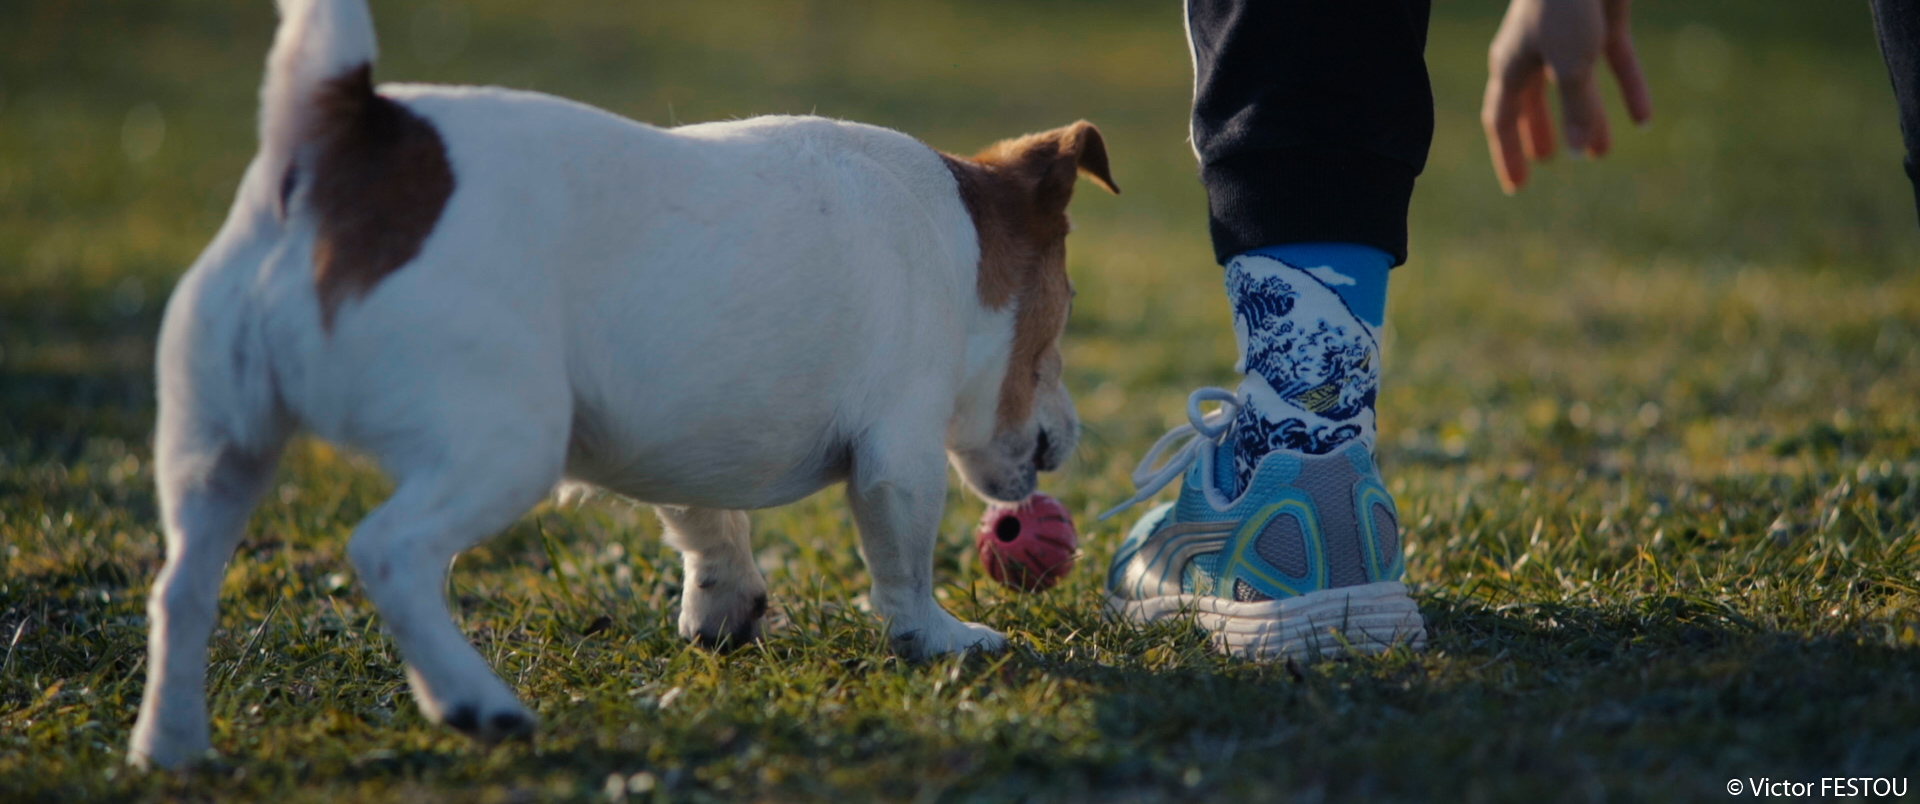
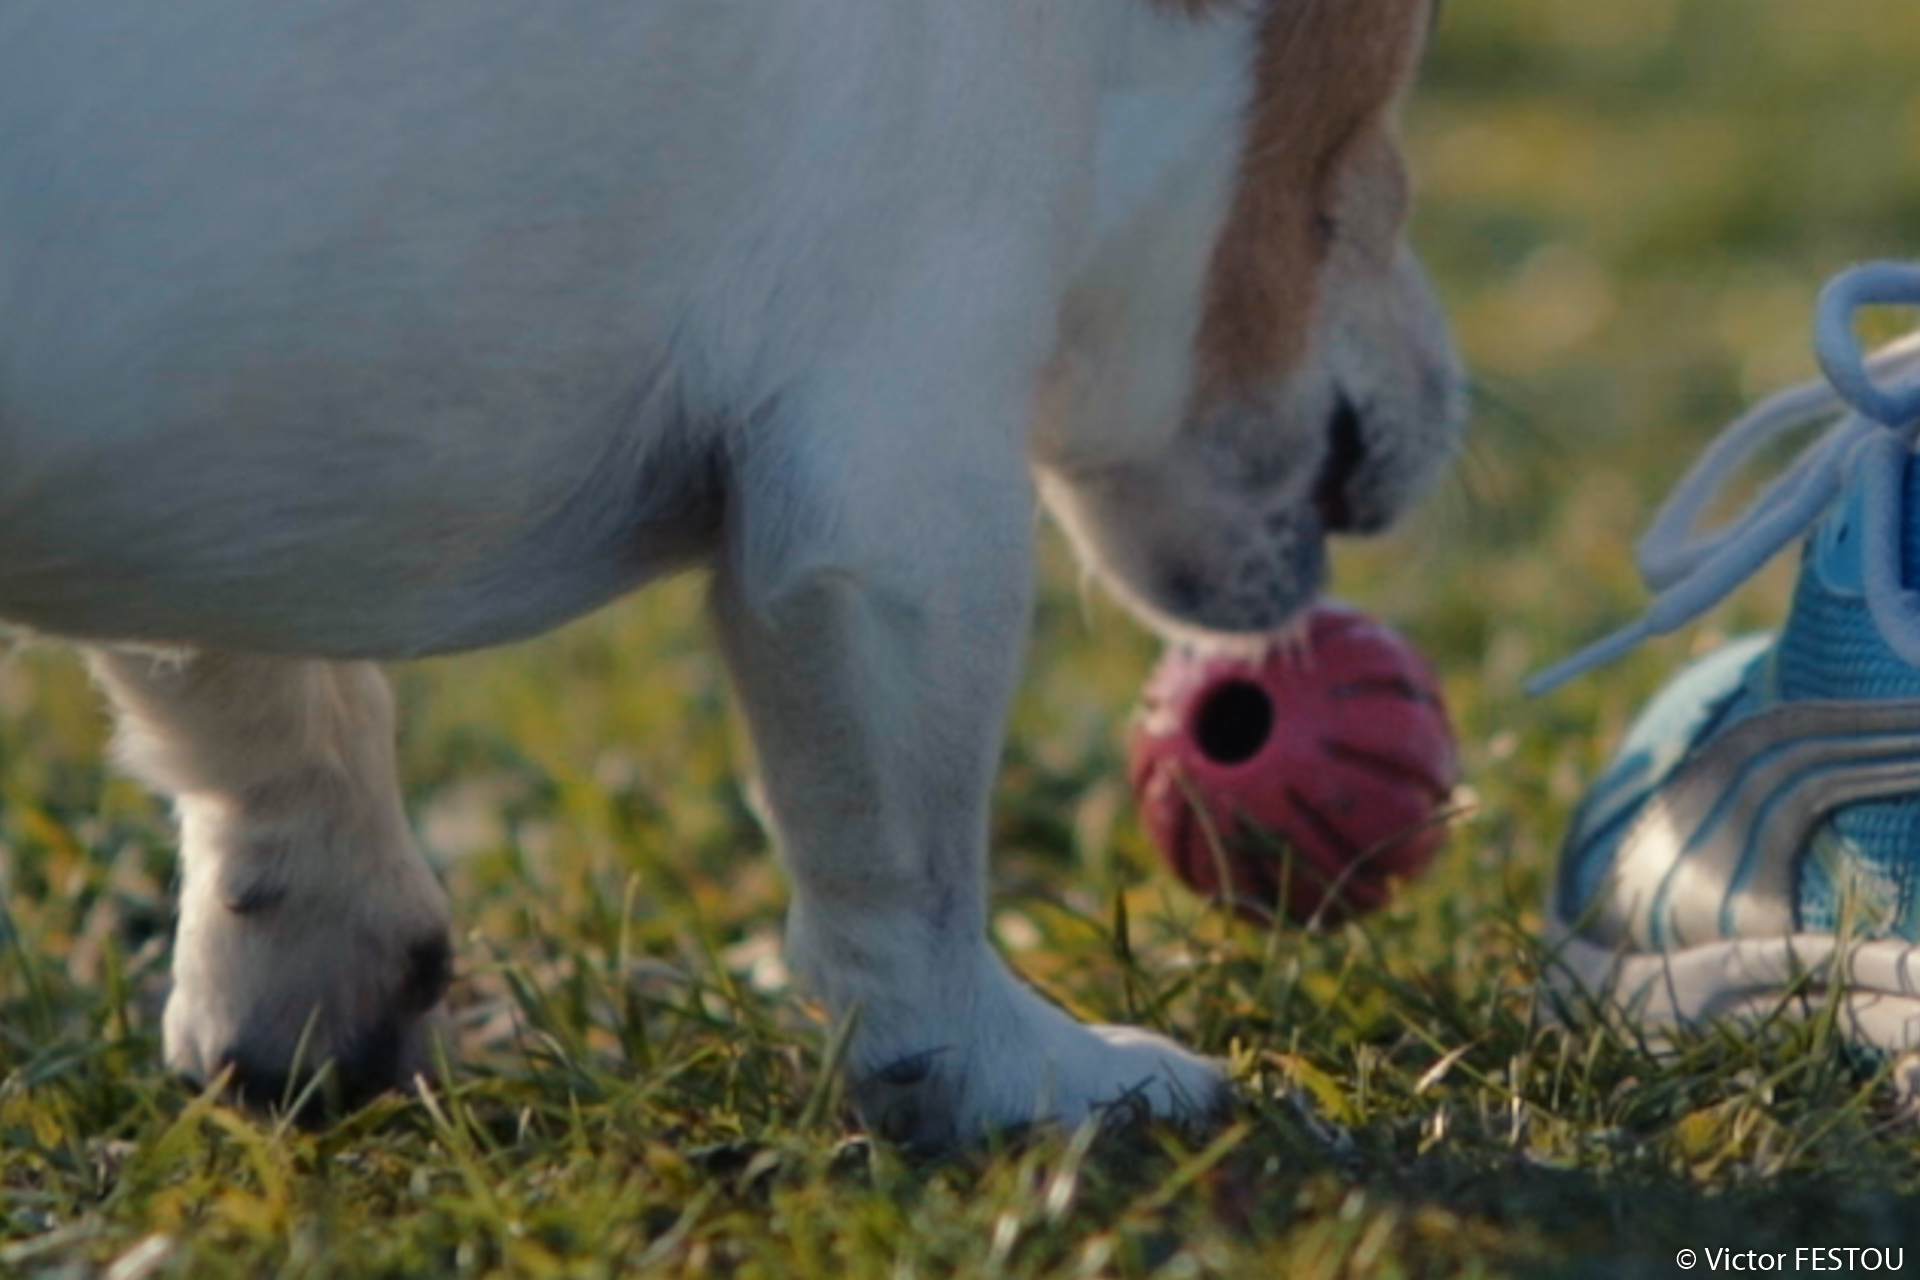
1080p60 shot. Here again the low bitrate creates a lot of artefacts, clearly shown on the violet ball. With the DNxHD, the bokeh is much more smooth and less jaggy

Before: 1080p H264 | After: 1080p DNxHD

Before: H264 Close-up | After: DNxHD Close-up
1080p60 shot. With the internal H264, the details of the shoe, the fur and the muzzle hair are lost. The greens of the grass are also much more saturated with the DNxHD
Recording in DNxHR 10bit and impact on banding
While shooting all this test footage I came across banding for the first time. It was on a 1080p60 shot, focus at infinity with a large portion of blue sky. I think it’s not an usual way to frame so that was why it never showed up before.
I compared it to the 4K clips I took during the same shooting session, and I couldn’t find any banding even with a lot of sky.
So I thought of recording in 10bit to see if there was any improvement, even if the Sony can only output 8bit over HDMI.
The following test frames were all shot in quick succession from the windows of my office. In the haste I forgot to do the focusing so they all appear soft. This is not important as the sky is the main focus.
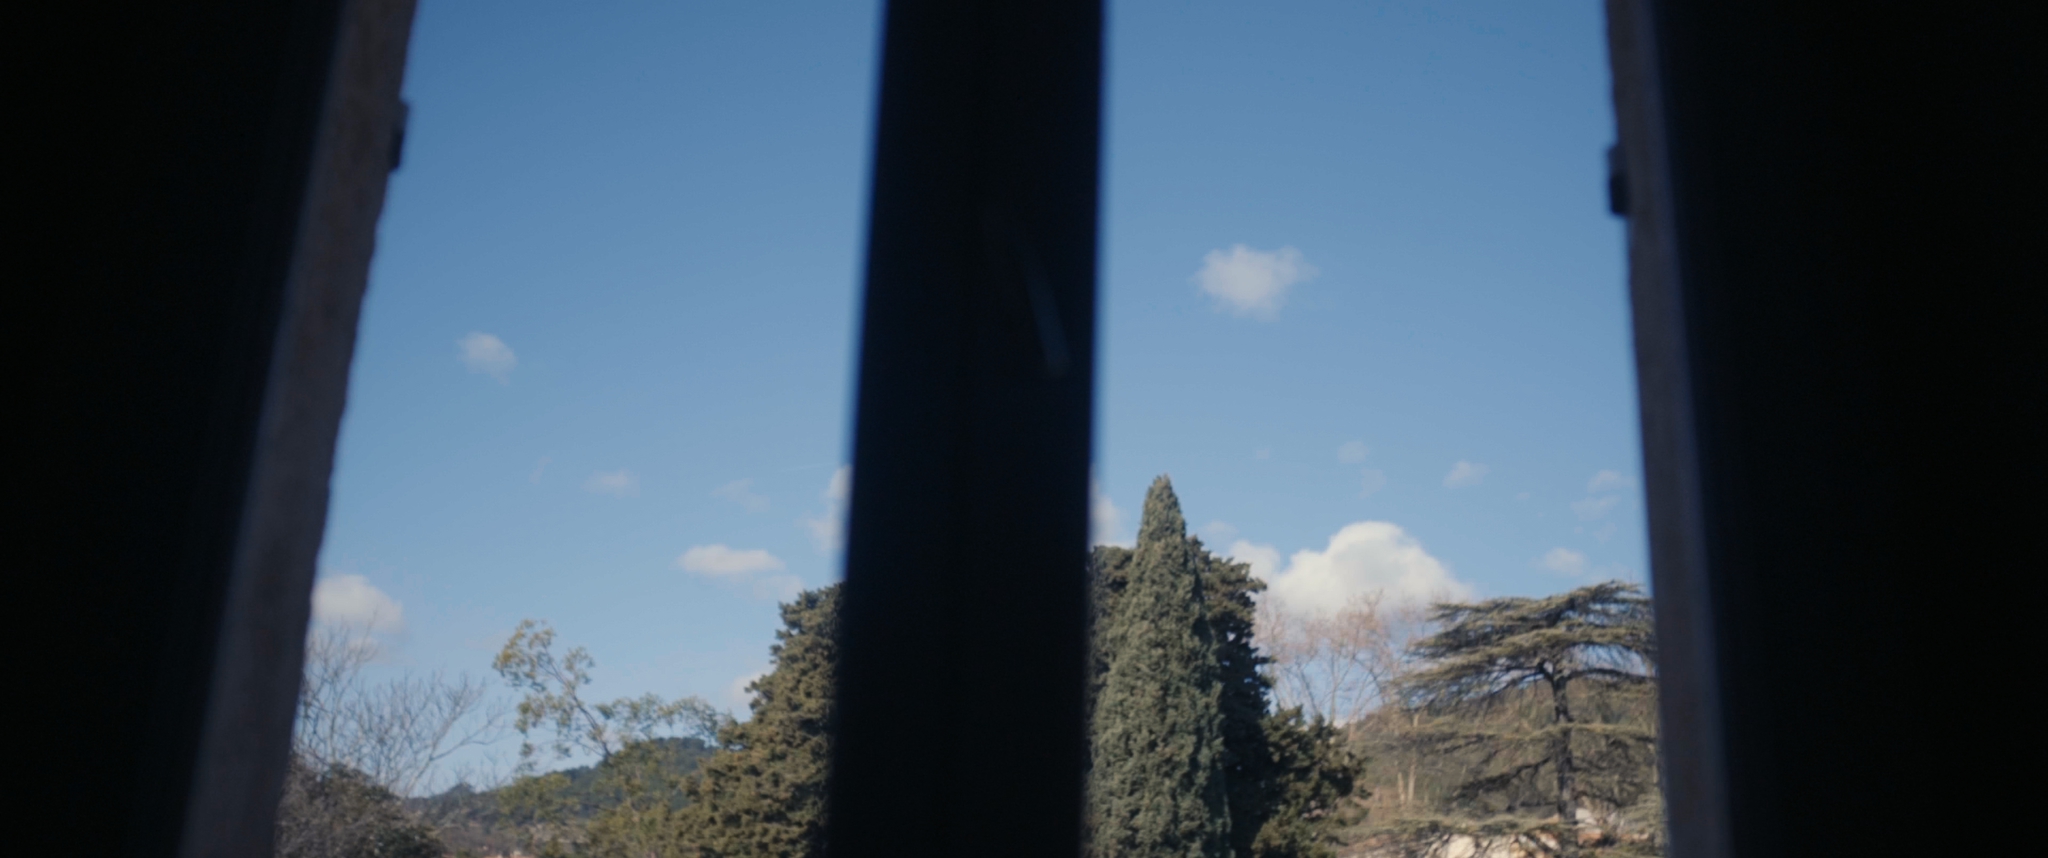

Before: H264 | After: DNxHD 10bit
1080p60 shot. I added an insane curve to make the banding more visible et more easy to analyse. At the left is the internal codec and at the right the DNxHD 220x 10bit. Unfortunately it does not make it disappear, just reduces it a bit.
Before: DNxHD 10bit | After: Debanding Plugin
The same shot but at the right I applied the OpenFX “Debanding” plugin in Resolve to see if it was able to fix the banding. In 5 minutes, with a combination of color selection and power windows I could make it disappear.


Before: 4K H264 | After: 4K DNxHR 8bit
4K shot. The change in angle of view is solely due to switching to 4k super35 mode. At the left, the internal codec, and at the right, the DNxHR HQ 8bit. If there is banding in the H264 file, it’s nearly invisible with the 8 bit DNxHR.

Before: 4K DNxHR 8bit | After: 4K DNxHR 10bit
At the left, DNxHR HQ 8bit and at the right, DNxHR HQX 10bit. The 10bit frame clearly shows improvements over the 8bit one! There’s now trace of any banding and the quality is superb.
I think it’s the most interesting finding about the Atomos. I don’t know from where this improvement comes from, as the camera can only output 8bit. This also does not come from the better compression as the DNxHR 8bit and 10bit share the same bitrate! For instance, the 10bit is more heavily compressed as the increased color depth requires more data (the compression ratio of 8bit is 4.5:1 and in 10bit 5.5:1). Maybe the compression algorithm of the 10bit copes better with color gradients… The mystery deepens.
Conclusion
I invite everyone to form his own conclusion from this post but for my sake, I think that the Atomos Shogun Inferno is extremely useful to get the most out of a Sony camera. Without changing bodies, you get a more detailed image, without artifacts and with much better colors, which is a plus for color-grading.
The most curious aspect is the discovery of the better quality of the 10bit mode, even with a 8bit signal. If storage space isn’t a problem for you, you might as well shoot in HQX rather than HQ.
There is some downsides, mainly the noisy fan but it’s fixable and not a deal breaker for me.
I will soon follow-up with a test of the Atomos in high ISO situation. Preliminary tests shows that the grain recorded with the Atomos is much more smooth and filmic, less digital. It also shower better and cleaner results with the Resolve temporal noise reduction. So it’s something to look into.